
There’s a specific sound my kitchen makes on a Saturday in late June when the temperature crawls past ninety and the air conditioning is working overtime. It’s the low, steady hum of an ice cream maker doing its thing, and honestly, it might be my favorite noise in the entire house. Not because it’s musical — it absolutely isn’t — but because it means that in about twenty minutes, I’ll be standing barefoot on my kitchen tile with a spoon in one hand and a bowl of something cold and miraculous in the other.
I didn’t grow up making ice cream. My grandmother churned it once a year on the Fourth of July in a hand-cranked wooden bucket that required three cousins taking turns until our arms felt like jelly. The result was grainy, icy, and utterly perfect. We ate it on paper plates in her backyard, peach juice running down our wrists, and to this day I can’t smell ripening peaches without thinking of that machine groaning under the elm tree. But for most of my adult cooking life, ice cream was something I bought in pint containers from the store, the way everybody else does. Good ice cream, mind you — I have standards — but still. Someone else’s recipe, someone else’s texture, someone else’s timing.
That changed three summers ago when my sister-in-law brought over a Cuisinart ice cream maker for a family barbecue. She plugged it in, poured in a custard base she’d made the night before, and twenty-five minutes later we were eating fresh strawberry ice cream that was so impossibly creamy I actually got a little angry. Angry because I’d spent fifteen years writing about kitchen tools and techniques, and nobody had ever told me it could be this easy. My grandmother would have wept. Or more likely, she would have thrown out her wooden bucket and asked where to buy one.
The Machine That Changed My Summers
Let me be clear about something: I am not a gadget person. I’ve spent years paring down my kitchen, getting rid of single-use appliances that clutter cabinets and gather dust. If something doesn’t earn its space, it goes. I wrote a whole piece about what earns counter space in my kitchen during summer, and the rules are strict. But an ice cream maker? It earned a permanent spot before the first batch was even done.
The machine I use most often is the Cuisinart 1.5-quart model, and I’m going to tell you exactly why. First, it’s affordable — under a hundred dollars, often closer to seventy on sale. Second, it has a freezer bowl you keep in your freezer permanently, which means that whenever the mood strikes, you pull it out, assemble the machine, pour in your base, and walk away. No ice. No rock salt. No hand cranking until your shoulder gives out. Third, it makes genuinely excellent ice cream. Not “good for homemade” — actually, genuinely, would-serve-this-to-company excellent.
Now, if you want to go a step up, the Ninja CREAMi has become the darling of the internet, and I understand the obsession. It works differently — you freeze your base solid in a pint container, then the machine shaves and blends it into ice cream. The genius of the CREAMi is that you can make “nice cream” with just frozen fruit and a splash of milk, which means healthy treats on demand. The newer Ninja CREAMi Scoop and Swirl even has a soft-serve extruder, which is the kind of feature I didn’t know I needed until I watched my niece pull a perfect swirl of chocolate frozen yogurt into a cone and her face lit up like she was at a county fair.
For families or anyone who entertains regularly, I’d also consider the Cuisinart 2-quart version. That extra half-quart matters more than you’d think when you’re feeding a crowd. And honestly, having two freezer bowls — one in the machine, one chilling in reserve — means you can do back-to-back flavors. Yes, I own two bowls. Yes, it’s worth it.
The Ingredients Nobody Talks About
Here’s where I’m going to get on my soapbox for a minute. The machine matters, but the ingredients matter more. And the single biggest upgrade you can make to your homemade ice cream has nothing to do with equipment — it’s the vanilla.
I grew up using the little brown bottle of imitation vanilla that lived in the back of my baking cabinet for probably a decade. It was fine. Everything I made was fine. But then I started using real vanilla extract — the good stuff, the kind that actually smells like a tropical orchid farm — and the difference was so dramatic that I actually went back and remade every recipe I’d been making wrong for years. A good vanilla extract transforms a basic sweet cream base into something that tastes expensive. It’s the difference between a hotel pillow and the pillow you’ve had since college. Both technically function, but only one makes you happy.

The other thing that transformed my ice cream game was a proper instant-read thermometer. If you’re making a custard base — which means heating egg yolks with cream and sugar — you need to hit exactly 170°F. Below that, your base won’t thicken properly. Above that, you’ve made scrambled eggs in cream, and no amount of straining will save the texture. A reliable instant-read thermometer takes all the guesswork out and means you can cook your custard with confidence. I use mine for everything now — candies, breads, roasts — but it earned its place in my drawer during ice cream season.
The Technique I Learned the Hard Way
Want to know the most common mistake people make with homemade ice cream? It’s not the recipe. It’s not the machine. It’s not even the ingredients. It’s temperature. Specifically, not chilling your base cold enough before it hits the machine.
Here’s what I do, and it works every single time. I make my base the day before — usually a simple mixture of cream, whole milk, sugar, egg yolks, and whatever flavoring I’m using. I strain it into a bowl, press plastic wrap directly against the surface so it doesn’t form a skin, and refrigerate it overnight. Not for an hour. Not for three hours. Overnight. That base needs to be refrigerator-cold, forty degrees or below, before it ever touches the churn. A warm base going into a barely-frozen bowl equals soft, icy, disappointing ice cream. A properly chilled base going into a rock-solid freezer bowl equals silky, scoopable perfection.

The churning takes about twenty to twenty-five minutes in most machines. You’ll hear the motor slow down slightly when the mixture thickens — that’s your cue. The ice cream will look like soft serve at this point, and that’s correct. To get it to that firm, scoopable consistency, you need to transfer it to a container and freeze it for at least four hours. I know, waiting is hard. But the texture transformation during those four hours is what separates good homemade ice cream from great homemade ice cream.
Storage: The Unsung Hero
I went through a dark period where I was storing my homemade ice cream in repurposed yogurt containers and random Tupperware with ill-fitting lids. The ice cream absorbed every smell in my freezer — which, if you’ve ever frozen fish next to dairy, you know is a catastrophe. Strawberry ice cream that tastes like last Tuesday’s salmon is not a vibe I can recommend.
Proper ice cream storage containers changed everything. They’re insulated, they seal airtight, and they’re the right size — about a quart and a half — so you’re not spreading a small batch across a massive container where it freezes into a brick. Press a piece of parchment against the surface before you close the lid, and your ice cream stays creamy and fresh for up to two weeks. Though honestly, in my house, a batch has never survived longer than four days.
The Scoop Situation
You would think, after years of professional kitchen work, that I’d have figured out the ice cream scoop situation earlier. You would be wrong. I spent an embarrassing number of years wrestling with cheap scoops that bent under frozen ice cream, or worse, the kind with the little antifreeze liquid inside that eventually leaks and leaves you wondering if you’ve been poisoning your family one bowl at a time.

A heavy-duty stainless steel scoop is one of those small investments that pays for itself immediately. The good ones have a slight flexibility in the bowl that lets you glide through hard ice cream, and they’re balanced so your wrist doesn’t cramp after serving a crowd. I also keep an OXO scoop for softer serves — the grip is excellent and the swipe mechanism means no more banging the scoop against the counter to release a stubborn ball of vanilla bean.
Beyond the Scoop: Building a Sundae Station
Once you’re making ice cream at home regularly — and trust me, once you start, you will not stop — the natural next step is building out a toppings and serving situation. My kids’ favorite weekend activity is what we call “Sundae Saturday,” which is exactly what it sounds like and is the only reason either of them voluntarily helps with dishes. It’s become part of our summer entertaining rotation alongside backyard cookouts and morning baking sessions.

The essentials are simple: good-quality rainbow sprinkles (the bulk ones taste better than the tiny jars from the baking aisle), hot fudge, caramel sauce, crushed cookies, and whatever fresh fruit is in season. But the thing that took our sundae game to the next level was getting a waffle cone maker. I know, I know — another single-use appliance. But the smell of fresh waffle cones wafting through the house on a summer afternoon? That’s the kind of memory that ruins store-bought cones forever. You roll them while they’re warm, let them set in a glass to harden, and then hand a child a cone they watched you make from batter to perfect crunchy vessel. It feels like magic, and it takes about ninety seconds per cone.

Popsicles: The Gateway Project
If you’re not ready to commit to an ice cream maker, or if you want something the kids can do with minimal supervision, silicone popsicle molds are where it’s at. My kids started making their own popsicles when they were five and seven, and the pride on their faces when they pulled a completely self-made frozen treat out of the freezer was something I’ll never forget.

The beauty of popsicle molds is their versatility. Pureed fruit and yogurt. Leftover smoothie. Coconut milk with a drizzle of chocolate. Even just orange juice, which is apparently the most exciting thing in the world to a seven-year-old who made it themselves. The silicone molds release easily — no running them under hot water and watching half the pop dissolve before it comes free — and they’re dishwasher safe, which matters when you’re making a new batch every three days because your children have become popsicle entrepreneurs.
My Favorite Summer Flavors
Every summer I develop a rotation of flavors that takes advantage of what’s coming ripe. In June, it’s strawberry and peach — straightforward, sweet, and bright. July brings blackberries from the farmer’s market, which make the most gorgeous deep purple ice cream you’ve ever seen. By August, I’m into herb-infused bases: basil with lemon, lavender with honey, mint from the garden that threatens to take over the entire yard — the same herb garden that started as a summer kitchen project a few years back and has since become an obsession.
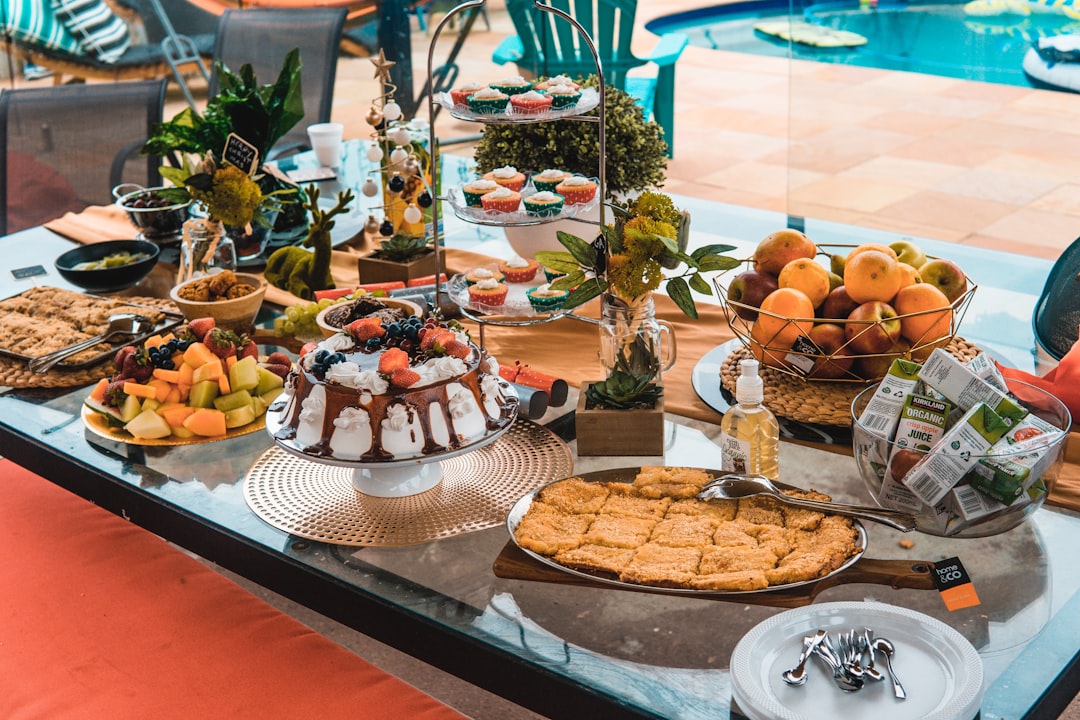
The trick with fruit ice cream is roasting your fruit first. Toss sliced peaches or strawberries with a little sugar and roast them at 400°F until they’re jammy and caramelized. Let them cool, fold them into your base, and the concentrated flavor will blow you away. Raw fruit in ice cream tends to freeze into icy chunks; roasted fruit becomes silky ribbons of flavor woven through every bite. This is the kind of tip my grandmother never knew because she was working with a hand crank and a five-pound bag of rock salt, but I think she’d approve.
If you’ve been writing off homemade ice cream as too fussy, too complicated, or not worth the counter space, I’m here to tell you that it’s none of those things. It’s one of the most rewarding things you can do in a kitchen — not because the result is fancy, but because it connects you to a tradition that goes back generations. Every culture has a version of frozen, sweetened cream, and there’s a reason for that. On a hot July evening, when the light turns golden and the cicadas start their chorus, there is nothing — nothing — better than ice cream you made yourself.
So pick a machine, grab some heavy cream, and start churning. Your summer self will thank you. And if you need me, I’ll be barefoot on my kitchen tile, waiting for that familiar hum to stop.



2 thoughts on “Churning Day: How a Frozen Bowl and a Handful of Berries Became My Favorite Summer Tradition”