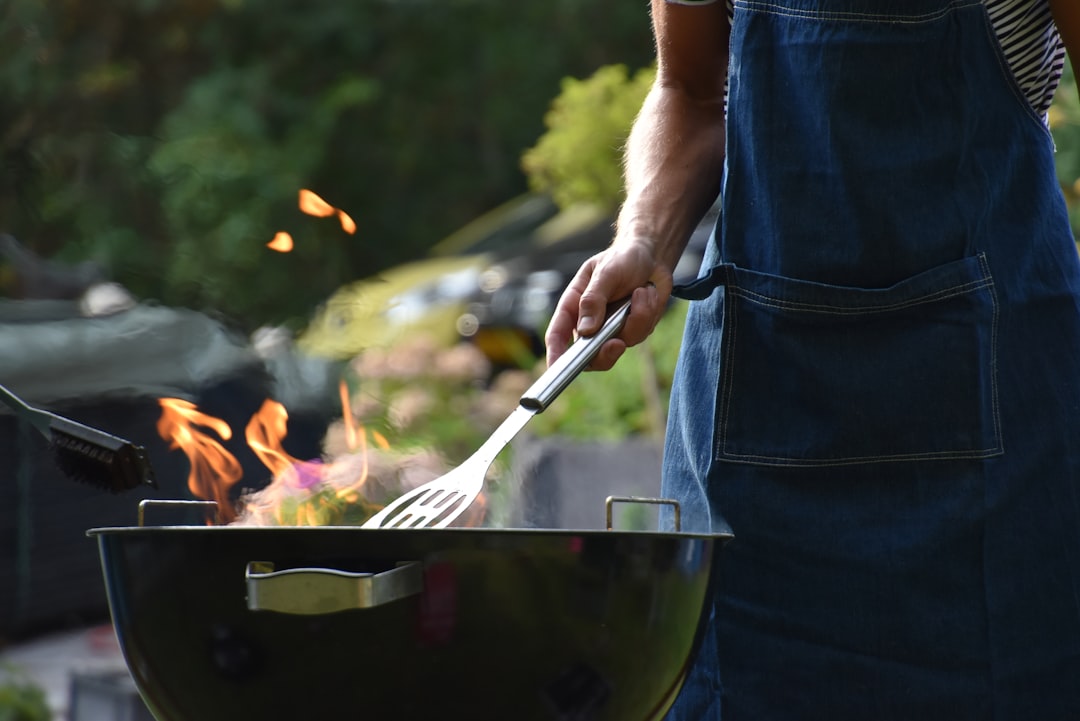
Every year, right around June 28th, I have the same recurring nightmare. I’m standing in my backyard with thirty hungry people, the coals won’t light, the potato salad is warm, and my uncle is asking — for the fourth time — if the burgers are ready yet. Then I wake up, walk into my kitchen, and start my prep list. Because after fifteen years of hosting July 4th cookouts, I’ve finally cracked the code on what actually matters. And spoiler: it’s not the recipe for the potato salad.
Let me take you back to the worst cookout I ever threw. It was 2011, my second year in my first house, and I decided to grill for twenty-six people on a tiny hibachi-style charcoal grill that could barely fit six burgers at a time. I had one cutting board — a flimsy plastic one that warped under the heat — a meat thermometer that took forty-five seconds to register (if it worked at all), and a cooler that sweat condensation all over my patio table until everything inside was swimming. My aunt still talks about the “year the burgers came out one at a time.”
That disaster taught me something valuable: a great cookout isn’t about fancy recipes or impressive techniques. It’s about systems. The right gear, set up in the right sequence, so you can actually enjoy the party instead of feeling like a short-order cook in a sauna.
The Grill: Your Workhorse, Not Your Bottleneck
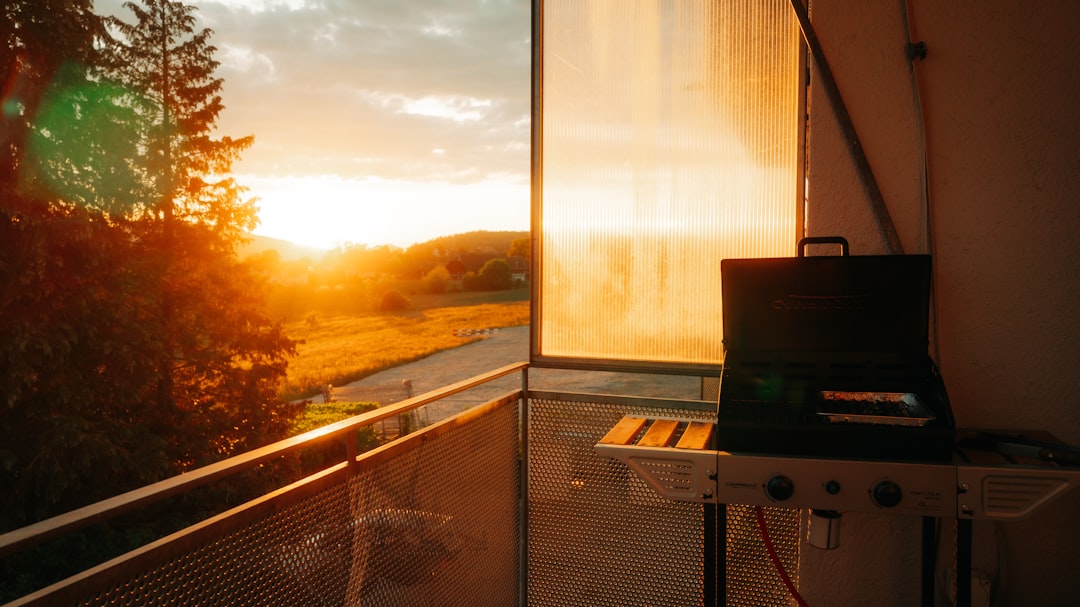
Here’s the thing about cooking for a crowd — you need surface area. That tiny hibachi taught me that lesson the hard way. These days, I run a full-size grill for the main event, but I also keep a portable option for overflow, sides, or when I’m cooking at someone else’s place.
My secret weapon for the last three summers has been the Cuisinart Chef’s Style Tabletop Portable Propane Grill. Two burners, 20,000 BTU, and it folds up small enough to take camping. I fire it up as a second station for veggies and buns while the big grill handles the protein. If you’re cooking for more than fifteen people and your grill can’t hold at least twenty items at once, you need a second heat source. Period.
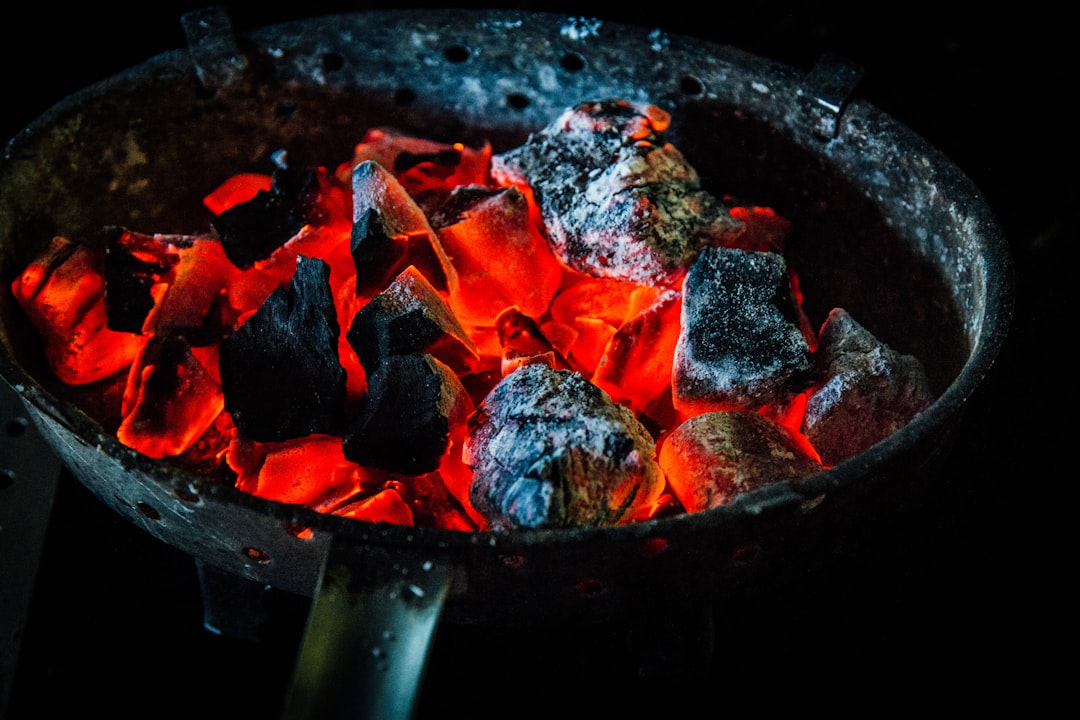
But before you even think about what goes on the grill, let’s talk about what gets it going. If you’re using charcoal (and honestly, for flavor, you should be), a chimney starter is non-negotiable. I spent years squirting lighter fluid and hoping for the best. The first time I used the Kingsford Heavy Duty Deluxe Charcoal Chimney Starter, I wanted to write apology letters to every burger I’d ever infused with petroleum aftertaste. Fifteen minutes, a couple of crumpled newspaper sheets, and you’ve got perfectly lit coals with zero chemical flavor. It’s one of those ten-dollar upgrades that changes everything.
The Tools That Actually Touch the Food
Can we talk about grill tools for a second? Because I have opinions. I’ve gone through — and I am not exaggerating — nine different sets of tongs and spatulas in the last decade. The ones from the big box sets are usually too short, which means you’re reaching over open flame with your knuckles as the primary heat shield. Not ideal.
The OXO Outdoor Grilling Turner and Tongs Set is what lives next to my grill now. OXO makes tools that feel like they were designed by someone who actually cooks, and these are no exception. The turner is wide enough to flip a full burger without it spinning off the edge, and the tongs have enough grip to grab a whole ear of corn without launching it across the yard. They’re the kind of tools you don’t think about — and that’s exactly the point.
For vegetables, fish, and anything that wants to fall through the grates, I use a grill basket. Specifically, the Weber Deluxe Grilling Basket. I’ve tried cheaper versions, and they warp, stick, and eventually rust. The Weber one is stainless steel, holds a ridiculous amount of vegetables, and the holes are small enough that nothing escapes. Every July 4th, I toss zucchini, bell peppers, onions, and whole mushrooms in olive oil and salt, spread them in the basket, and let them char while the meat rests. It’s the side dish that disappears first, every single time.
The Thermometer: Because Guessing Is for Amateurs
I’m going to say something controversial: the single most important tool for a cookout is not the grill. It’s the thermometer. And I don’t mean the dome thermometer that came built into your grill lid — those are notoriously inaccurate and measure air temperature, not what’s happening inside the food.
A few summers ago, I watched my brother-in-law press a burger with his thumb and declare it “done.” It was raw in the middle. That was the last cookout where I trusted the finger test.
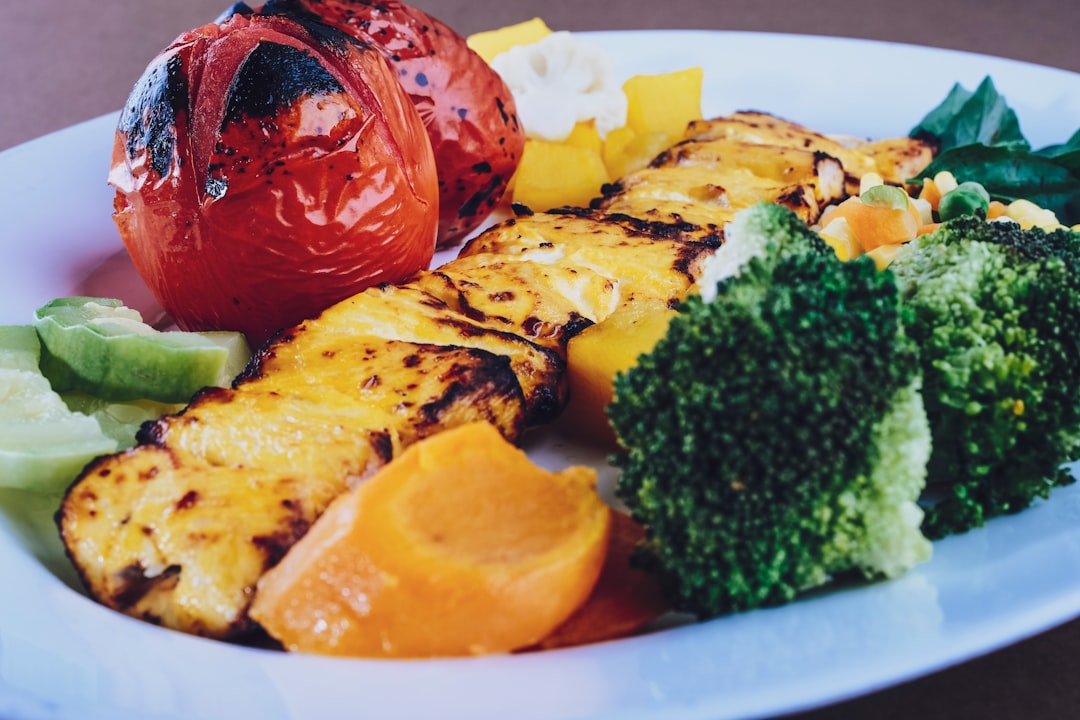
The TempPro TP19H Digital Meat Thermometer is what I hand to anyone working the grill now. One-second read, motion-sensing wake (so you’re not fumbling with buttons while holding tongs in your other hand), and accurate enough that I trust it for chicken. At under twenty-five dollars, there is no excuse for serving dry, overcooked chicken breasts or — worse — underdone poultry at your cookout. Get one. Or two, because someone will inevitably set it down somewhere in the sauce station and you’ll spend ten minutes looking for it.
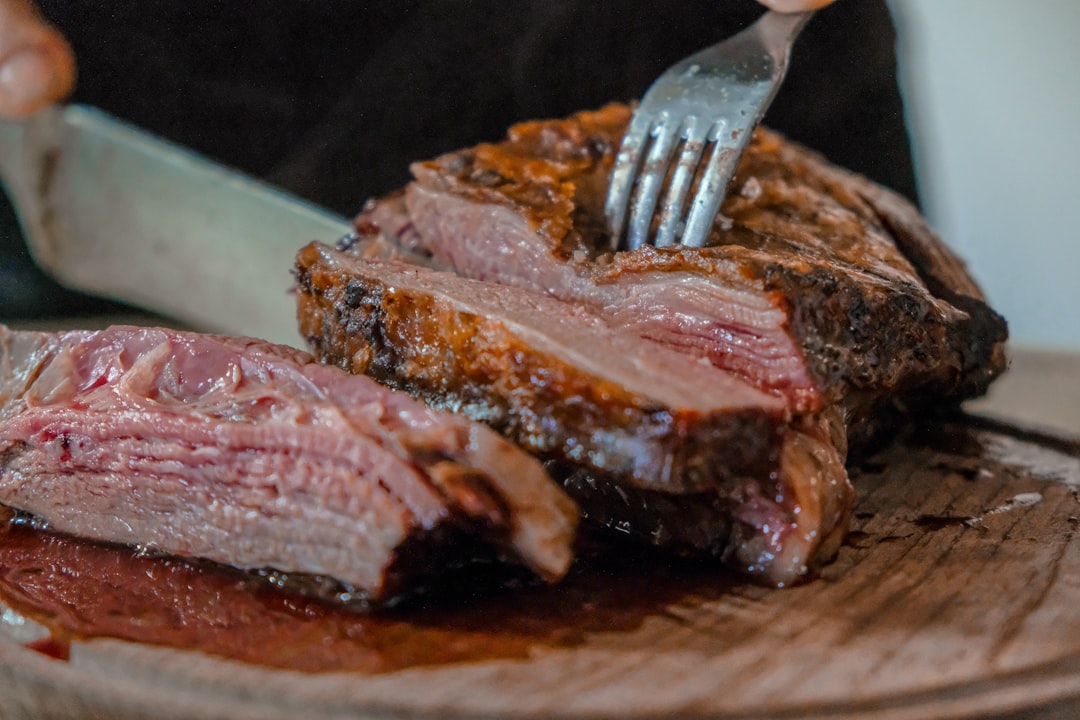
The Carving Station: Where the Magic Happens
Once the food comes off the grill, it needs a proper landing zone. For years, I carved on whatever flat surface was available — paper plates, the lid of the cooler, once (shamefully) directly on the patio table. Then I started using a proper extra-large cutting board, and it was another one of those changes that seems obvious in hindsight.
The Empune Extra Large Bamboo Cutting Board — 17.6 inches with a juice groove — is what I use now. That juice groove is the key feature. When you’re resting and carving a big batch of grilled chicken or slicing a brisket, the juices need somewhere to go besides all over your table. The board is big enough to hold a full batch of sliced proteins, and bamboo is naturally antibacterial and gentle on knives. I wrote about switching away from plastic cutting boards earlier this year, and that decision has been even more important for outdoor cooking, where everything gets a little more chaotic.
The Cold Chain: Keeping Food Safe and Drinks Cold
Nothing ruins a cookout faster than food sitting in the danger zone. I’m fanatical about this because I once gave twenty people a very memorable (and not in a good way) experience with potato salad that sat out too long at a summer baby shower. We don’t talk about it. But I learned.
My cold chain setup is two-fold. First, for serving, I use an inflatable serving bar — the Jasonwell Inflatable Serving Bar — which is basically a long ice tray that holds your serving dishes above a bed of ice. It inflates in two minutes, holds cold for hours, and when the party’s over, it deflates flat. I fill it with ice, set my bowls of sides on top, and everything stays chilled through the entire afternoon. No wilted salad. No sketchy mayo.
For drinks, the Igloo Party Bar 125 Quart Cooler on Wheels is my workhorse. 125 quarts is enough for an entire party’s worth of beverages, and the wheels mean I’m not throwing my back out trying to move a loaded cooler across the yard. I park it under a shaded table, and it keeps everything cold from setup to cleanup. If you’re shopping for one this season, look for wheels — that’s the feature you’ll appreciate most by hour three.
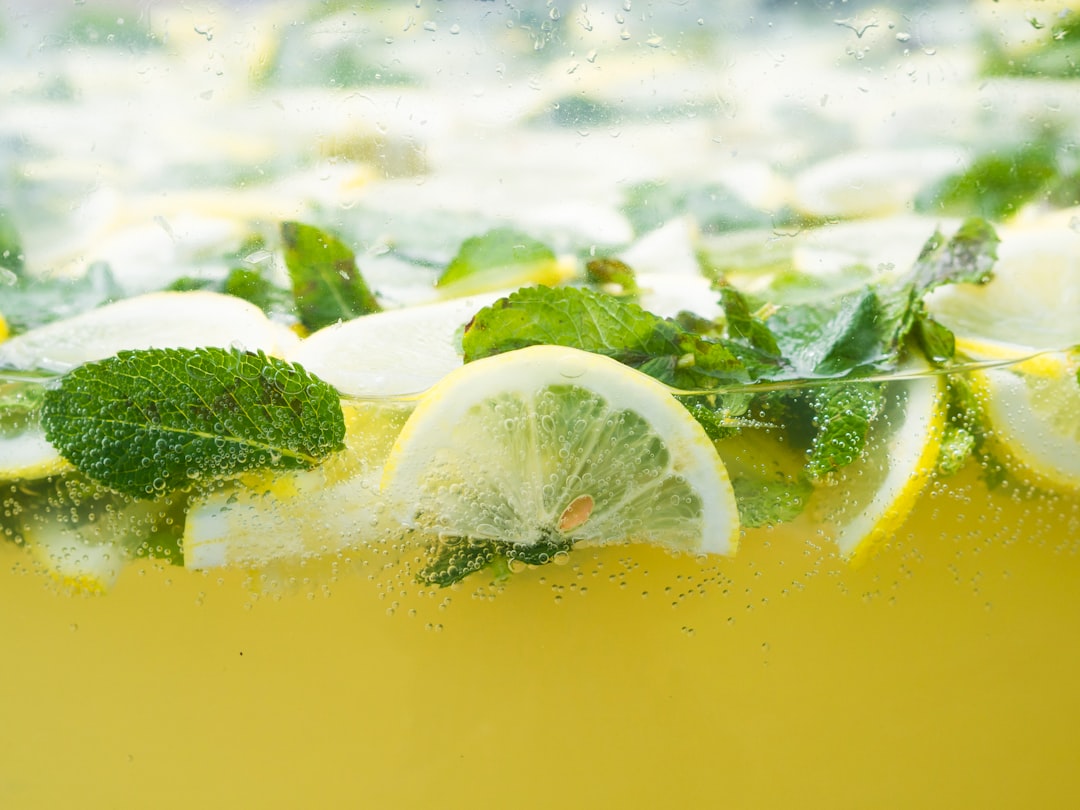
The Beverage Station: Not an Afterthought
Speaking of drinks, can we stop treating beverages like a last-minute grab from the cooler? After years of hauling cases of canned lemonade from the store, I started making my own, and the difference is staggering. Fresh-squeezed lemonade with a touch of lavender or rosemary tastes like something from a farmers market, and it costs about a quarter per glass.
The Dash Summer Sippers Lemonade Maker has become my June-through-September workhorse. It juices citrus, dissolves sugar, and mixes everything over ice in one go. I make a triple batch on cookout morning, pour it into a big dispenser, and set it on the drink table with a ladle. Gone.
For serving, I use the Lifewit 3-Gallon Drink Dispenser. The fruit infuser cylinder in the center is perfect for floating lemon slices, berries, or cucumber and mint for a spa-water option. The spigot doesn’t drip (a problem with every cheap dispenser I’ve tried), and three gallons is the sweet spot for a party of twenty to thirty people.
I set up my beverage station the same way every time now — a dedicated table away from the food line, with cups, ice, garnishes, and a trash can underneath. It keeps foot traffic flowing and prevents the dreaded bottleneck where someone is filling a cup while six people are trying to reach the burger platter. I wrote about my full summer beverage station setup last month, and those principles hold up even more when you’re hosting a crowd.
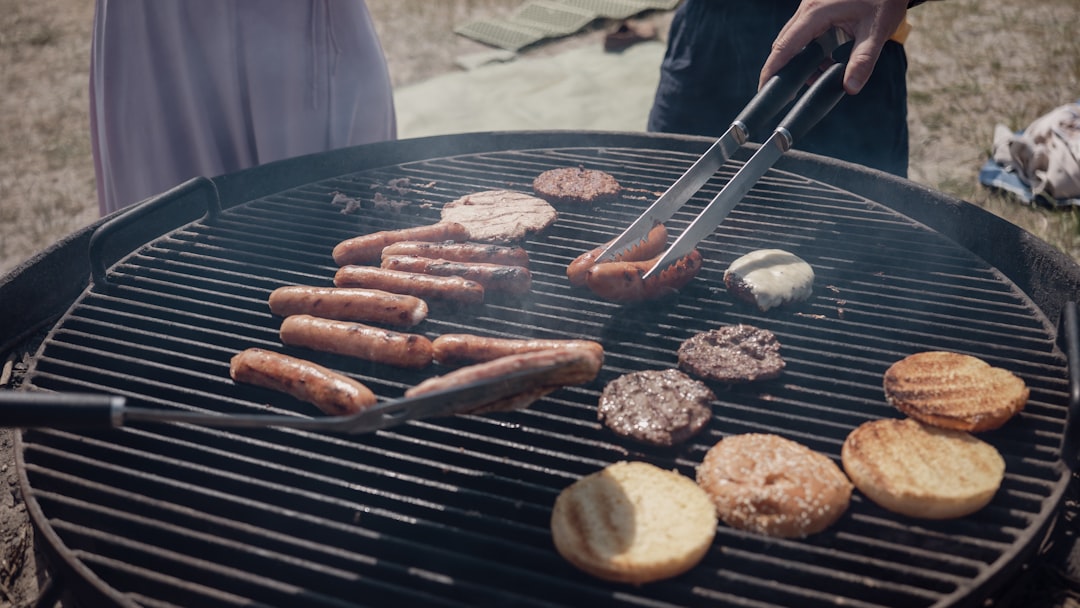
The Timeline: Work Backwards From Fireworks
Here’s the part nobody tells you about hosting a cookout: the food is the easy part. The hard part is timing. Over the years, I’ve developed a timeline that works like clockwork, and I’m sharing it because it took me a decade to figure it out.
Two days before: Marinate proteins, chop vegetables, make any sauces or dressings. Everything that can be done ahead, gets done ahead. This is also when I make the lemonade — the flavors deepen over forty-eight hours.
The morning of: Set up tables, chairs, the beverage station, and the serving area. Get everything that doesn’t need refrigeration in place. Roll out the cooler and the serving bar. This is also when I arrange my grilling tools, chimney starter, charcoal, and cutting board in a line next to the grill. I call it my “Mise en Place, Outdoor Edition,” and yes, my family makes fun of me for it. But nobody’s waiting forty-five minutes for a burger.
Two hours before guests arrive: Light the charcoal. I know that sounds early, but a chimney full of coals takes fifteen minutes to light, then needs another ten to fifteen to ash over properly. Once they’re ready, I bank them for low heat and use that pre-cook window to grill vegetables and anything that holds well — corn on the cob, sausage links, even burger patties that I’ll reheat later.
One hour before: Main protein goes on. Chicken pieces first (they take longest), then burgers and hot dogs. Everything gets rested, tented with foil, and held in a warm oven or insulated carrier until serving time.
When guests walk in, I’m not cooking — I’m greeting. That’s the goal, and with this timeline, I actually hit it most years. This is the system I described in my piece about summer hosting on autopilot, and the July 4th cookout is where it gets its real stress test.
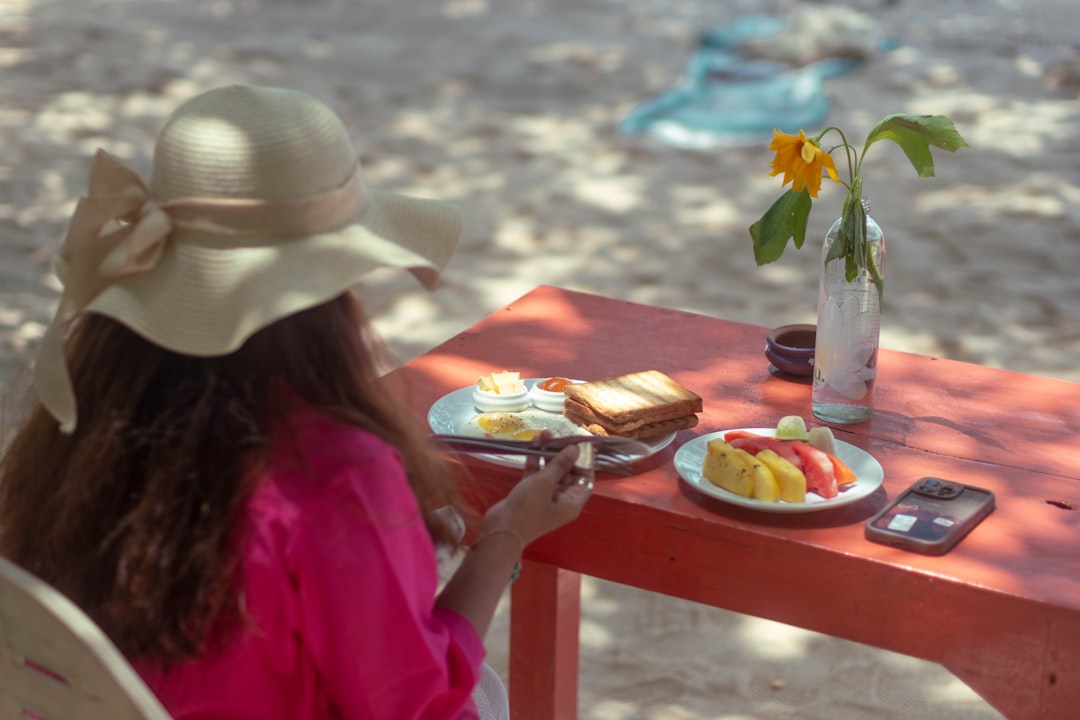
The Details That Make It Feel Like a Celebration
My grandmother always said that the difference between a meal and a gathering is the table. She’d spend the morning ironing a cloth tablecloth for a backyard picnic, and I thought she was being excessive. Now I get it. It’s not about the tablecloth — it’s about the message it sends. You cared enough to make this special.
I don’t iron tablecloths for cookouts (sorry, Grandma), but I do a few things that elevate the whole experience:
- A dedicated watermelon station — a big cutting board, a sharp knife, and a platter. There’s something about a cold slice of watermelon on a hot July afternoon that makes everyone feel like a kid again.
- Mason jars with chalkboard labels for drinks. Everyone writes their name, and you eliminate the “whose cup is this?” problem entirely.
- A “leftovers” station — labeled containers, bags, and a sharpie by the food. People pack their own to-go plates, and you’re not stuck with three pounds of potato salad on Monday morning.
And here’s one more thing I’ve learned: the gear you use for outdoor dining matters. I stopped using flimsy paper plates years ago after I switched to sturdy outdoor dinnerware, and it elevates the entire experience. Food tastes better on a real plate. I know that sounds pretentious, but try it and you’ll see.
The Final Headcount
This year, I’m expecting thirty-two people. There will be burgers, grilled chicken, corn on the cob, three kinds of salad, watermelon, homemade lemonade, and enough ice to keep it all safe. My uncle will still ask if the burgers are ready yet. My brother-in-law will still try to use the thumb test. But I’ll be calm, because the systems are in place, the tools are laid out, and I’ve done this enough times to know that the secret isn’t the food — it’s the preparation.
That, and a really good chimney starter.
If you’re building your own cookout kit this summer, start with the essentials: a grill you trust, a thermometer you believe in, tools that fit your hands, and a cold chain that keeps everything safe. Everything else is personality — and that part, you bring yourself.

5 thoughts on “Smoke, Slaw, and Sanity: My Foolproof July 4th Cookout Setup After Fifteen Summers”