
Why I Finally Stopped Buying Every Stand Mixer Attachment I Saw
I’ll be honest with you: when I got my first stand mixer as a wedding gift back in 2008, I went a little attachment-crazy. I saw that shiny attachment catalog and thought, “Yes, I absolutely need a grain mill! And a pasta press! And a citrus juicer that only works with my stand mixer for some reason!” Fifteen years and hundreds of tested recipes later, I’ve learned that not all attachments are created equal. Some are absolute game-changers that I use weekly, while others are gathering dust in the back of my gadget cabinet, silently judging me every time I reach for them.
In my test kitchen, I’ve probably spent more money on stand mixer attachments than most people spend on their first car. I’ve tested everything from the classic paddle attachments to specialized tools that promise to transform your mixer into a completely different appliance. Some have become indispensable parts of my cooking routine—the kind of tools I’d replace immediately if they broke. Others? Let’s just say I’ve learned some expensive lessons so you don’t have to.
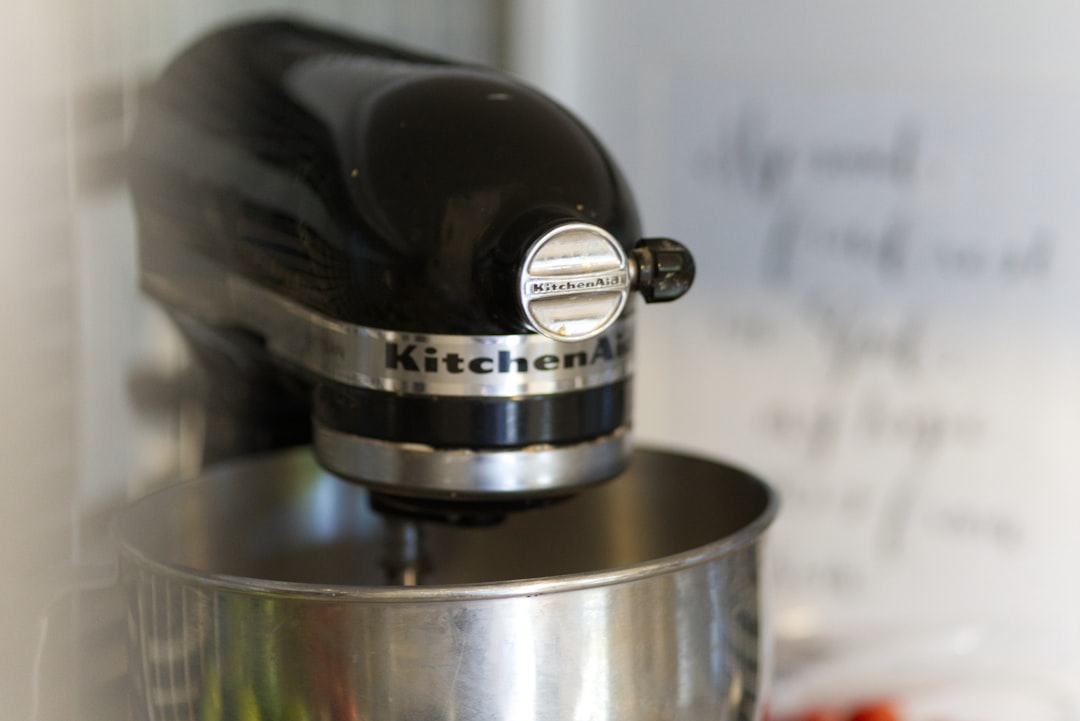
Today, I’m sharing everything I’ve learned about which stand mixer attachments are actually worth your hard-earned money in 2026. I’ve tested dozens of attachments across multiple mixer brands (KitchenAid, Cuisinart, Kenmore), used them in real recipes for real family meals, and tracked which ones I reached for instinctively and which ones I had to force myself to use. Here’s what actually works in a busy home kitchen.
The Non-Negotiable Essentials: These First Three Are Must-Haves
If your stand mixer came with a flat beater, dough hook, and wire whisk, you’ve got the foundation covered. These three are your workhorses, and I wouldn’t want to cook without them. The flat beater handles everything from cookie dough to mashed potatoes, the dough hook makes bread-making almost effortless, and the wire whip creates meringues and whipped cream that are practically foolproof. If you’re missing any of these, replace them immediately—they’re not optional extras, they’re essential tools.
But what about beyond the basics? After fifteen years of testing, here are the attachments that have earned permanent counter space in my kitchen.
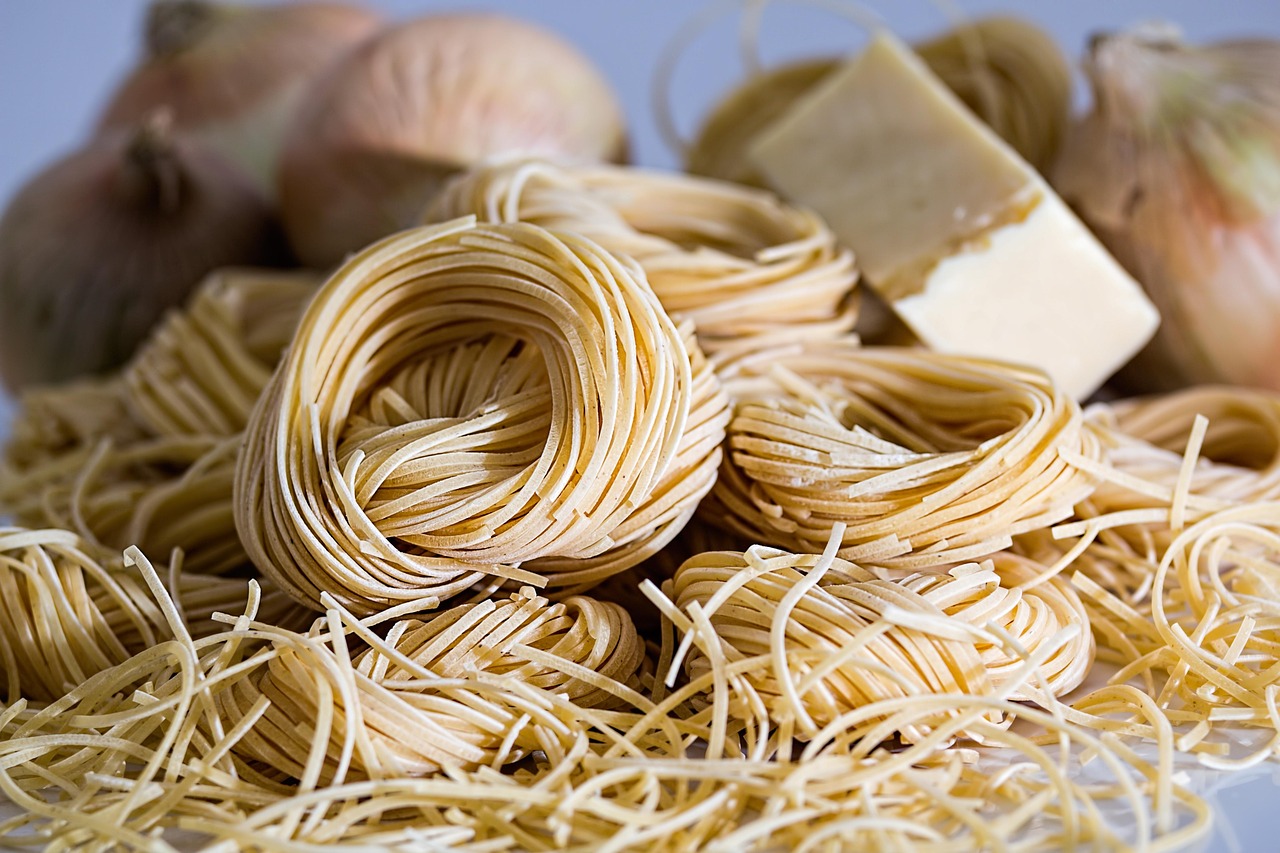
The Pasta Roller Attachment: Worth Every Penny for Carb Lovers
I was skeptical of the pasta roller attachment for years. I thought, “I can just buy dried pasta, why would I make my own?” Then my teenage daughter discovered fresh pasta during a cooking class, and suddenly I was committed. Let me tell you: fresh pasta made with this attachment is absolutely nothing like the dried stuff in a box. It’s tender, it cooks in minutes, and it somehow makes even a simple weeknight dinner feel special.
What I love about this attachment is how ridiculously easy it makes pasta rolling. Before I got it, I tried rolling pasta by hand with a rolling pin, and let’s just say my results were… rustic. Uneven thickness, frustrated tears, pasta that was thick in some spots and paper-thin in others. The attachment gives you perfectly even sheets every single time, and once you get the hang of it, you can crank out enough pasta for a family of four in about fifteen minutes. We use ours at least twice a month for everything from basic fettuccine to ravioli stuffed with ricotta and herbs from my garden.
The pasta cutter attachments (they usually come as a set with the roller) are equally useful. You can make fettuccine, spaghetti, angel hair, and even lasagna noodles with consistent thickness. Pro tip: toss your freshly cut pasta with a little flour immediately after cutting to prevent sticking, and lay it flat on a baking sheet until you’re ready to cook it. Don’t bunch it up like you would with dried pasta, or it’ll turn into a giant clumpy mess.
The Food Grinder Attachment: Surprisingly Versatile
Here’s one I didn’t expect to love as much as I do: the food grinder attachment. I bought it initially thinking I’d make my own sausage, which I did exactly once before realizing that sausage-making is a whole commitment level I wasn’t ready for. But then I started discovering other uses, and now this attachment gets more use than I ever anticipated.
My family’s absolute favorite use? Fresh ground chicken for homemade chicken nuggets. Store-bought ground chicken can be weirdly textured and watery, but grinding your own chicken breasts gives you control over the texture and lets you know exactly what’s in your food. We season ours with garlic powder, paprika, and a little Parmesan, then bread and air-fry them. They’re infinitely better than anything frozen you can buy, and they’re ready in about twenty minutes.
I also use the grinder for fresh salsa components (grinding tomatoes and onions instead of chopping them), for making spreads like hummus and baba ganoush (the texture is incredible when you grind the chickpeas and eggplant instead of just mashing them), and even for grinding breadcrumbs from stale bread. It’s one of those attachments that seems single-purpose until you start using it, then you find yourself reaching for it constantly. If you cook for a family, this one will surprise you with how often it comes in handy.
The Spiralizer Attachment: Vegetable Transformation Magic
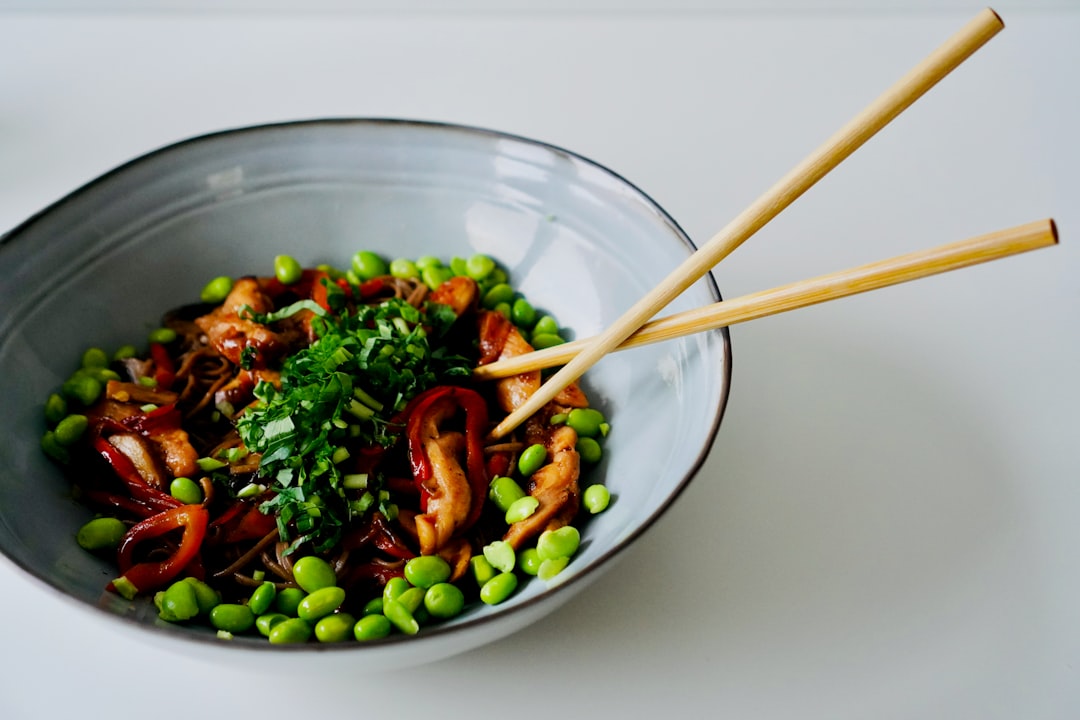
I’ll admit I was late to the spiralizer trend. I thought it was just another gimmick that would end up in the back of a cabinet alongside my veggie chopper (which I also bought and rarely use). But the spiralizer attachment for stand mixers is genuinely useful, especially if you’re trying to eat more vegetables or cook for someone who’s picky about produce.
My youngest son wouldn’t touch zucchini until I spiralized it into “noodles” and topped it with his favorite spaghetti sauce. Suddenly, he was eating vegetables without complaint, and I felt like I’d won the parenting lottery. We use spiralized zucchini, carrots, and butternut squash regularly as pasta alternatives or in stir-fries, and the attachment makes it so much faster than hand-spiralizing. (I tried the handheld spiralizer tools before, and they’re fine for occasional use but exhausting if you’re cooking for more than one person.)
The attachment also works great for making curly fries (my husband’s guilty pleasure), for creating decorative vegetable ribbons for salads, and even for making fruit ribbons for dessert presentations. I’ve spiralized apples and pears before, tossed them with a little cinnamon sugar, and baked them into a crisp that looks fancy but takes about five minutes to prep. If you’re trying to get more vegetables into your family’s diet or just want to make meal prep more interesting, this attachment is absolutely worth it.
The Ice Cream Maker Attachment: Summer Game-Changer
If you have kids (or if you’re an adult who loves ice cream, which should be all of us), the ice cream maker attachment is pure joy. I know what you’re thinking: “Can’t I just buy ice cream at the store?” And yes, you can. But homemade ice cream is completely different—richer, creamier, and free of the weird stabilizers and ingredients you can’t pronounce in store-bought brands.
What I love most about this attachment is how easy it makes the process. Traditional ice cream makers require rock salt and ice and lots of babysitting. This attachment uses a freeze bowl that you store in your freezer, then you just pour in your base and let the mixer do the work. In about twenty minutes, you have soft-serve consistency ice cream that you can harden in the freezer for scooping later. We make ice cream at least once a week during the summer, and my kids have so much fun inventing flavors. (Their latest creation: ” Birthday Cake Batter,” which was exactly as over-the-top as it sounds.)
The attachment also makes incredible gelato, sorbet, and even frozen yogurt. I’ve made strawberry basil sorbet that was absolutely refreshing on a hot day, and chocolate gelato that was so rich I could only eat a small scoop. If you entertain frequently or have a family that loves frozen treats, this attachment will absolutely pay for itself in homemade happiness.

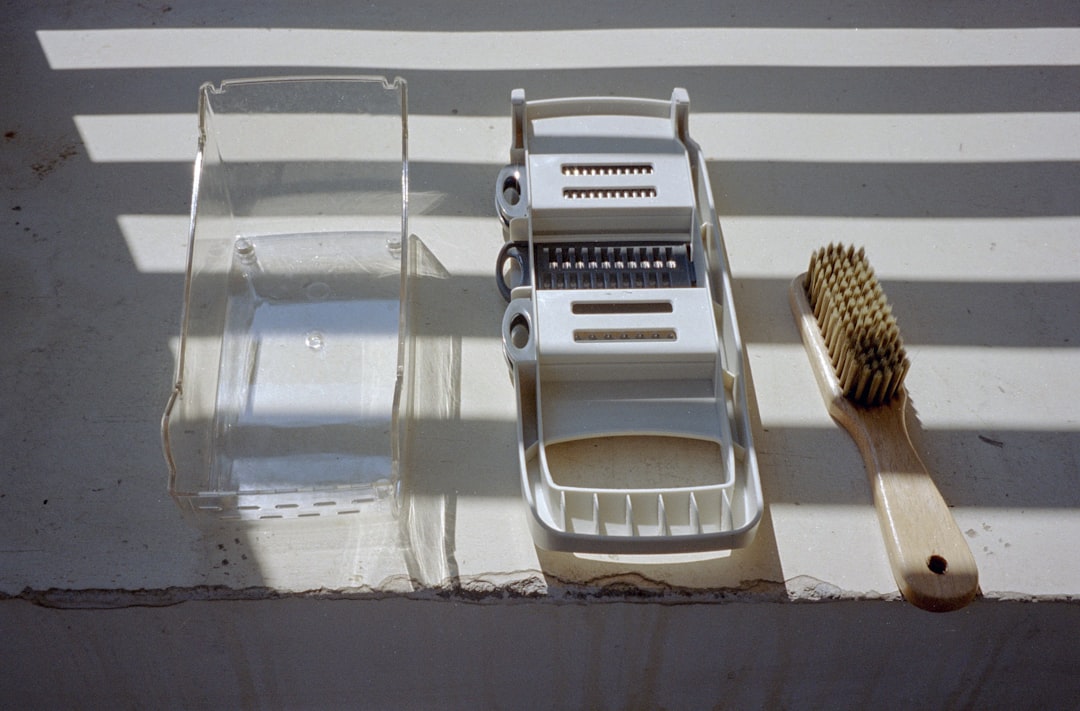
The Slicer/Shredder Attachment: Time-Saver for Big Batch Cooking
The slicer/shredder attachment is one of those tools that seems basic but is shockingly useful once you start using it regularly. It comes with cones for slicing (thin and thick) and shredding (fine and coarse), and it makes quick work of vegetables that would take forever to prep by hand.
I use this attachment most often when I’m meal prepping for the week or cooking for a crowd. Shredding five pounds of potatoes for hash browns or potato pancakes? Done in two minutes. Slicing cucumbers for a big batch of cucumber salad? Takes seconds. Shredding cheese for enchiladas or taco night? So much faster than grating by hand, and you don’t end up with grated knuckles. (I’m speaking from painful experience here.)
What I really appreciate about this attachment is how consistent the results are. When you’re feeding a family or entertaining, uniform slicing and shredding makes your food look more professional and cook more evenly. I’ve brought coleslaw to potlucks and had multiple people ask if I bought it premade because the cabbage was shredded so perfectly. (I didn’t, obviously, but I’ll take the compliment.) If you do any amount of batch cooking or meal prep, this attachment will save you hours over time.
The Attachments That Weren’t Worth the Money (For Me)
I want to be real with you about which attachments I bought and eventually regretted, because nobody wants to waste money on kitchen tools that will just collect dust. Remember that your mileage may vary—what doesn’t work for me might be perfect for your cooking style—but here’s my honest assessment after years of testing.
The grain mill attachment: I bought this during my “I’m going to mill my own flour and become a homesteader” phase, which lasted approximately three weeks. The reality is that milling your own flour is time-consuming, messy, and the results are inconsistent unless you really know what you’re doing. Plus, freshly milled flour has different baking properties than store-bought flour, so you have to adjust all your recipes. Unless you’re seriously into bread baking as a hobby (and I mean seriously), this attachment will probably sit unused. I sold mine at a garage sale five years ago and haven’t missed it once.
The citrus juicer attachment: This one seemed like a good idea in theory, but in practice, it’s more trouble than it’s worth. You have to cut the fruit in half, then hold each half against the spinning juicer while it sprays everywhere. My countertop was always sticky, and I never felt like it extracted as much juice as my handheld citrus press or even just squeezing by hand. Plus, it only works for citrus fruits, so it’s very single-purpose. I ended up buying an electric citrus juicer that sits on my counter and works much better for way less mess.
The pasta press attachment: This is different from the pasta roller. The pasta press extrudes dough through different dies to make shapes like macaroni, rigatoni, and spaghetti. I thought this would be amazing, and I was so excited to make fresh pasta in shapes I couldn’t find in stores. But the reality is that pasta pressing is finicky and frustrating. The dough has to be exactly the right consistency or it gets stuck in the dies, cleaning the dies is a nightmare, and the results are often inconsistent. I used it three times, spent two hours cleaning it each time, and finally admitted defeat. Maybe some people have better luck with it, but for me, it was more stress than it was worth.
Budget-Friendly Options: Third-Party Attachments That Work
I know that brand-name attachments can get expensive, especially if you want to build a collection. The good news is that there are some third-party attachment options that work surprisingly well. I’ve tested several over the years, and while some are definitely “you get what you pay for,” others are genuinely solid alternatives to the brand-name versions.
For basic attachments like pasta rollers and slicer/shredders, I’ve had good luck with well-rated options on Amazon. Just make sure to read the reviews carefully, especially looking for mentions of durability and compatibility with your specific mixer model. I’d also recommend sticking with simpler third-party attachments rather than complex motorized ones—the more moving parts, the more that can go wrong with cheaper manufacturing.
That said, there are a few attachments I’d recommend buying brand-name: the ice cream maker and the food grinder. These attachments need to be well-made to work properly, and in my experience, the brand-name versions last longer and perform more reliably. Think of it this way: a third-party pasta roller might work fine, but a poorly made ice cream maker attachment could leak or fail to freeze your mixture properly, and that’s a bigger problem.
Care and Maintenance: Making Your Attachments Last
Here’s something nobody tells you about stand mixer attachments: they need proper care if you want them to last for years. I’ve learned this the hard way, so let me save you some expensive mistakes.
First, always hand-wash your attachments unless the manufacturer specifically says they’re dishwasher-safe. (Many aren’t, and the heat and moisture can damage them over time.) I use warm water, mild dish soap, and a soft sponge, then dry everything thoroughly before storing. Never let attachments sit in water—this is especially important for any attachment with metal parts that could rust.
For the pasta roller and cutter attachments, use the cleaning brush that comes with them (or a soft pastry brush) to remove dried dough from the gears and cutting edges. Don’t run water through the rollers—the internal mechanism isn’t designed for it. A few times a year, I put a tiny drop of food-safe mineral oil on any exposed gears to keep everything running smoothly.
Store your attachments somewhere dry and protected. I keep mine in the original boxes when possible, or in soft cloth bags to prevent scratches and dings. If you’re stacking attachments, put a cloth or paper towel between them to prevent metal-on-metal contact that could cause damage.
Finally, use your attachments regularly. I know this sounds counterintuitive, but attachments that sit unused for years can develop issues. The moving parts can stiffen, and you might forget how to use them properly. If you have an attachment you haven’t used in six months, make a point to incorporate it into a meal soon. Your kitchen (and your investment) will thank you.
Space-Saving Storage Solutions
One challenge with building an attachment collection is storage. These tools aren’t small, and before you know it, they can take over an entire cabinet. Here’s how I keep my attachment collection organized without sacrificing all my kitchen storage.
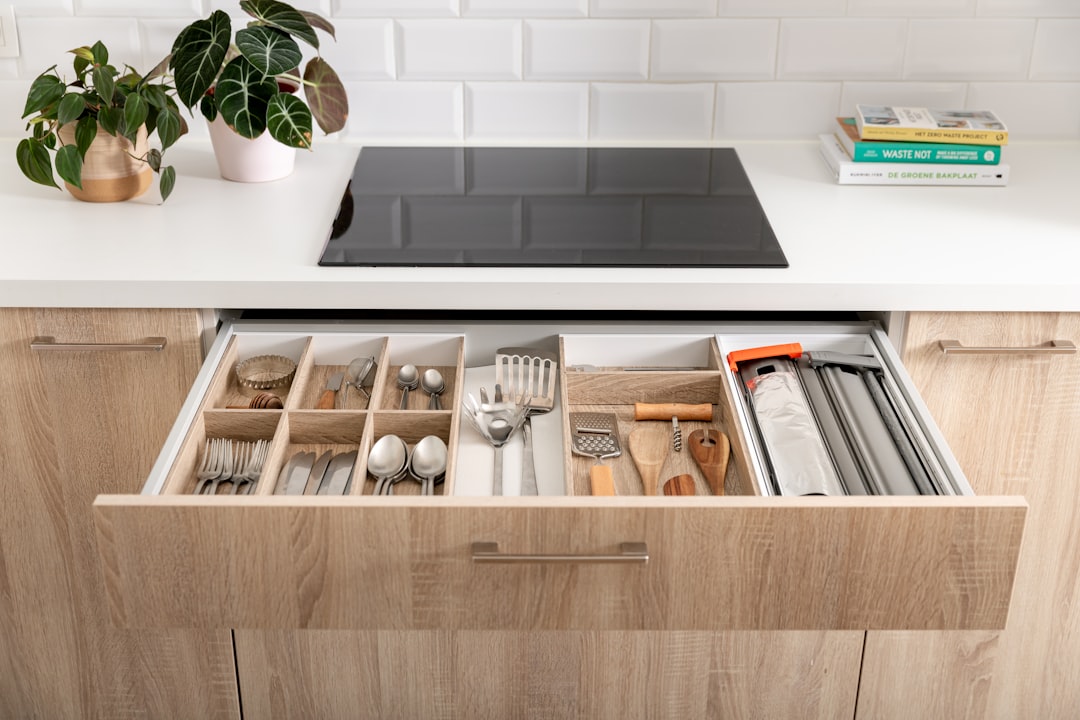
I use a deep drawer specifically for mixer attachments, and I’ve organized it with small baskets and dividers. Pasta attachments go in one basket, slicing and shredding cones in another, and specialty attachments like the ice cream bowl in its own space. This keeps everything visible and accessible, which means I actually use the attachments instead of forgetting I have them.
For the freeze bowl from the ice cream maker, I keep it in the freezer permanently so it’s always ready to use. (Pro tip: keep it in a freezer bag to prevent it from absorbing any freezer smells or flavors.) The pasta roller and cutters live in their original box on a high shelf since they’re lightweight but bulky.
If you’re really tight on space, consider which attachments you truly use regularly and rotate the rest to less accessible storage. I have a “high rotation” zone (easily accessible drawer) for attachments I use weekly, and a “low rotation” zone (upper cabinet) for specialty attachments I pull out a few times a year. This system keeps my kitchen functional without feeling cluttered.
My Final Verdict: Build Your Collection Thoughtfully
After fifteen years of testing stand mixer attachments in my home kitchen, here’s what I’ve learned: it’s better to have a few attachments you use constantly than a dozen that gather dust. Start with the essentials (your basic beaters, dough hook, and whisk), then add attachments based on how you actually cook and eat.
If your family loves pasta, start with the pasta roller. If you’re trying to eat more vegetables, the spiralizer might be your game-changer. If you do lots of batch cooking, the slicer/shredder will save you hours. Build your collection thoughtfully, based on your actual cooking habits, not on what seems impressive or what other people say you “must” have.
The attachments I’ve recommended here are the ones that have proven their worth in my kitchen over years of real-world use. They’ve made cooking easier, more enjoyable, and sometimes even more fun. And isn’t that the point of having a well-equipped kitchen? To make meal preparation feel less like a chore and more like a creative, satisfying part of your day?
Happy mixing, everyone. And remember: the best attachment is the one you’ll actually use.
One thought on “Stand Mixer Attachments That Are Actually Worth Your Money in 2026”