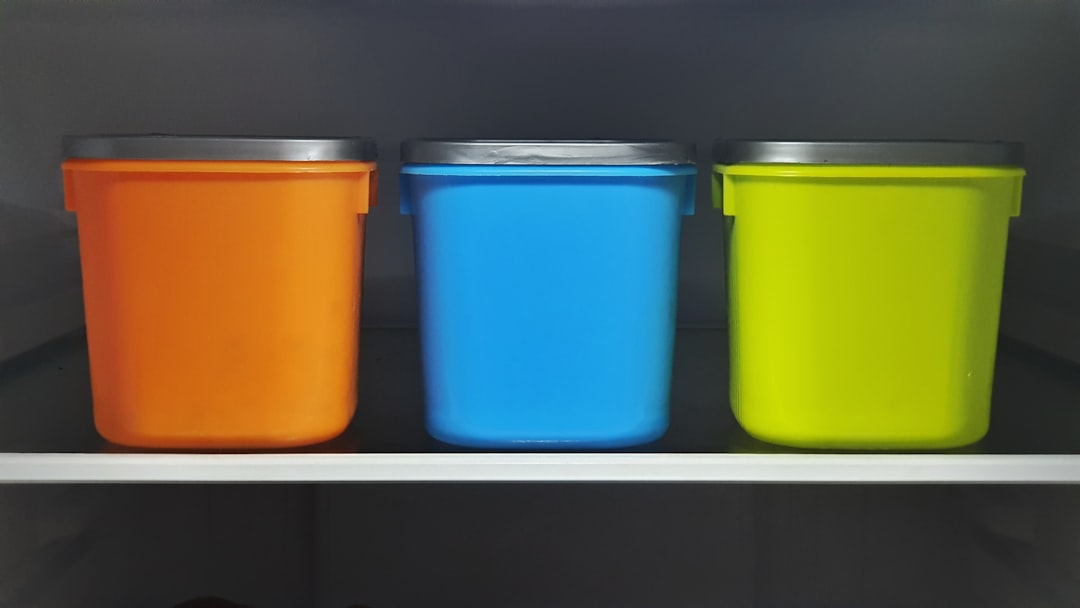
There’s a drawer in my kitchen that I’ve been avoiding for the better part of a decade. You probably have one too. It’s the drawer where plastic containers go to lose their lids, acquire mysterious orange stains from tomato sauce, and slowly warp into shapes that no longer stack. For years, I told myself it was fine. I’d just dig through, find a matching set, and make do.
Last month, on a rainy Saturday when I couldn’t pretend anymore, I pulled that drawer completely out and dumped everything on the kitchen table. Fourteen containers. Six lids. Three of those lids fit nothing I owned. I stood there looking at the pile, and my grandmother’s voice floated through my head: “If it doesn’t have a lid, it’s not a container. It’s a bowl pretending.”
She was right about everything in the kitchen, as usual. But here’s what surprised me: I’d already done the hard work. Two years ago, I invested in a proper set of glass meal prep containers with locking lids, and they’d transformed my fridge and my batch cooking routine. I’d written about the kitchen reset that replaced half my gadgets. I’d reorganized my prep zone from scratch. But somehow, that plastic drawer still existed, quietly undermining everything else I’d built. The glass containers handled the big stuff, but all the little in-between moments — covering a bowl of rising dough, storing half a lemon, freezing individual portions of soup — still defaulted to plastic wrap and sad, lidless containers.
The Gap I Didn’t Know I Had
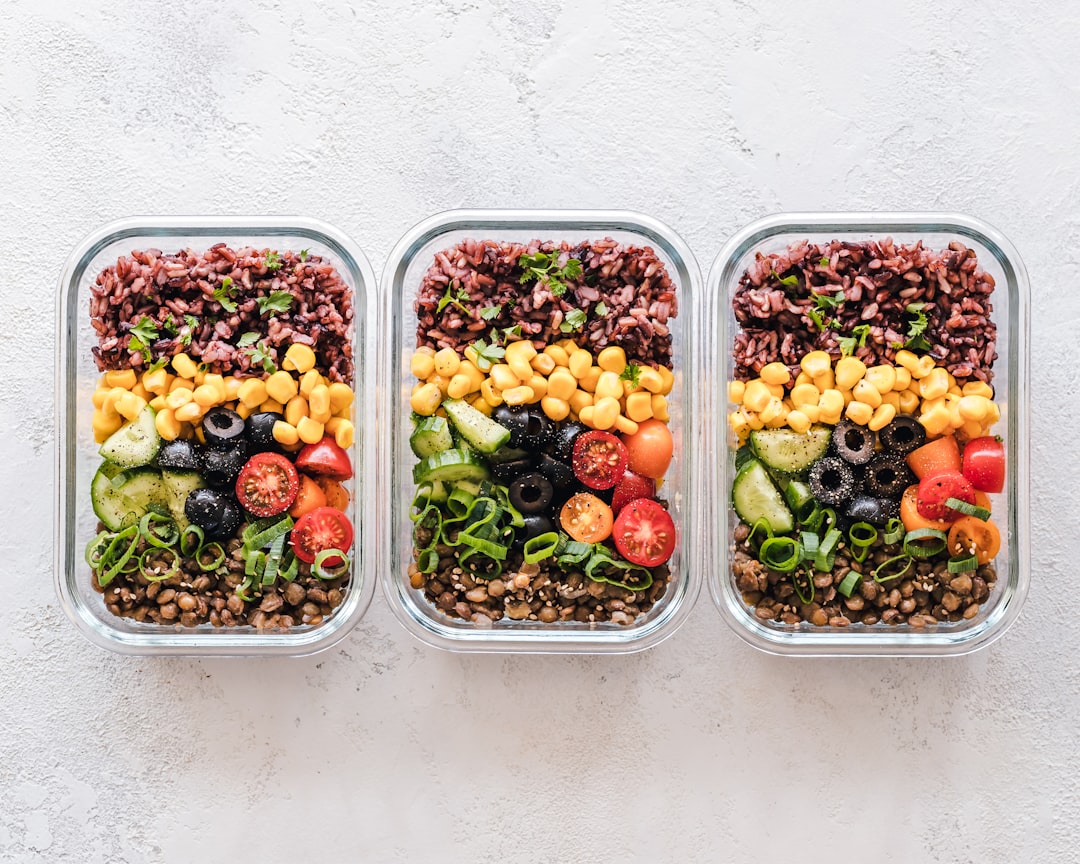
Here’s what I’ve learned after testing kitchen storage for fifteen years: glass containers are excellent for structured meal prep. You know exactly what you’re getting — uniform rectangles that stack beautifully, snap-locking lids that don’t leak, and the satisfaction of opening your fridge to a row of identical, organized portions. But glass has limits. It’s heavy. It breaks if you look at it wrong on a tile floor. And for everything that doesn’t fit neatly into a rectangular container — a half avocado, a bowl of proofing dough, a leftover piece of fish, herbs wilting in the crisper — glass alone doesn’t cut it.
That’s where I kept reaching for plastic. Not because I loved it, but because it was the only thing flexible enough for the messy, improvisational reality of actually cooking dinner every night. Plastic wrap over a bowl. A ziplock bag for the leftover beans. A plastic tub for the soup I’d freeze “later.” The drawer was a symptom of a system that was only half-built.
What I needed — what I didn’t fully understand I needed until that Saturday — was a bridge material. Something that could do what plastic does (flex, stretch, conform, seal) without the warping, staining, and eventual landfill contribution. And as I stood there staring at my drawer of shame, the answer was sitting on the counter right next to me: a silicone baking mat I’d been using for years without ever thinking about the material itself.
Silicone Stretch Lids: The Quiet Revolution
I’ll be honest — when silicone stretch lids first started showing up in kitchen stores, I rolled my eyes. They looked like floppy coasters. How was a piece of rubbery material going to replace the satisfying snap of a proper container lid? My skepticism lasted exactly one afternoon. A friend brought a set to a potluck, stretched one over a bowl of leftover pasta salad, and tossed it in my fridge. Two days later, I pulled it out. The seal was perfect. The pasta was fresh. The lid hadn’t shifted or leaked, and it had taken me approximately two seconds to put on.
I ordered my own set that evening, and they’ve since become the most-used storage item in my kitchen — more than my glass containers, more than my mason jars. Here’s why: they fit everything. A small one stretches over the top of a mason jar. A medium one seals a mixing bowl. A large one covers a casserole dish going into the fridge. I use them to cover rising dough, seal cut melon, keep cheese from drying out, and wrap the top of a pot of soup that’s cooling overnight. They go from fridge to microwave to dishwasher without complaint. They don’t stain. They don’t tear. And after a year of near-daily use, they look exactly the way they did the day I unboxed them.
The Stasher version — which Good Housekeeping just named a 2026 Kitchen Award winner — takes the same concept and turns it into a stretch-top lid specifically designed for their silicone bags and bowls. You can find the full Stasher silicone collection here, and it’s genuinely worth browsing because the system approach means everything nests and seals together.
The Portion Tray Revelation
Once the stretch lids solved my covering problem, I started noticing other gaps. Freezing individual portions of soup, for example, was still a plastic-bag operation in my kitchen. I’d pour leftover chili into a ziplock, squeeze out the air, and stack it in the freezer. It worked, but the bags were single-use, and thawing always involved a bowl of warm water and a lot of anxiety about leakage.
Then I discovered silicone portion trays — specifically, the ones from Souper Cubes that everyone in my comments section had been recommending for months. These are rigid silicone trays with built-in portion compartments, usually half-cup or one-cup sizes. You pour your soup, sauce, or stew directly into the tray, freeze until solid, and then pop out perfectly portioned blocks that stack neatly in a freezer container.
I’ll admit I was skeptical that a silicone tray could improve on my grandmother’s ice-cube-tray method for freezing stock. But the Souper Cubes silicone meal prep trays changed my entire summer preserving routine. This year, when I spent a weekend putting up jars of summer produce, I also froze six trays of basil pesto, four trays of roasted tomato sauce, and two trays of peach puree for winter smoothies. Each one-cup block is labeled, stacked, and ready to become a quick pasta dinner or a smoothie base in December.
The beauty of these trays is that they’re not just for freezing. I use them for portioning overnight oats, setting up a week’s worth of snacks, and even baking individual egg bites in the oven. Silicone handles temperatures from -40 to 440 degrees Fahrenheit, so the same tray goes from freezer to oven to table.
What Else Silicone Does Better

Once I started paying attention, I realized silicone had been quietly excelling all over my kitchen without me giving it credit. My silicone baking mats had replaced every sheet of parchment paper I used to buy — they turn any baking sheet into a nonstick surface that wipes clean with a sponge. My reusable silicone muffin liners had been living in my muffin tin for three years, never sticking, never tearing, never needing to be replaced.
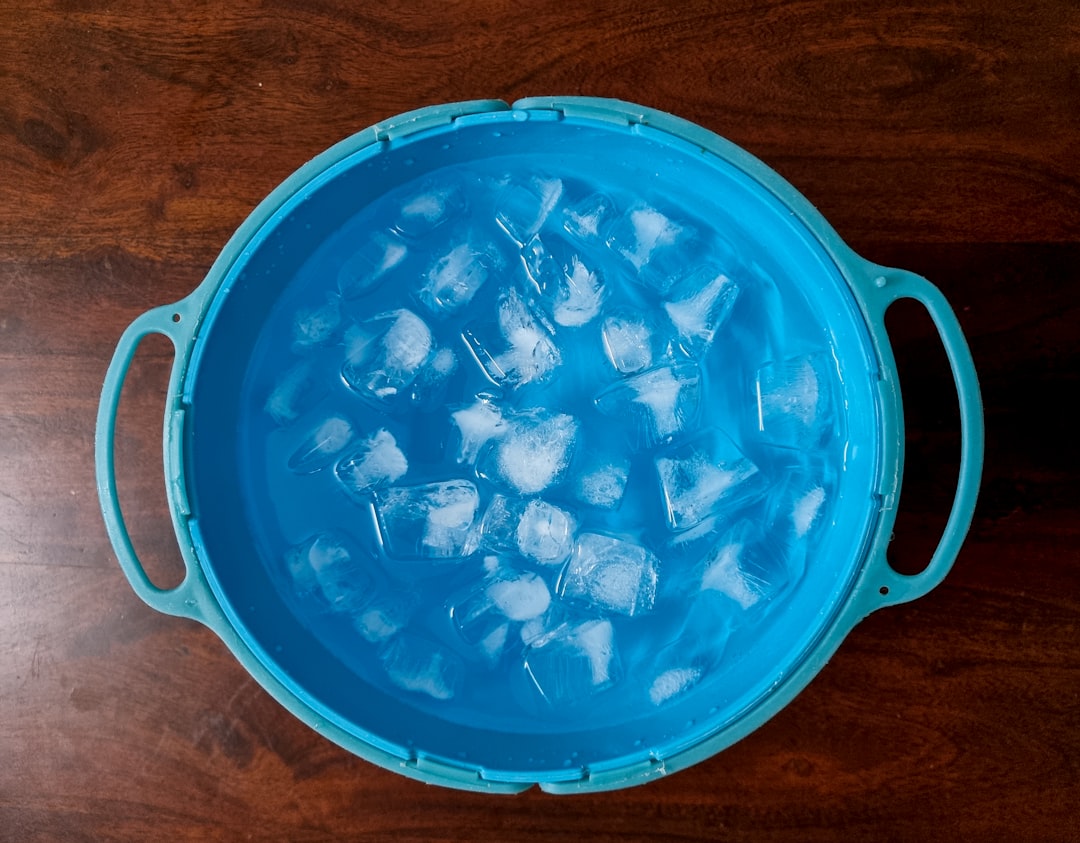
The silicone ice cube trays with snap-on lids in my freezer were another quiet upgrade. I’d originally bought them for ice, but I use them constantly for freezing herb-infused butter, portioning lemon juice, and making small batches of broth concentrate. The lid means no freezer burn, no absorbing neighboring flavors, and no awkward plastic wrap attempt.
And then there are the silicone food bags — the category Stasher basically invented. I was a late adopter here because the price seemed steep compared to ziplocks. But I’ve been using the same four bags for over a year now, and they’ve paid for themselves many times over. They seal tight enough to hold liquid, they go straight into boiling water for sous vide, and they’re the only container I trust for marinating meat because the silicone doesn’t hold onto odors the way plastic does.
Building the Full System
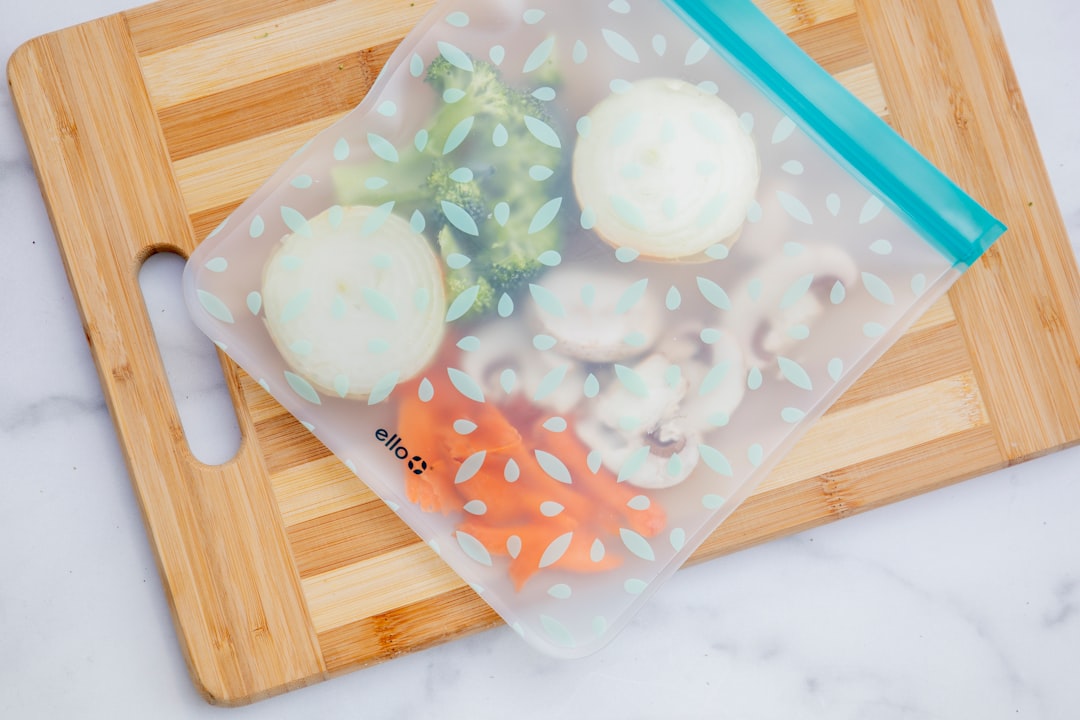
Here’s what my kitchen storage looks like now, after a full year of the slow swap from plastic to silicone-and-glass:
- The fridge: Glass containers with locking lids for full meals and leftovers. Silicone stretch lids over mixing bowls, pots, and cut produce. Stasher bags for cheese, cut vegetables, and marinating proteins.
- The freezer: Souper Cubes portion trays for soups, sauces, and individual servings. Lidded silicone ice cube trays for herb butters, citrus juice, and small-batch stock. Glass containers for larger frozen items, with at least an inch of headspace for expansion.
- The pantry: Mason jars with reusable silicone mason jar lids for dry goods. The silicone lids are a huge upgrade over the metal two-piece caps because they’re a single piece — no ring, no separate lid, no rust — and they seal tightly enough for everyday pantry storage.
- The counter: A bowl covered with a stretch lid for proofing dough. A Stasher bag holding the day’s snacks. A collapsible silicone colander that takes up about a quarter of the space my old metal one did.
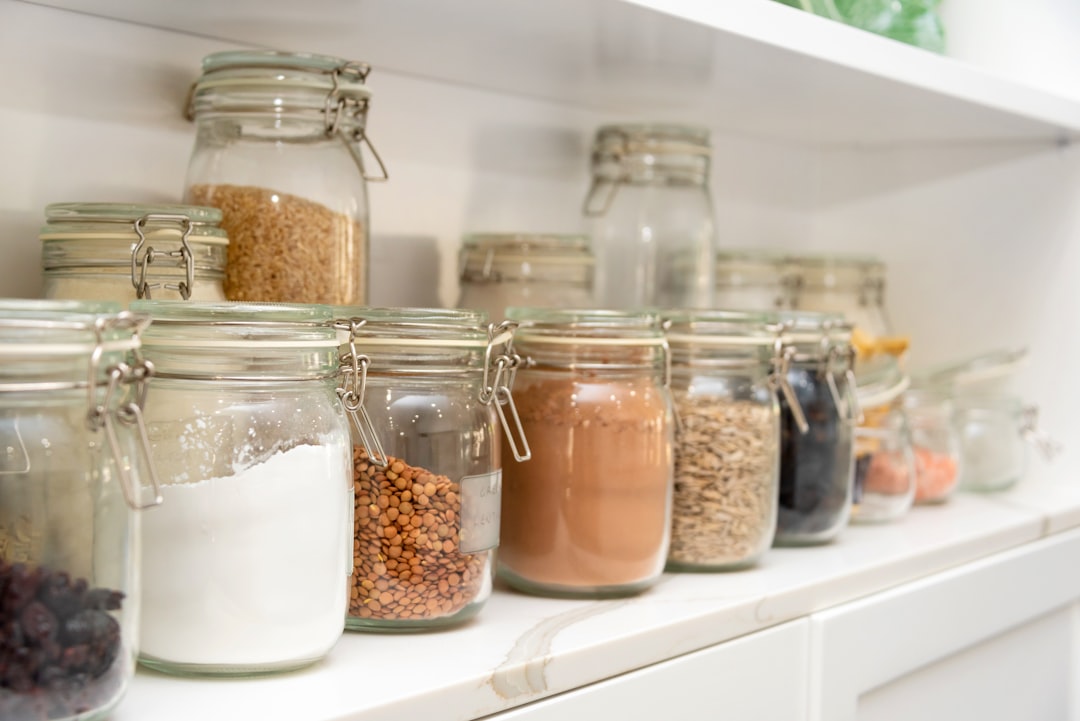
The system works because every piece earns its place. There’s no drawer of plastic orphans anymore. Everything seals, everything stacks, and everything can go from one temperature zone to another without me worrying about whether it’s safe. When I emptied my cabinets last month for a deep reorganization, I realized I owned exactly zero plastic food storage containers for the first time in my adult life.
What I’d Buy First
If you’re starting from scratch or looking to make the swap yourself, here’s the order I’d recommend — based entirely on what gets daily use in my kitchen versus what’s nice to have:
1. Stretch lids first. A set of six in varying sizes will run you under twenty dollars and will immediately replace every piece of plastic wrap in your kitchen. This is the highest-impact swap for the lowest cost, and you’ll notice the difference within a week.
2. Silicone portion trays. If you batch cook, freeze leftovers, or do any kind of meal prep, these are life-changing. The Souper Cubes trays are the gold standard — rigid enough to fill cleanly, flexible enough to release frozen blocks with a gentle push. They’re the tool that finally made my freezer as organized as my fridge.
3. Reusable silicone bags. Start with two — one snack size, one half-gallon. You’ll use them more than you expect. The Stasher bags are the ones I trust for long-term durability, and they’re self-sealing, which means no fiddly closure mechanism to break.
4. Glass containers with locking lids. This is the backbone of any real meal prep system, and it pairs perfectly with the silicone components. The glass container sets with snap-locking lids are what make the fridge look like a Pinterest board instead of a science experiment.
5. Specialty pieces as needed. Silicone baking mats, muffin liners, silicone storage containers with lids — these are the supporting cast. Add them when your old versions wear out, not all at once.
For larger-scale preserving and freezing projects, a vacuum sealer is worth the investment, especially if you buy meat in bulk or grow a serious vegetable garden. I use mine with reusable silicone bags rather than the single-use plastic rolls, and it extends the life of frozen goods by months.
The Part Nobody Tells You
Here’s what I didn’t expect from this swap: the emotional shift. I know that sounds dramatic for a storage container, but hear me out. Every time I reached for plastic wrap, there was a small, background-level guilt. Not because I’m an environmental saint, but because I knew — somewhere in the back of my mind — that this piece of film would be in a landfill for the next four hundred years after roughly twelve minutes of use. It was a tiny, persistent weight I’d stopped noticing until it was gone.
When I reach for a stretch lid now, there’s no guilt. There’s no fumbling to tear off the right length of wrap. There’s no sticky-sided tape situation or torn edges. I just stretch a lid over the bowl, and I’m done. The kitchen feels more honest. More like a place where I’m actually in control of how things work, rather than defaulting to convenience at the expense of everything else.
My grandmother would have loved these. She was a woman who saved every rubber band and reused every bread bag, not because she was trying to save the planet, but because waste offended her sense of order. A material that stretches, seals, goes in the oven, goes in the freezer, washes clean, and lasts for years? She would have called that good sense, not environmentalism. And she would have been right.
The best part is that the swap didn’t require a dramatic weekend overhaul or a massive budget. It happened slowly, one piece at a time, as the old plastic items reached the end of their natural lives and I replaced them with something better. The drawer is gone now — replaced with a shallow tray of stretch lids, a stack of silicone bags, and the quiet satisfaction of a system that finally, finally works.
If you’ve been living with your own drawer of plastic orphans, start with a single set of stretch lids. Give it two weeks. You’ll see what I mean.

3 thoughts on “How a Set of Wobbly Lids Retired the Last Plastic Container in My Kitchen”