The first time I pulled a pizza out of an outdoor oven in my own backyard, I actually laughed out loud. Not a polite chuckle — a full, ridiculous, movie-villain cackle. Because after twenty-something years of cooking professionally and at home, I had somehow convinced myself that great pizza was something you could only get from a restaurant with a million-dollar oven and a guy named Salvatore tossing dough like he was born doing it.
I was wrong. Spectacularly, head-shakingly wrong.
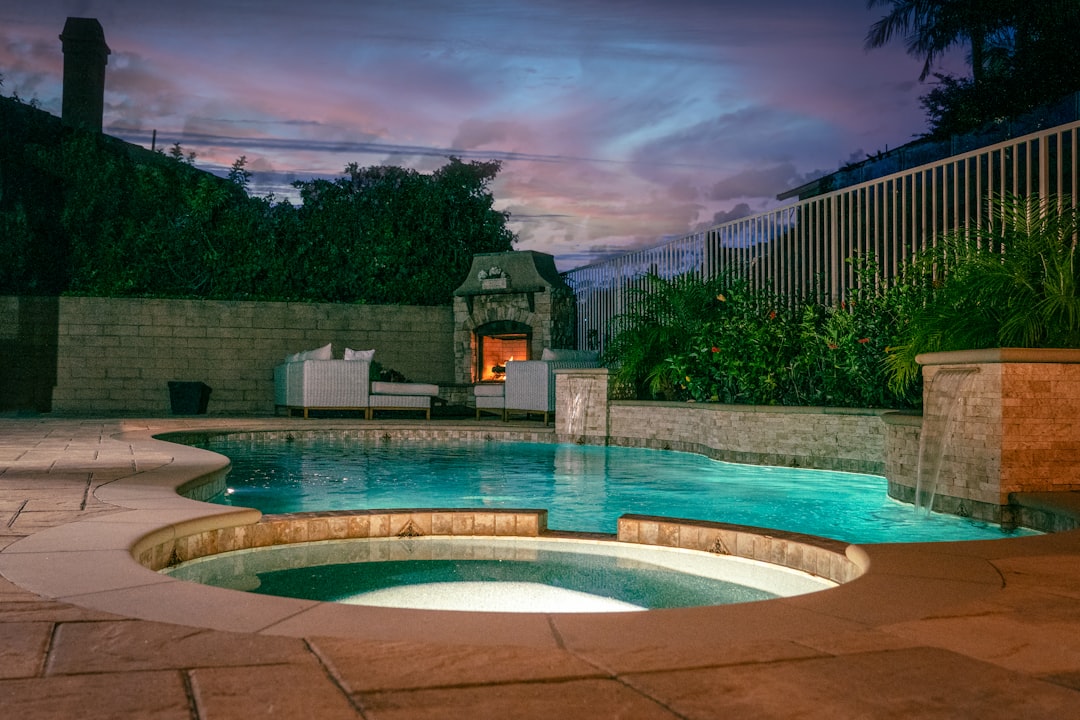
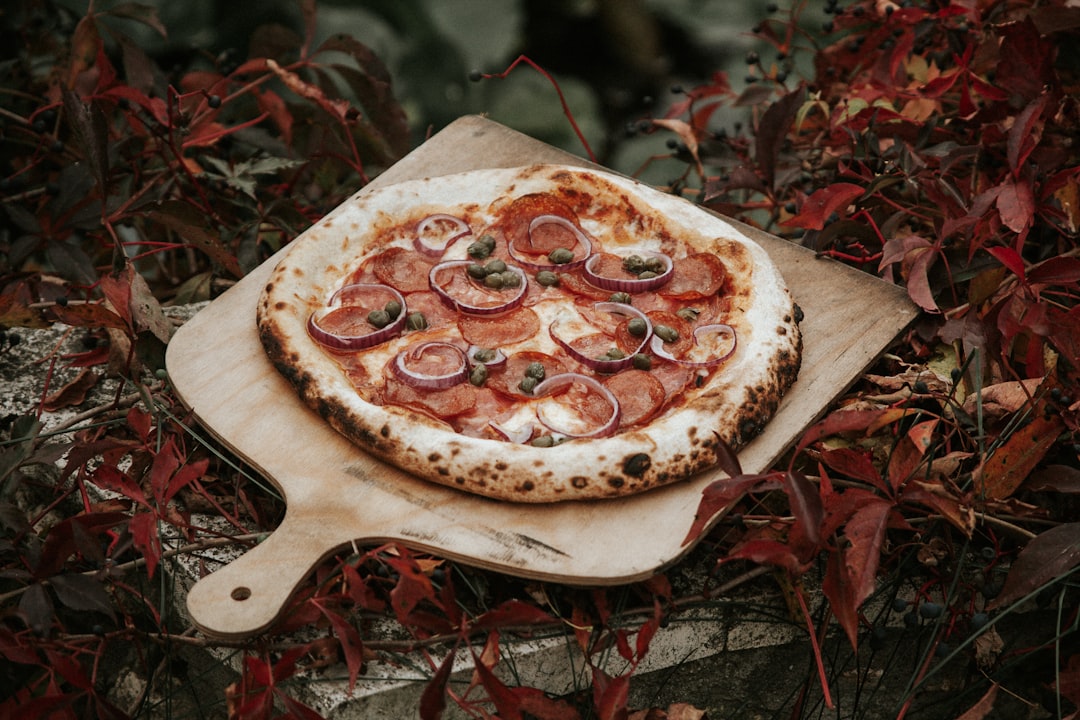
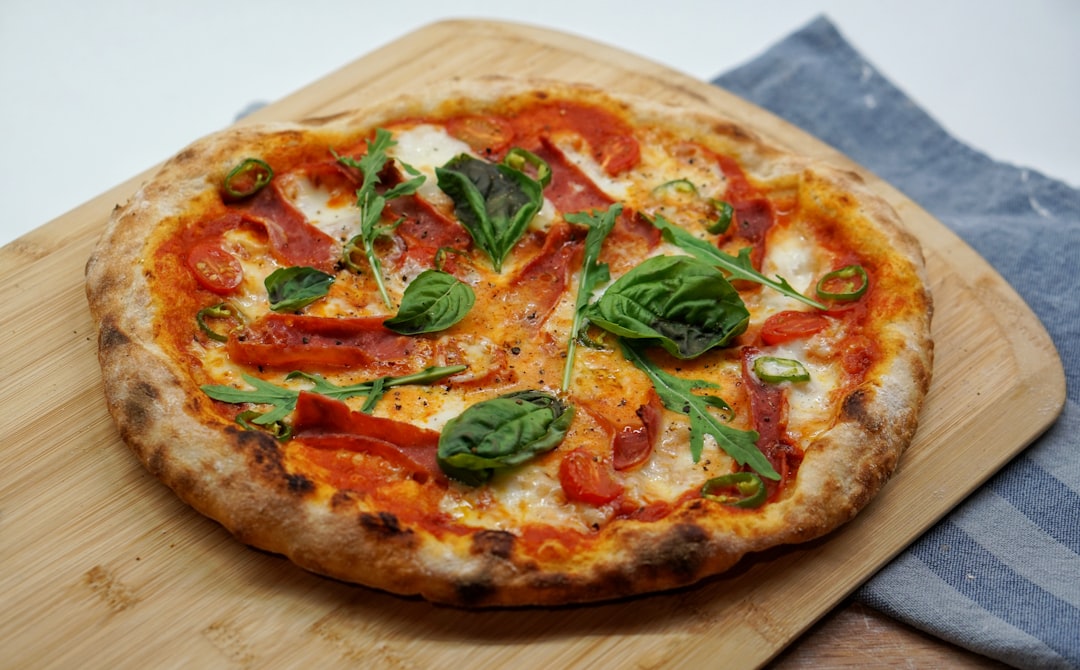
That first pizza — blistered crust, leopard-spotted edges, a crown of fresh basil that wilted beautifully against the hot mozzarella — came out of a relatively compact oven that cost less than the dinner I’d had at a “famous” pizzeria the week before. And over the next three summers, that oven (and eventually, its successors) turned my backyard into the most popular address on the block. I’m hosting neighbors every Friday night now. My sister drives forty-five minutes just for pizza night. Friends text me asking what the “theme” is, as if my patio is some kind of pop-up restaurant.
So let me save you the learning curve. Here’s everything I’ve figured out about building an outdoor pizza setup that actually works — the oven, the tools, the flour, the hosting logistics, and the handful of mistakes I made so you can skip straight to the good part.

Why an Outdoor Pizza Oven Is the Summer Purchase You Won’t Regret
I know what you’re thinking. Another appliance? For the patio? I’ve been down that road — I wrote about the countertop appliances I gave permanent real estate and the ones I evicted, and I don’t take new additions lightly. But a pizza oven is fundamentally different from a grill or a smoker or any other piece of outdoor cooking equipment, and here’s why: it cooks at temperatures your indoor oven literally cannot reach.
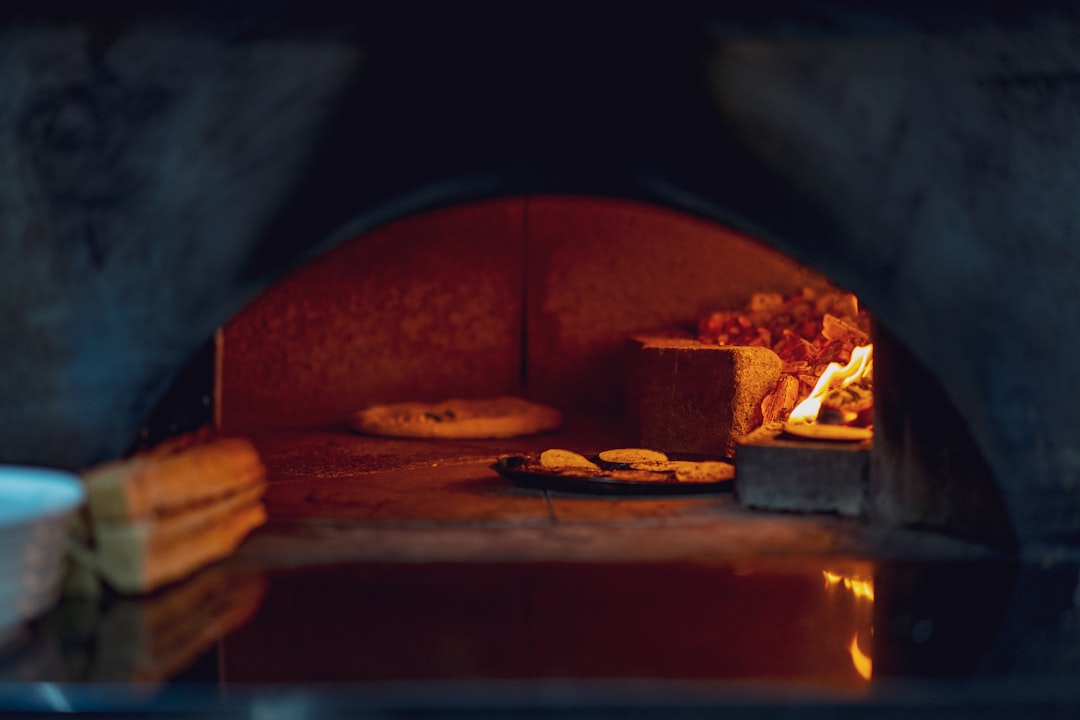
A good outdoor pizza oven hits 800°F to 950°F. Your kitchen oven, on its best day, maxes out around 550°F. That temperature gap is the difference between a pizza that takes fifteen minutes to bake (and comes out more like a flatbread) and one that’s done in sixty seconds with a crust that’s simultaneously crispy, chewy, and beautifully charred. It’s not a subtle difference. It’s the difference between “nice attempt” and “where did you order this from?”
The other thing I didn’t expect is how entertaining it is. A pizza oven becomes the center of any gathering. People gravitate toward it. They want to watch the dough bubble, they want to try turning it, they want to build their own pizzas. It’s a cooking appliance and a party activity in one. I’ve had more successful dinner parties standing next to my pizza oven than I ever had fussing over a four-burner stove.
Choosing Your Oven: The Three Paths
After testing several ovens over the past few summers, I can tell you that the “best” oven depends entirely on your cooking style, your space, and your fuel preference. Here are the three categories worth considering.
The Multi-Fuel Workhorse
My go-to recommendation for most people is a multi-fuel oven — something that can run on wood for that authentic flavor but also accepts propane or gas for weeknight convenience. The Ooni Karu 12 is the one I’ve used the longest, and it’s the oven that taught me what real Neapolitan pizza tastes like. It reaches 950°F, cooks a pizza in sixty seconds, and the flexibility of switching between wood and gas means I can do the full ceremonial wood-fired experience on weekends but still bang out a quick Tuesday dinner on propane without thinking about it.
The thing I love about multi-fuel ovens is that they remove the intimidation factor. If you’re new to pizza-making and the idea of managing a wood fire feels overwhelming, start with gas. Get comfortable with the dough and the timing. Then, when you’re ready, switch to wood and experience the magic of that subtle smoky flavor that only real fire imparts.
The Electric Option for Small Spaces
If you don’t have a backyard (or you do, but your HOA has opinions about open flames), the Ninja Artisan Electric Outdoor Pizza Oven is the dark horse of the category. It plugs in, hits 700°F, and produces a genuinely excellent pizza in about three minutes. It’s also got five cooking functions — pizza, bake, broil, proof, and warm — which means it earns its counter real estate beyond just pizza night. I used one on a balcony for an entire summer and never once missed having a “real” fire.
The Big Statement Oven
For those who want to go all-in (and honestly, if you entertain a lot, this is worth it), larger wood-fired ovens like the PIZZELLO Grande 16 give you the capacity to cook multiple pizzas simultaneously. At sixteen inches, it’s big enough for family-sized pies and comes with accessories included — a stone, a peel, and a cover. This is the one I wheel out when I’m hosting fifteen people and need to keep the pizzas flowing without creating a bottleneck.
The Non-Negotiable Tools (Don’t Skip These)
Here’s where most people get into trouble. They buy the oven, they make the dough, and then they try to launch a pizza using a baking sheet or — heaven help me — a paper plate. I’ve watched this happen at my own parties. It never ends well.
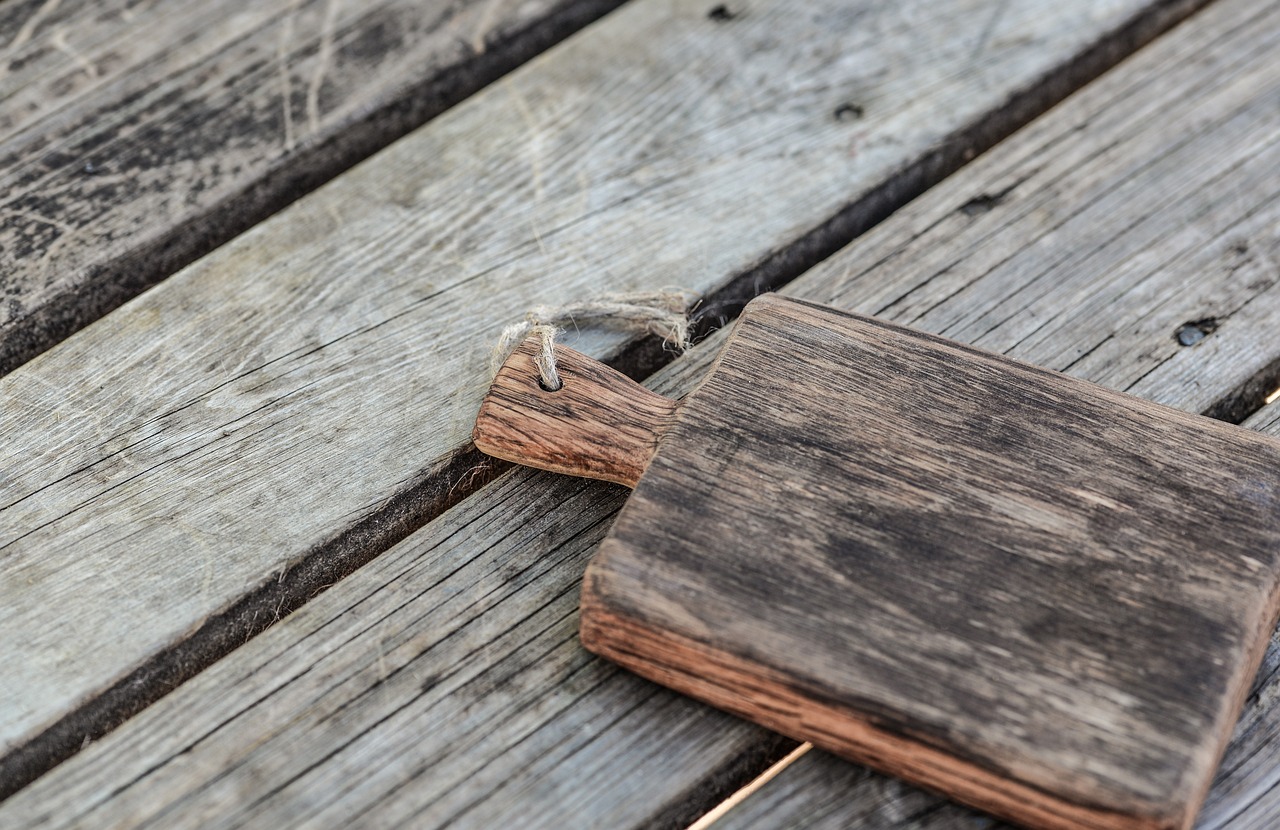
You need exactly three essential tools to go from “I have a pizza oven” to “I can actually make pizza.” A good wooden pizza peel is the first one. The New Star Foodservice wooden peel is restaurant-grade, sixteen inches wide, and has an eight-inch handle that keeps your hands well away from 900°F stone. I’ve had mine for two years, and the wood has developed this beautiful patina from flour and semolina and memories. A wooden peel is for launching the pizza into the oven — the slight grain of the wood, dusted with semolina, lets the dough slide off cleanly.
The second tool is a quality baking stone. Even if your oven comes with one, upgrading matters. The Unicook cordierite stone is the one I recommend because it’s thermal-shock resistant (meaning it won’t crack when you fire it from cold to 900°F) and it’s heavy-duty enough to retain heat between pizzas. A good stone means your first pizza and your eighth pizza of the night come out equally crisp on the bottom.
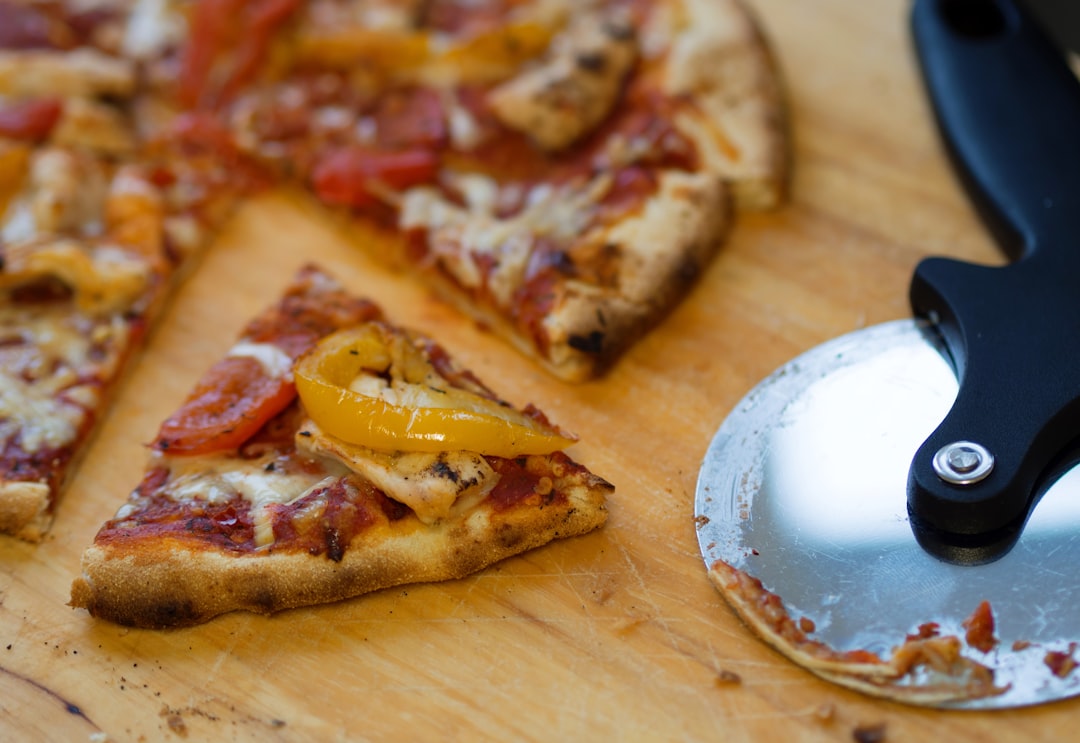
Third: a rocker cutter. Please, please stop using a rolling wheel pizza cutter that drags your toppings across the pie. A rocker-style cutter like the Checkered Chef 14-inch blade lets you press straight down and rock through the crust in one motion. Clean cuts, no topping displacement, and you look like you know exactly what you’re doing even if it’s your first night.
The Flour Decision (Yes, It Matters More Than You Think)
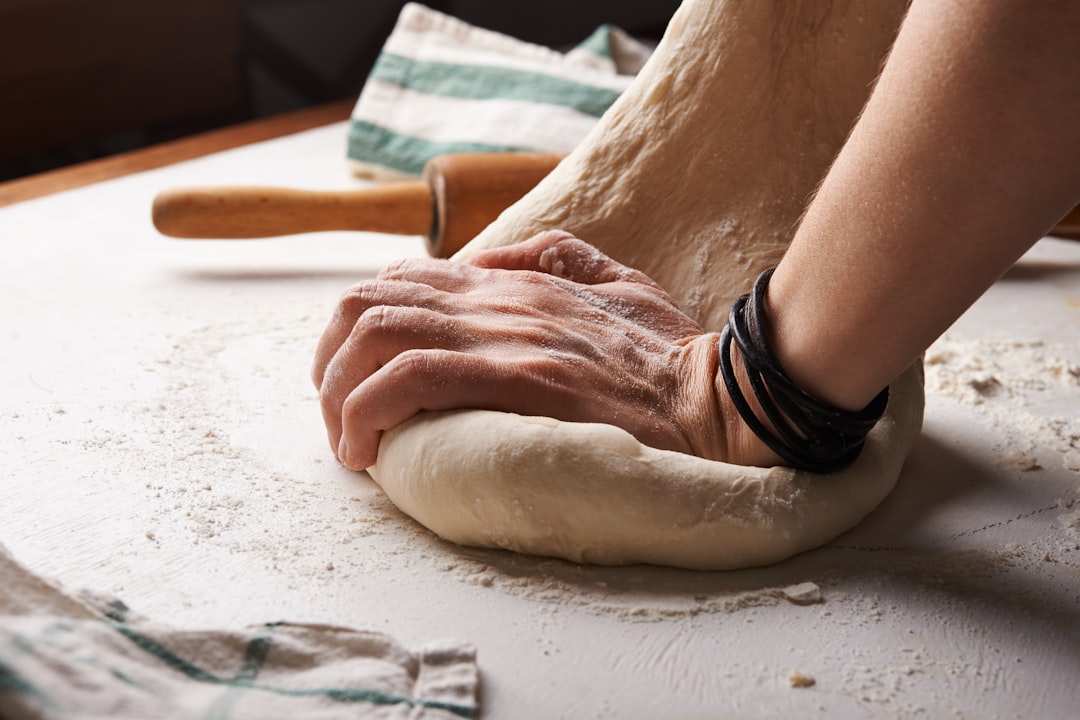
I spent an embarrassing number of months blaming my dough technique before I figured out I was just using the wrong flour. All-purpose flour makes decent bread and terrible pizza. If you want that restaurant-quality chew with the airy, puffy crust that holds its structure under toppings, you need Tipo 00 flour — an Italian-milled flour that’s ground finer and has a specific protein content designed for high-heat, short-duration baking.
My pantry always has two options on hand. King Arthur 00 Pizza Flour is my everyday choice — it’s American-grown, consistently excellent, and produces a dough that’s forgiving enough for beginners. For special occasions or when I’m going for that authentic Neapolitan bite, I use Antimo Caputo Pizzeria 00 Flour, which is the gold standard imported from Italy and the same flour many professional pizzerias use.
The difference between 00 flour and all-purpose is immediately visible in the finished pizza. The crust puffs up more, it develops those beautiful leopard spots, and it has a structure that holds together when you fold the slice — which, if you’ve ever had a slice go limp and dump toppings in your lap, you know is non-negotiable.
Temperature: The One Variable You Can’t Ignore
Here’s something nobody told me when I started, and it would have saved me from at least a dozen undercooked-center, burnt-on-the-edges pizzas: you need to know the exact temperature of your stone before you launch the pizza. Guessing is a recipe for frustration.
An infrared thermometer is the tool that bridges the gap between amateur and consistent results. You point it at the stone, pull the trigger, and get an instant read. For Neapolitan-style pizza, you want the stone between 750°F and 850°F. Lower than that and you get a pale, doughy center. Higher, and the bottom burns before the toppings are even warm. I check the temperature before every single pizza now — it takes two seconds and eliminates the most common variable in pizza failure.
Building Your Pizza Station (So You’re Not Running Back and Forth)
The first pizza night I hosted was a disaster of logistics. I had the oven outside, the dough inside, the toppings in the kitchen, and the pizza peels balanced on a chair. By the end of the night, I had walked approximately three miles between the kitchen counter and the oven. Now, I have a dedicated station, and it changed everything.
A rolling outdoor cart is the backbone of a good pizza station. The Keter outdoor rolling table cart is what I use — it has a food-prep surface, storage underneath for tools and ingredients, and wheels so I can position it right next to the oven. Everything I need is within arm’s reach. Dough on one side, toppings in the middle, peels and tools hanging on the edge.
If you’re planning to host regularly (and trust me, once word gets out, you will be), consider a pizza oven accessories kit that includes the essentials — a peel, an oven brush for cleaning between pizzas, a bubble popper for those stubborn dough bubbles, and a dough scraper. Having dedicated tools for the outdoor setup means you’re not running inside every five minutes to grab something.
Hosting Pizza Night: What I Learned From Feeding the Neighborhood
Once your setup is dialed in, the actual hosting becomes the fun part. I’ve now done enough pizza nights to have a system, and it comes down to three principles.
Prep more than you think you need. I always portion out enough dough balls for one-and-a-half times the number of guests. Someone always wants a second pizza, and someone always brings a friend. Having pre-portioned dough balls that have been resting at room temperature for two hours means you can keep up with demand without making people wait.
Set up a toppings bar. This is where the party happens. I line up small bowls of toppings — fresh mozzarella, torn basil, prosciutto, roasted peppers, caramelized onions, whatever’s in season — and let people build their own. It’s interactive, it’s fun, and honestly, some of the best pizzas I’ve ever eaten came from guests who “don’t know how to make pizza” but instinctively understood that fig jam and gorgonzola belong together.
Pair it with the right outdoor serving setup. I wrote about how switching to real outdoor dinnerware changed my summer parties, and pizza night is no exception. Having proper plates, napkins, and a beverage station (I shared my complete summer beverage station setup recently) means the whole experience feels intentional rather than thrown together.
The Mistakes I Made (So You Don’t Have To)
Let me save you some heartache with the three things that caused me the most trouble in the early days.
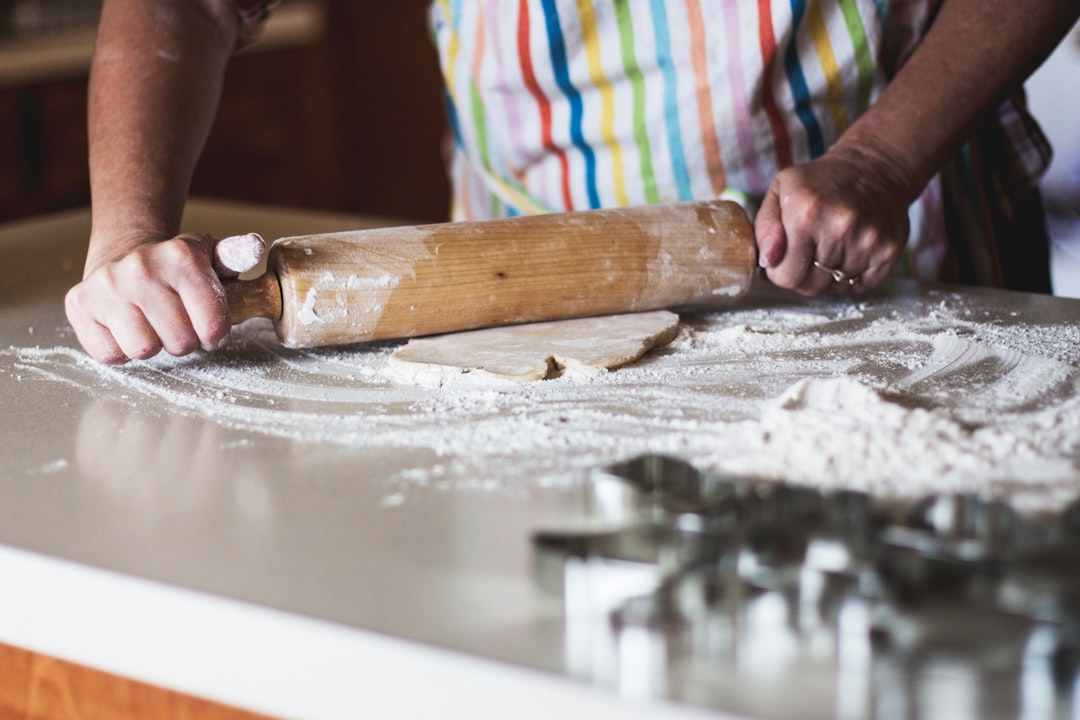
Don’t skip the dough rest. Cold dough straight from the fridge will not stretch properly. It’ll tear, it’ll spring back, and you’ll end up with something that looks like a map of Florida. Let your dough balls sit at room temperature for at least two hours before shaping. This is non-negotiable.
Semolina, not flour, on the peel. Regular flour on your pizza peel creates a paste when it hits the hot stone, which means your pizza sticks and you have to scrape it off with a spatula while your guests pretend not to watch. Semolina creates tiny ball bearings that let the pizza slide off effortlessly. This one tip changed my life.
Less is more with toppings. The single most common mistake at pizza night is piling on too many toppings. A Neapolitan pizza cooks in sixty seconds. That’s not enough time for a mountain of raw vegetables to cook. Three toppings maximum — and when I say three, I mean a whisper of sauce, a scattering of cheese, and one or two finishing elements. The crust is the star. Everything else is a supporting cast member.
Is It Worth It? My Honest Assessment
If you cook at home regularly, if you entertain even occasionally, and if you enjoy the process of making food as much as the eating — an outdoor pizza oven is one of the most rewarding kitchen purchases you can make. It’s not just about the pizza (though the pizza is extraordinary). It’s about the way it transforms cooking from a solitary task into a shared experience. It’s about the fact that on a Friday evening in June, with a glass of wine in one hand and a pizza peel in the other, you’ll feel like you’re on vacation in your own backyard.
I’ve talked about essential grilling tools for summer cookouts before, and I stand by everything in that guide. But the pizza oven is the one thing that lives in a category of its own. It’s the tool that makes people remember dinner at your house. And honestly, after three summers of feeding everyone I know, I can tell you that’s worth every penny.
Start with the oven that fits your space and fuel preference. Get a wooden peel, a good stone, and a rocker cutter. Buy the right flour. Get an infrared thermometer so you’re not guessing. And then invite everyone you know. Because the secret to a great pizza night isn’t in the equipment — it’s in the people gathered around the oven, watching the dough bubble, arguing about whether pineapple belongs on pizza, and reaching for another slice before the first one’s even finished.
My answer, for the record, is that pineapple absolutely belongs. But that’s a conversation for another article.

One thought on “Why I Gave a Pizza Oven Permanent Patio Real Estate (And Every Tool That Came With It)”