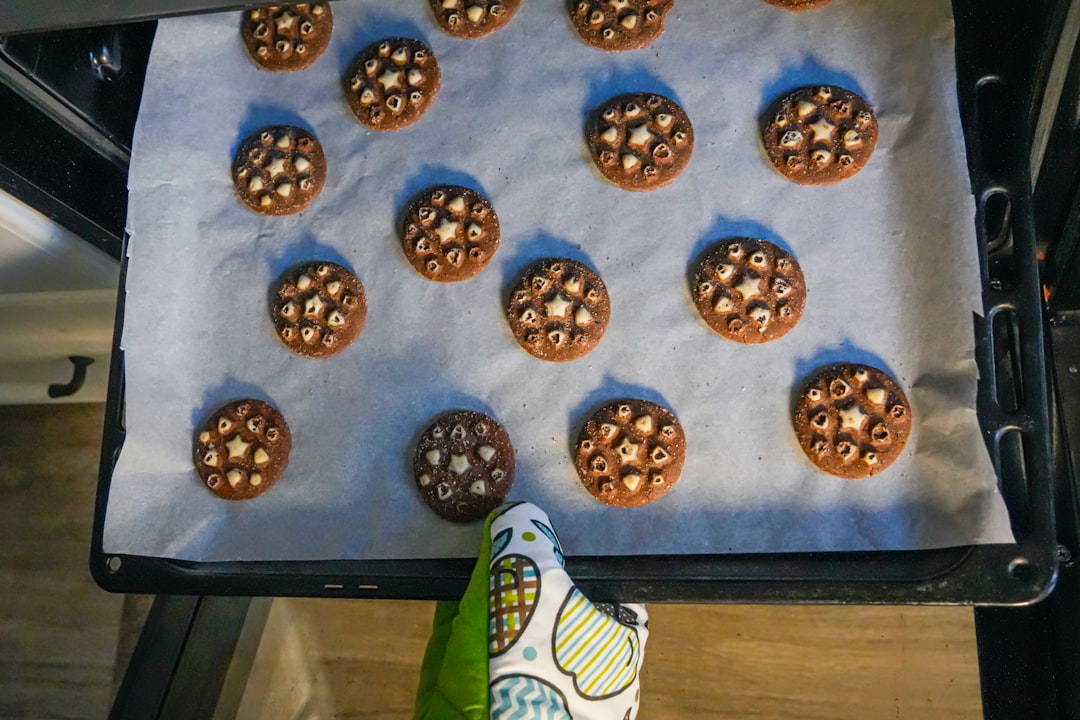
It started with a burnt bottom. Not the dramatic, smoke-alarm-blaring kind — the sneaky kind, where the top of your cookie looks like a golden dream and the underside tells a different story entirely. I pulled that tray out of the oven, flipped one over, and there it was: a mosaic of dark patches that no amount of scraping would ever fully erase.
I was twenty-three, standing in my first real apartment kitchen with exactly two baking sheets to my name, both of them warping in the heat like they were trying to escape the oven themselves. That was the afternoon I began what I now call my Sheet Pan Audit — a project that, twelve years and dozens of pans later, I can finally say is complete. Along the way I’ve tested skillets by the dozen and become mildly obsessive about what actually deserves counter space.
Because here’s what nobody tells you when you’re setting up your first kitchen: the baking sheet is the single hardest-working tool in the entire house. It roasts your vegetables, bakes your cookies, catches the drippings from your pie, freezes your granola, and serves as a makeshift tray when you’re carrying twelve things to the patio. And yet most of us treat it like an afterthought, grabbing whatever flimsy thing is on sale and wondering why our food never quite turns out the way it does at someone else’s house.
The Aluminum Truth: Why Commercial Pans Outcook Everything Else
Let me get this out of the way early. If you take one thing from this entire piece, let it be this: natural aluminum half-sheet pans are the foundation of every serious kitchen I’ve ever set foot in. Not nonstick. Not insulated. Not the ones with the fancy copper finish that looks beautiful on Instagram and warps at 400 degrees.
I’m talking about the plain, silver, uncoated workhorses that every bakery and restaurant kitchen in the country uses. The kind that look almost industrial sitting on your shelf. The kind my grandmother would have called “common” and then secretly preferred.
My team ran a side-by-side test last spring — we lined up six different styles of baking sheets, loaded them with identical cookie dough, and baked them at the same temperature for the same amount of time. The results weren’t close. The Nordic Ware Naturals Half Sheet pans — the ones made in the USA from solid commercial-grade aluminum — produced cookies with even golden color on top and bottom, no hot spots, and zero warping. Every other pan in the test had at least one flaw: dark bottoms, pale centers, edges that curled up from the rim.
The secret is the material. Aluminum conducts heat faster and more evenly than steel, ceramic, or any coated surface. It heats up quickly, cools down quickly, and distributes that heat across the entire surface of the pan — which means no burnt spot where the dough sat directly over the heating element. And when I say “commercial grade,” I’m not being dramatic. These are literally the same pans used in restaurant kitchens. They just happen to cost about what you’d spend on a single fancy coffee.
If you want to start somewhere — and you should — the Nordic Ware three-piece set gives you a half sheet, a quarter sheet, and a jelly roll pan. That combination covers roughly 90% of everything I bake in a given week, from sheet-pan dinners to a small batch of cookies to roasting a handful of cherry tomatoes.
The Stainless Steel Option: When You Want One Pan for Everything
Now, I know what some of you are thinking. “Elena, I don’t want aluminum touching my food.” I hear you. Whether it’s a sensitivity concern or you simply prefer the look of stainless steel, there’s a legitimate case for going non-aluminum — and the options have gotten significantly better in the last few years.
The TeamFar stainless steel baking sheet is the one I keep in my own kitchen for acidic foods. Tomato-based dishes, anything with citrus or vinegar, and especially long, slow roasts where the acid might react with an uncoated aluminum surface — those all go on the stainless pan. It’s heavier than the aluminum version, which means it takes a little longer to heat up, but it also holds heat beautifully once it gets going. I’ve roasted entire pans of chicken thighs and vegetables on this sheet and the fond that builds up on the bottom is a pan sauce goldmine.
What I appreciate about the stainless option is the durability. This pan will outlive me. You can scrub it with steel wool, run it through the dishwasher, use metal spatulas on it, and it simply does not care. There’s no coating to scratch, no seasoning to maintain, no special handling required. For anyone building a non-toxic kitchen — something I wrote about during my great plastic exodus last month — stainless steel is the most indestructible choice you can make.
The Ceramic Contenders: Pretty Enough to Serve From
Here’s where things get interesting. For years, I dismissed ceramic-coated baking sheets as decorative objects — pretty enough for a tablescape, but not serious bakeware. Then a friend brought over a batch of shortbread baked on a ceramic pan, and I had to reconsider everything.
The HONGBAKE ceramic baking sheet set has earned a permanent spot in my rotation, not because it outperforms aluminum, but because it does something aluminum can’t: it looks good enough to bring to the table. When I’m serving a sheet-pan supper for guests — which, in August, feels like the only kind of cooking I want to do — I don’t want to transfer everything to a separate serving platter. The ceramic surface, with its soft color and smooth finish, goes straight from oven to table without apology.
From a performance standpoint, ceramic distributes heat well but differently than metal. It runs slightly cooler, which means you may need to bump your oven up 25 degrees or add a couple of minutes to the timer. The advantage is that the gentle, even heat is incredibly forgiving for delicate bakes — meringues, shortbread, anything that needs to dry out slowly rather than brown quickly. The OXO Good Grips ceramic-coated sheet pan is another strong option here, with a slightly heavier gauge and a coating that has held up through six months of weekly use in my test kitchen.
The Two Accessories That Changed My Entire Baking Life
You can have the best baking sheet in the world and still ruin your cookies if you’re not managing what goes between the pan and the food. This is the part of the conversation where most people’s eyes glaze over, but stick with me, because this is where the real magic happens.
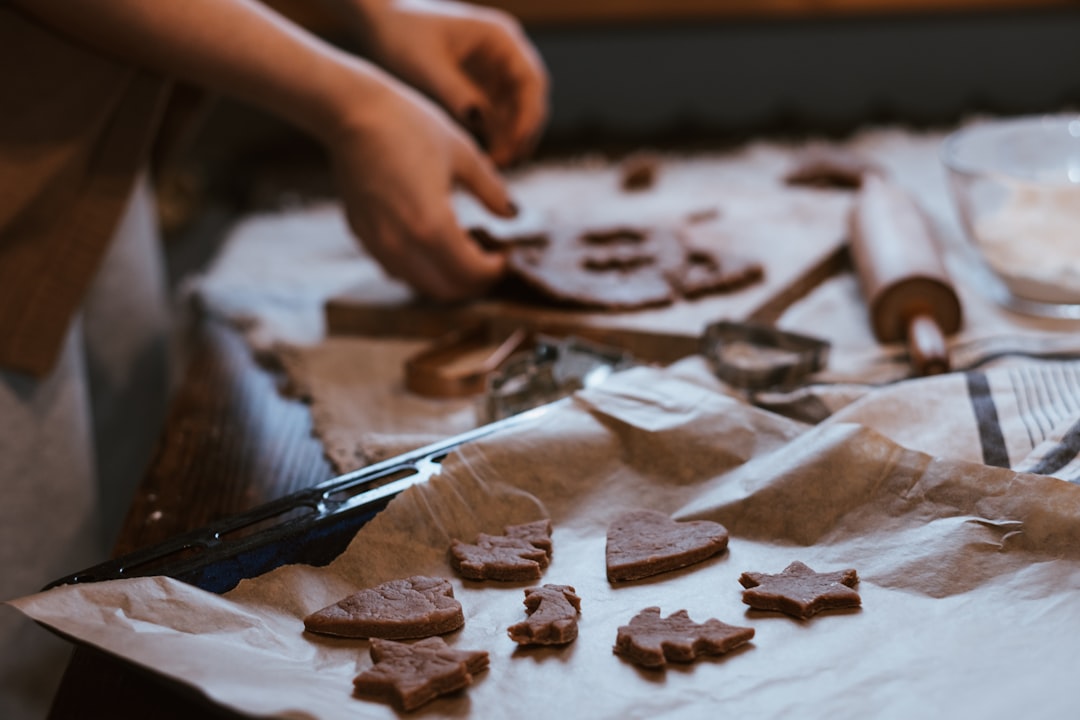
I spent years buying rolls of parchment paper and hacking them into roughly-the-right-size pieces with kitchen shears. It was wasteful, imprecise, and honestly a little stressful. Then someone on my team introduced me to pre-cut parchment baking sheets, and I’m not exaggerating when I say it changed my daily routine. These come sized perfectly for a half-sheet pan — no trimming, no curling, no fighting with the roll. You lay one down, bake, and toss it when you’re done. The pan underneath stays pristine, which means your aluminum sheets last years longer.
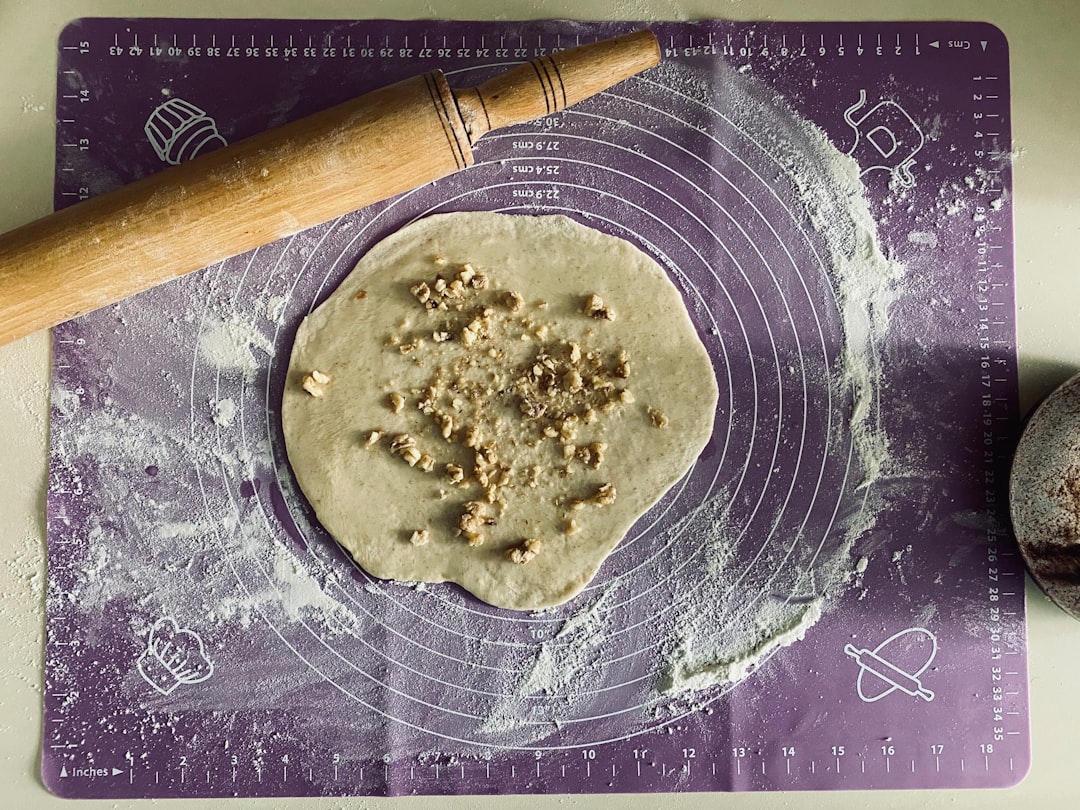
For the zero-waste bakers out there — and I see you, because I’m one of you most days — a reusable silicone baking mat is the other non-negotiable. These mats lay flat on your sheet pan and provide a naturally nonstick surface that can go from oven to freezer and back again. I use mine primarily for roasting vegetables at high heat, where parchment paper would dry out and scorch. The silicone handles 450 degrees without flinching, wipes clean with a sponge, and has survived three years of near-daily use in my kitchen.
The Cooling Rack Question: Why You Need One That Fits
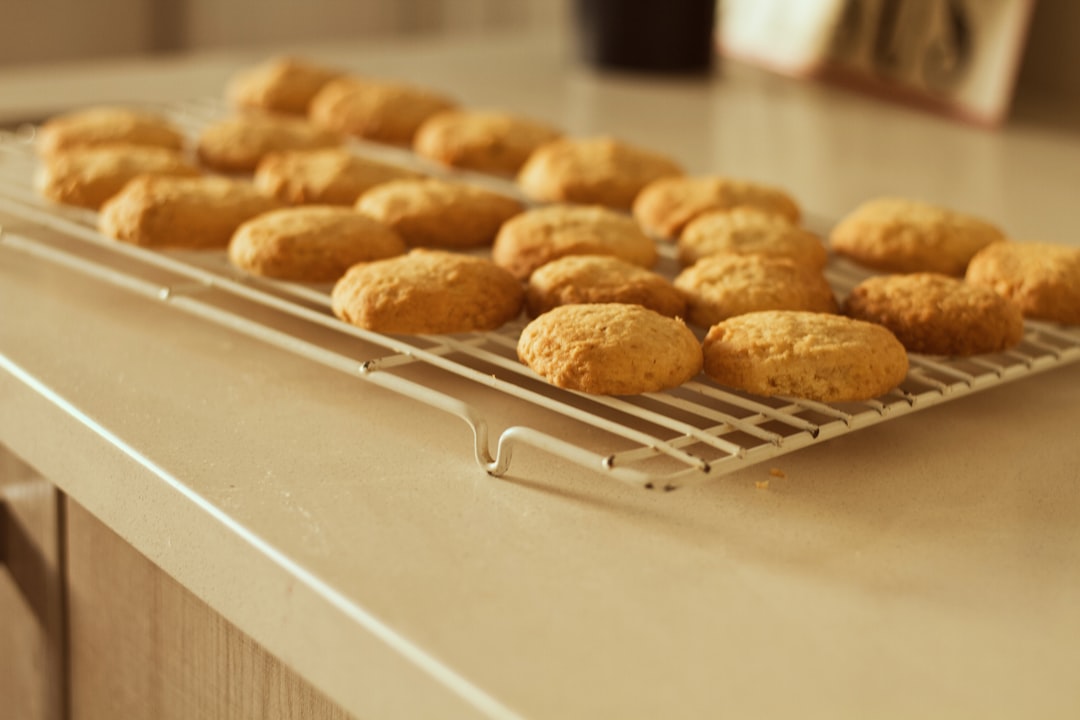
Here’s a mistake I made for an embarrassingly long time. I would pull a pan of cookies or roasted vegetables out of the oven and just… leave them on the pan. Sometimes for ten minutes, sometimes for thirty, sometimes until someone wandered into the kitchen and asked if those were done. And every single time, the residual heat from the pan kept cooking the food from the bottom up, turning a perfectly timed batch into something overdone.
A cooling rack solves this instantly — but only if it fits your pan properly. A rack that’s too small slides around. A rack that’s too large doesn’t sit flat. The Ultra Cuisine cooling rack set is sized precisely for a standard half-sheet pan, which means you can actually use the pan and rack together as a unit: roast, drain, and cool all on the same setup. For bacon, for fried foods, for anything that needs air circulation underneath to stay crisp — this combination is indispensable.
I also keep a Nordic Ware baking and cooling grid on hand because it’s oven-safe, meaning I can use it as a roasting rack inside the pan. This is the setup I use for whole chickens, turkey breasts, and any large cut of meat where you want fat to drip away while air circulates underneath. One pan, one rack, a better result.
When a Sheet Pan Isn’t the Right Tool (And What to Use Instead)
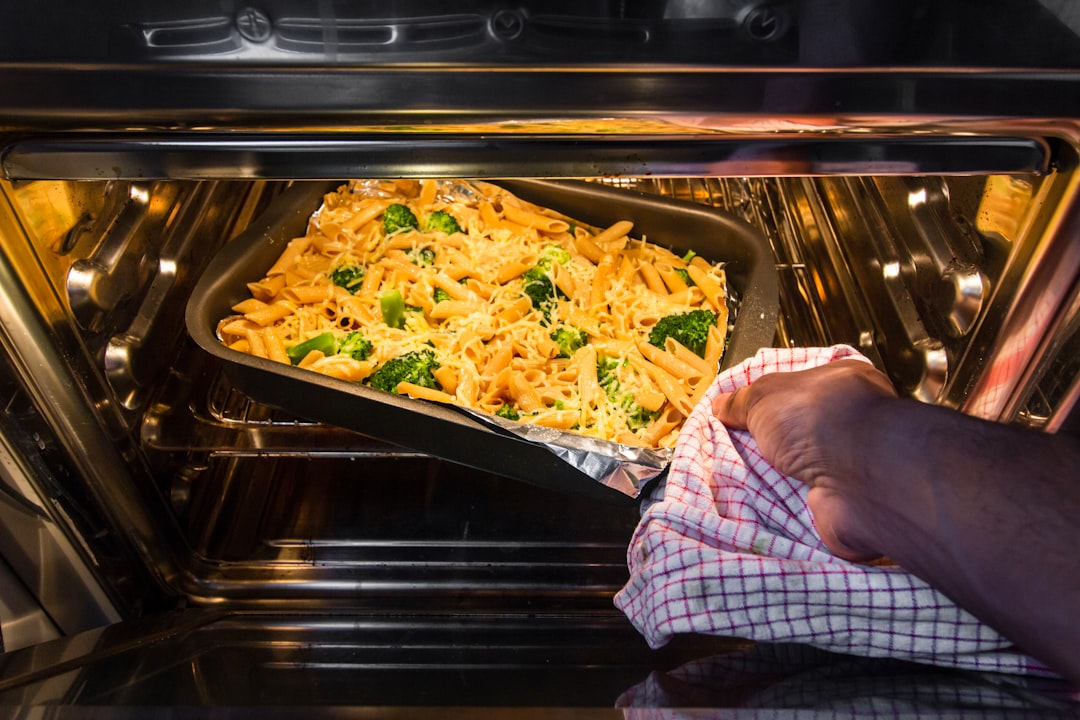
As much as I love my sheet pans, there are jobs they’re simply wrong for. Deep casseroles, lasagnas, baked pastas, anything with a lot of liquid — these need sides, and a half-inch rim isn’t going to cut it. For those dishes, I reach for a proper baking dish, and after years of testing, I’ve landed on two that I reach for again and again.
The Pyrex Deep 9×13 glass baking dish with lid is the one I use for make-ahead situations. Glass conducts heat differently than metal — it heats more slowly but holds heat longer, which is exactly what you want for a casserole that needs to stay warm on the counter for twenty minutes while you finish a salad and call people to the table. The deep sides give you real capacity, and the lid means you can go straight from oven to table to fridge without dirtying another container.
What I’ve learned from years of coordinating baking dishes and sheet pans is that they’re not competing tools — they’re a system. The sheet pan handles anything flat, dry, or high-heat. The baking dish handles anything deep, wet, or slow-cooked. If you’re ever standing in front of your oven wondering which one to grab, ask yourself one question: “Will this spread out, or will it pool?” Spreading food wants a sheet pan. Pooling food wants a dish. It really is that simple.
The August Test: Putting It All Together
Every year, around this time, I do what I call an August Bake-Off. It’s not formal — there are no scorecards or timers. I simply spend a weekend cooking my way through every baking scenario I can think of and pay attention to which pans I keep reaching for and which ones sit untouched.
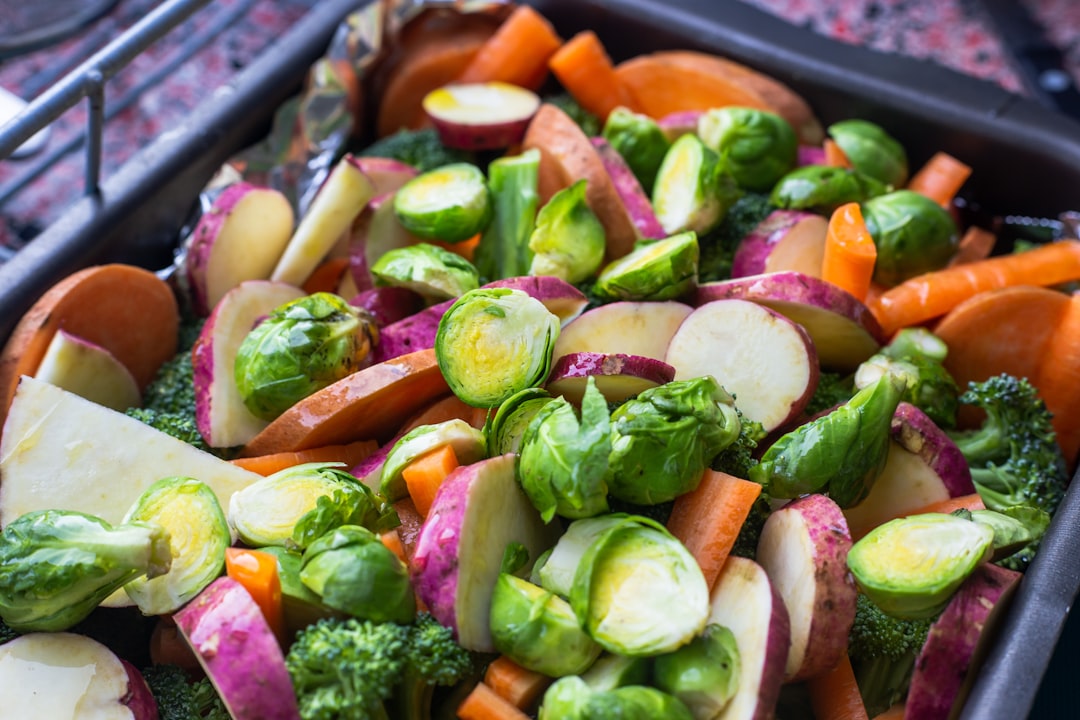
This year, the clear winner was a simple sheet-pan supper of roasted sausage, peppers, and onions. I laid down a silicone mat on my well-worn Nordic Ware half sheet, arranged everything in a single layer, and let the oven do the work at 425 degrees for about thirty-five minutes. The aluminum conducted heat so evenly that every pepper had a slight char on its edges while the sausage crackled and browned underneath. No flipping, no rotating, no burned spots. I pulled the pan out, slid the rack underneath for draining, and served it directly from the sheet with a loaf of crusty bread.
The next morning, I used the same pan — wiped clean, no mat this time — to bake a batch of my grandmother’s buttermilk biscuits. The raw aluminum gave the bottoms that perfect golden crunch that she used to get in her cast-iron skillet — the same one I wrote about when I tested twelve skillets over three generations — and the even heat meant every biscuit came out the same color, not just the ones in the center. If you want to understand why I keep coming back to these pans, it’s moments like that. The tool disappears and the food becomes the story.
Care and Feeding: How to Make a Sheet Pan Last Twenty Years
I want to end with something practical, because the biggest lie in kitchen retail is that you need to replace your baking sheets every couple of years. You don’t. The same Nordic Ware pans I bought in 2014 are still in my kitchen, still performing identically to the day I unboxed them. Here’s what I’ve learned about keeping them that way.
First: never put aluminum pans in the dishwasher. The detergent will pit and discolor the surface. It won’t affect performance, but it’ll look rough. Hand-wash with warm, soapy water and a soft sponge. For stuck-on residue, fill the pan with hot water and a squeeze of dish soap, let it sit for twenty minutes, and everything will release without scrubbing. The same logic applies to the underrated tools I wrote about last week — treat them well and they’ll outlast every trendy gadget in your drawer.
Second: warped pans are almost always a user error, not a product failure. The most common cause is a sudden temperature change — pulling a hot pan out of the oven and setting it on a cold countertop or, worse, running it under cold water. Let your pans cool on top of the stove or on a trivet. Thermal shock is real, and it will warp even the heaviest commercial-grade pan.
Third: those dark stains that build up over years of use? That’s seasoning, and it’s a good thing. My oldest pans have a dark, almost bronze patina from thousands of hours in the oven. They bake more evenly now than they did when they were new, because that seasoned surface creates a micro-layer of natural nonstick protection. Don’t try to scrub it off. Embrace it.
I think about my grandmother every time I reach for one of those old, darkened pans. She kept the same baking sheets for forty years in a kitchen that produced Sunday dinners for twelve people without breaking a sweat. She didn’t have a blog or a test kitchen or a team of people helping her evaluate cookware. She just had a handful of good tools, the knowledge of how to use them, and the good sense not to overthink it.
That’s the real lesson of the Sheet Pan Audit, I think. Twelve years, dozens of pans, countless burned bottoms and warped edges and late-night dishwashing sessions — and the answer was always the same. Get good aluminum pans. Line them with parchment or silicone. Let them cool properly. And use them every single day, because that’s what they’re made for.
The rest is just details.
2 thoughts on “Twelve Years and Forty Pans: The Great Sheet Pan Audit That Changed My Kitchen”