I spent the first eighteen years of my life standing on a step stool in my grandmother’s kitchen, and I’m convinced that woman could make a shoe taste good if you gave her ten minutes and a cast iron skillet. She never once followed a recipe. She’d taste, adjust, taste again — and somehow every meal landed on the table like she’d been planning it for days. It took me years of culinary school and professional kitchens to realize that what she was doing wasn’t magic. It was a set of flavor rules — simple, repeatable principles that anyone can learn. Today I’m sharing the five that changed absolutely everything about how I cook at home, and the surprisingly accessible tools that make each one almost effortless.
Rule One: Build Layers, Don’t Dump and Hope
The single biggest difference between restaurant food and home cooking isn’t ingredients or equipment — it’s patience. Professional cooks build flavor in layers, seasoning at every stage rather than dumping everything in at the end. When you sauté onions, add a pinch of salt right away. When you deglaze the pan, let that liquid reduce before adding the next component. Each layer concentrates and locks in flavor that you simply cannot recover later.
I learned this the hard way during my first restaurant gig. My executive chef tasted my risotto, set down the spoon, and said, “Did you season the onions?” I hadn’t. The dish tasted flat, and no amount of finishing salt was going to fix it. That moment rewired my brain permanently.
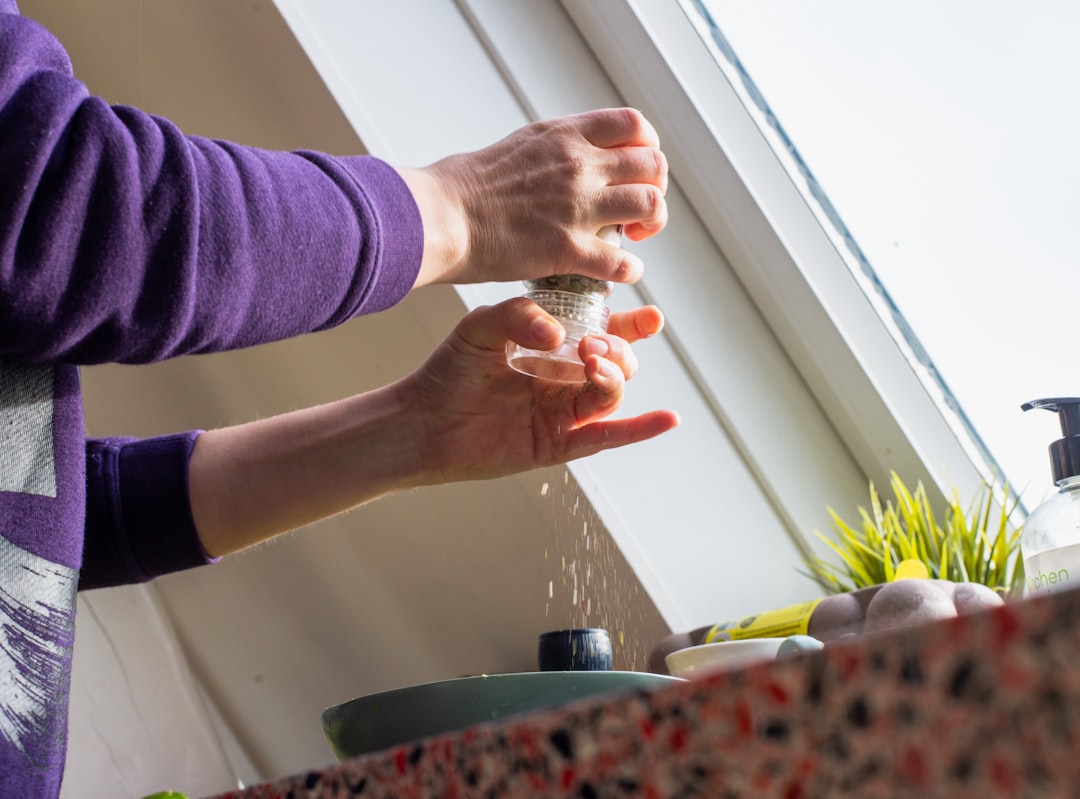
The tool that makes layering almost automatic? A good salt cellar or pinch bowl that lives next to your stove. When salt is within arm’s reach and easy to grab by the pinch, you’ll season naturally as you cook instead of forgetting until the end. I keep a small ceramic cellar of kosher salt right next to my burners at all times — it’s the single most-used item in my kitchen.
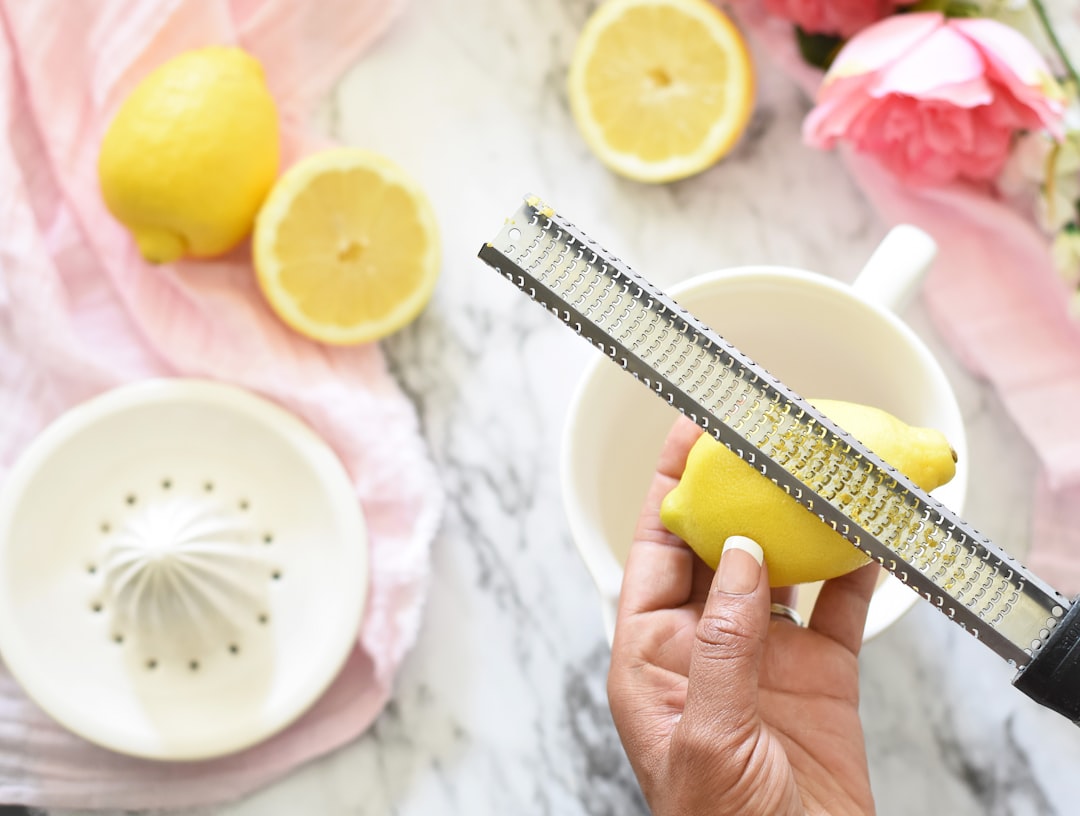
Rule Two: Acid Is the Secret You’re Missing
If your soup tastes boring, your stir-fry feels flat, or your roasted vegetables seem one-dimensional, the answer is almost never more salt. It’s acid. A squeeze of lemon, a splash of vinegar, a spoonful of buttermilk — these brighten and lift flavors in a way that nothing else can. My grandmother kept a bottle of apple cider vinegar next to her stove and would add a capful to almost everything she made. I thought she was eccentric. She was brilliant.
The science is straightforward: acid balances fat and richness, cuts through heaviness, and makes other flavors pop. Think about why a squeeze of lime makes guacamole sing, or why pickles taste so good next to a rich sandwich. That contrast is what makes a meal memorable instead of merely filling.
For home cooks, the easiest way to start incorporating acid is with a quality Microplane zester. Fresh citrus zest delivers concentrated brightness without adding liquid — perfect for pasta dishes, roasted vegetables, and baked goods. I reach for mine multiple times a day. Beyond zest, keep a decent bottle of aged balsamic vinegar and some fresh lemons within reach, and you’ll be amazed at how often a quick finishing touch transforms an entire plate.
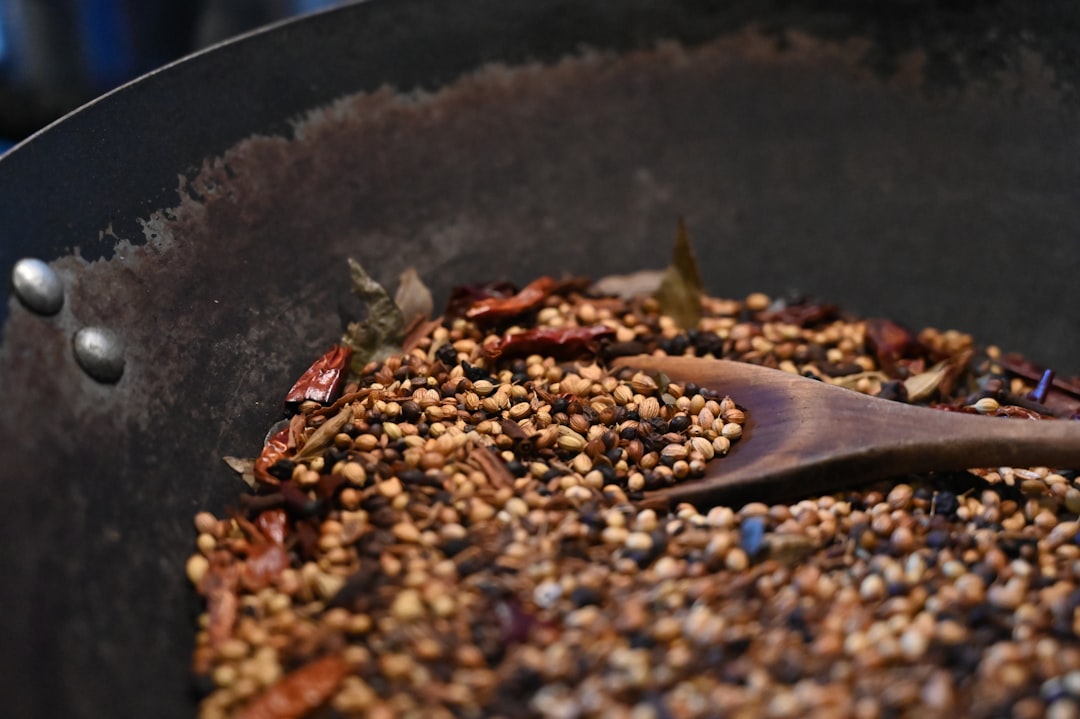
Rule Three: Toast, Bloom, and Warm Your Spices
Here’s something that sounds almost too simple to matter but will absolutely revolutionize your cooking: whole and ground spices release dramatically more flavor when they’re briefly heated before you add liquid. This process — called blooming — activates the volatile oils that give spices their aroma and depth. It takes about thirty seconds and costs nothing, yet most home cooks skip it entirely.
My mother would toast cumin seeds in a dry pan until the kitchen smelled like a spice market, then grind them fresh for chili. The difference between that and shaking pre-ground cumin straight from a jar is night and day. It’s the same principle behind why fresh-ground pepper tastes nothing like the pre-ground stuff — heat and friction release flavors that go dormant in the jar.
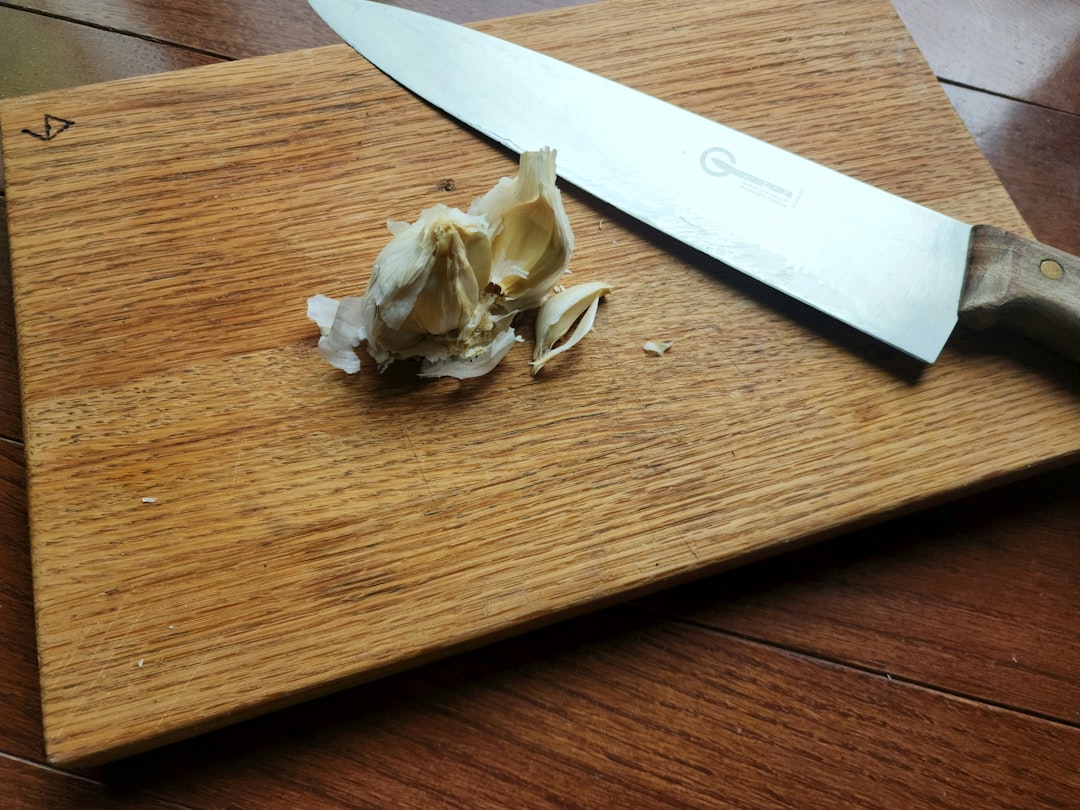
To make this easy, you need two things: a mortar and pestle for small-batch grinding, and a heavy-bottomed skillet for toasting. A granite mortar costs about twenty dollars and will outlast every electric gadget in your kitchen. I use mine for spices, garlic pastes, fresh herb blends, and even crushing peppercorns. It’s genuinely one of those tools that earns its counter space every single week.
Rule Four: Brown Butter Changes Everything It Touches
Butter contains milk solids — proteins and sugars that caramelize when heated past the point where most people stop cooking. If you’ve ever noticed that butter smells incredible when it starts to sizzle and foam, you’ve already experienced the beginning of brown butter. Keep going just a little longer, swirling the pan, and those solids turn golden-brown and develop a nutty, toffee-like aroma that will make you wonder how you ever cooked without it.
I use brown butter in places most people would never think to: scrambled eggs, pan sauces for fish, simple pasta dishes, even drizzled over roasted carrots. It turns basic ingredients into something that tastes carefully composed. The first time I made brown butter chocolate chip cookies for a friend, she called me three days later asking what witchcraft I’d performed. It was butter. Just butter, cooked a little longer than usual.
The key is having a pan with a light-colored interior so you can see the color change — which is exactly why I always reach for my stainless steel skillet for this job. Dark non-stick pans make it nearly impossible to judge the color, and you can go from beautifully nutty to acridly burnt in about fifteen seconds. Stainless steel also gives you those gorgeous fond bits on the bottom that make incredible pan sauces.

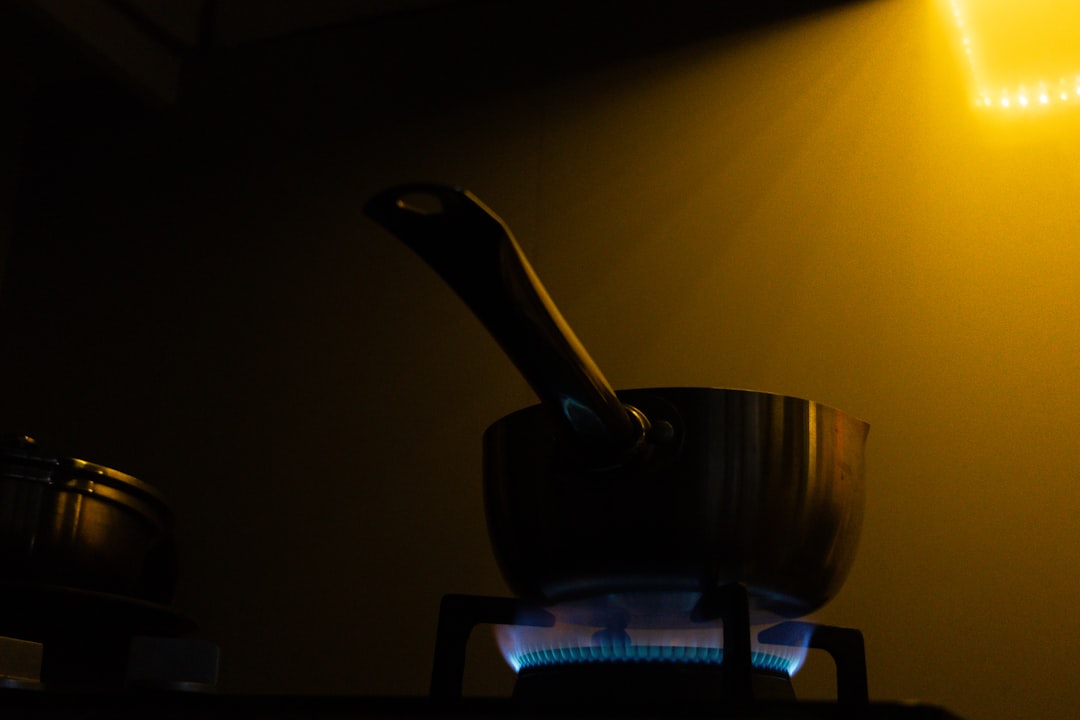
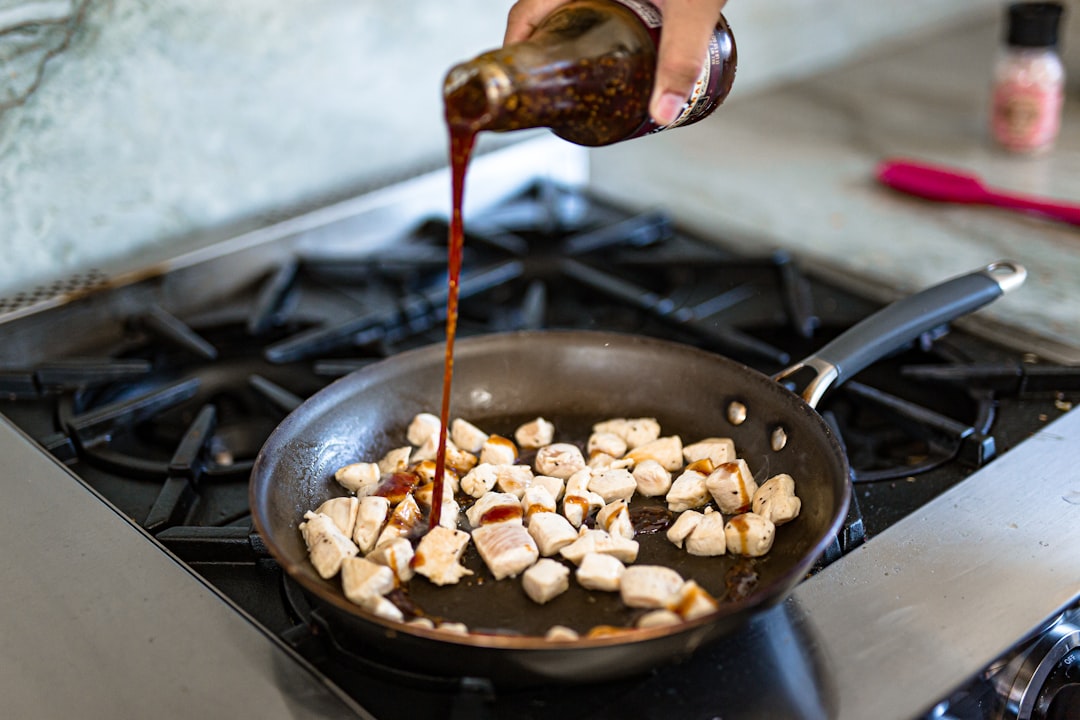
Rule Five: Deglaze Every Pan, Every Time
Those browned bits stuck to the bottom of your pan after searing chicken or sautéing mushrooms? That concentrated flavor gold is called fond, and washing it down the drain is a culinary crime. Adding a splash of liquid — wine, broth, even water — and scraping up those bits creates an instant sauce base that tastes like you spent an hour reducing it. My grandmother did this with every single thing she cooked, usually with a splash of whatever was sitting on the counter. She called it “giving the pan a drink.”
This technique works for literally everything you cook in a pan. Sear a steak? Deglaze with red wine and finish with butter for a pan sauce that costs about forty cents and tastes like a French bistro. Cook pork chops? Apple cider and a sprig of thyme. Sauté vegetables? A squeeze of lemon and a tablespoon of water. The formula is always the same: liquid in, scrape the fond, reduce slightly, finish with something rich.
You don’t need fancy equipment for this — any liquid and a wooden spoon will do. But if you want to make the process feel natural, I recommend keeping a carton of low-sodium broth near the stove and investing in a quality wooden spoon set with a flat edge for scraping. Wooden spoons won’t damage your pan’s surface, and that flat edge makes quick work of fond. It’s a five-dollar tool that unlocks a technique worth a thousand times that.
Putting It All Together: A Weeknight Transformation
Let me paint a picture of how these five rules work together, because that’s when the real magic happens. Last Tuesday I made a simple chicken thigh dinner that took about thirty minutes. Here’s what I did — and why it tasted like something from a restaurant.
I started by patting the chicken dry and seasoning it well with salt — from my cellar, right next to the stove (Rule One). Into a hot stainless steel skillet with a little oil, I seared the thighs skin-side down until deeply golden. When I flipped them, I added a pinch of smoked paprika and let it toast for about twenty seconds in the rendered fat (Rule Three). Then I removed the chicken, poured off most of the fat, and deglazed with a splash of white wine, scraping up all that beautiful fond (Rule Five). I let that reduce by half, added a knob of butter and let it brown slightly (Rule Four), then returned the chicken to the pan with a squeeze of lemon juice (Rule Two) and finished it in the oven.
The whole thing — perfectly crispy chicken in a nutty, bright, complex pan sauce — happened because of five small decisions, each one taking seconds. No special ingredients. No complicated technique. Just five flavor rules applied in sequence. And the only “specialized” tools I used were a salt cellar, a skillet I already owned, and a lemon.
The Tools Worth Having (And What to Skip)
After years of testing gadgets for this site and my own kitchen, I can tell you confidently that most “flavor-enhancing” tools are marketing nonsense. You don’t need a fifty-dollar spice grinder or a molecular gastronomy kit. What actually makes a difference are the basics, executed well. Here’s my honest short list of what’s worth owning if you want to cook with more flavor confidence.
A ceramic salt cellar lives next to every professional’s stove for a reason — something I wrote about in my guide to kitchen tools that actually change how you cook‘s stove for a reason. A Microplane zester handles citrus, hard cheeses, nutmeg, and ginger — four ingredients that will immediately improve your cooking. A mortar and pestle for fresh spice grinding costs less than a pizza delivery. A light-colored stainless skillet for browning and deglazing — and if you’re curious about how it compares to cast iron for other tasks, check out my cast iron vs stainless steel breakdown. And wooden spoons with flat edges for fond scraping.
That’s it. Those five tools, combined with the five flavor rules above, will transform more weeknight dinners than any single-purpose appliance ever could. I say that as someone who has tested hundreds of gadgets and owned more kitchen equipment than I care to admit. The best investment you can make in your cooking isn’t a new device — it’s understanding a few fundamental principles and having the right simple tools to execute them.

Start Small, Taste Often
My grandmother never measured anything because she tasted constantly — and that’s really the ultimate rule behind all five of these. Taste your food while you cook it. Taste the onions before you add the garlic. Taste the sauce before you serve it. Your palate is the most sophisticated instrument in your kitchen, and it’s already built in. The five rules I’ve shared are simply ways to give your palate more interesting things to taste at every step.
Pick one rule this week — just one — and try it with a meal you already make regularly. Season in layers while you sauté vegetables. Add a squeeze of lemon to your next bowl of soup. Toast your spices for thirty seconds before adding them to a curry. These tiny shifts compound quickly — similar to the kitchen habits I had to unlearn, and before long you’ll find yourself cooking the way my grandmother did: intuitively, confidently, and with results that make everyone at the table wonder what your secret is. No magic required — just five rules that have been hiding in plain sight all along.

One thought on “Five Flavor Rules That Changed Everything I Cook”