If you’d told me ten years ago that I’d spend an entire June perfecting cold brew in my kitchen, I’d have laughed you right out of my house. I was an espresso girl — proud of it, actually. But somewhere between the third heat wave and the fifth morning I couldn’t stomach a steaming cup of anything, I found myself standing in front of the refrigerator at 6 a.m., staring at a mason jar full of murky brown liquid, thinking, “This is it. This is the summer I figure this out.”
What I didn’t expect was how deep the rabbit hole goes. Cold brew isn’t just coffee poured over ice. It’s a completely different brewing method that extracts sweetness and nuance from beans in ways hot water never can. And once you taste a properly made batch — smooth, chocolatey, almost fruity with zero bitterness — it changes the way you think about your morning routine.
So I spent the month testing cold brew systems, from the simplest mason jar setup to more elaborate multi-gallon dispensers. I ground beans at every setting my OXO Brew Conical Burr Grinder could manage. I timed extraction in 4-hour intervals. I roped my neighbors into blind taste tests on my patio. Here’s everything I learned — and every piece of gear that earned a permanent spot in my summer kitchen.
The Cold Brew Maker That Started It All
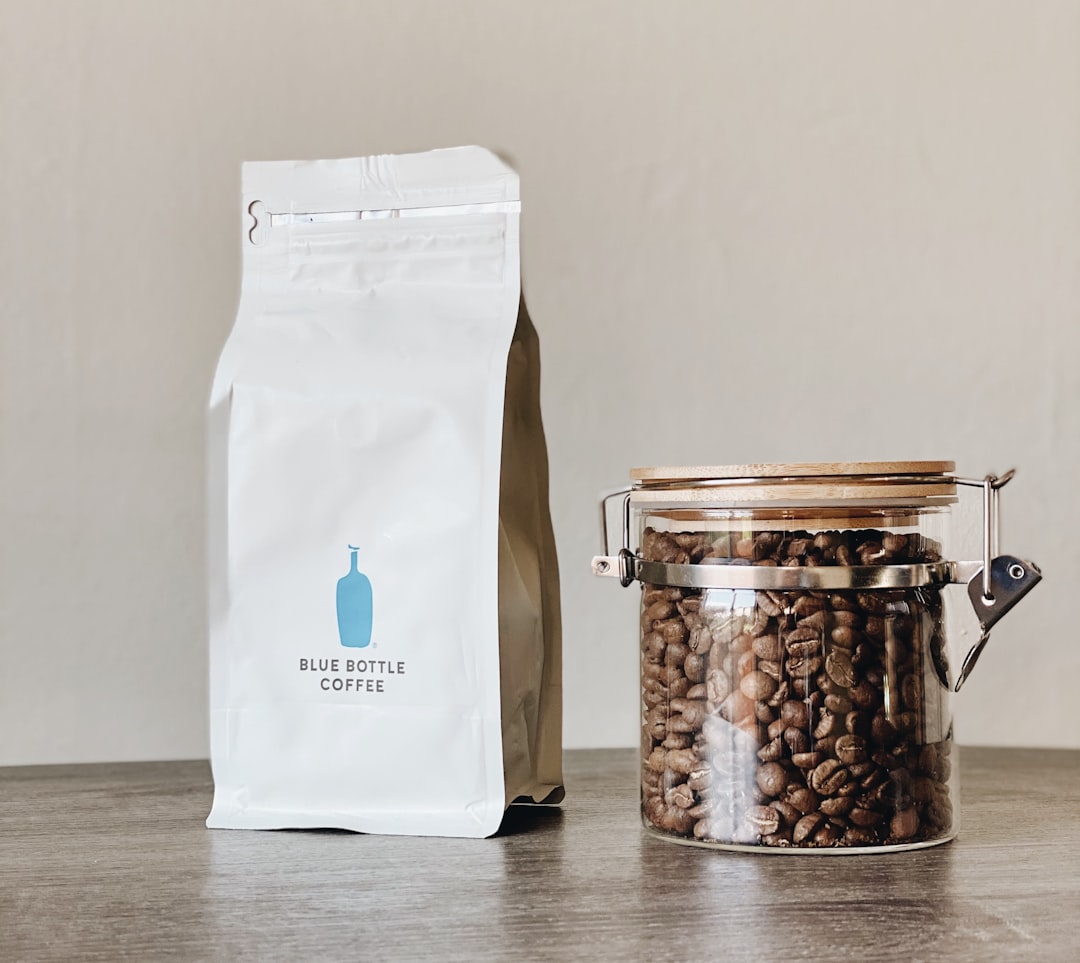
Let’s start with the basics, because this is where most people (including me, initially) get it wrong. You don’t need a fancy machine. What you need is a container that lets coarsely ground coffee steep in cold water for 12 to 24 hours, then lets you filter out the grounds cleanly. That’s it. The entire magic of cold brew is patience.
I began with the 64 oz Mason Jar Cold Brew Maker, which is about as straightforward as it sounds. You fill the stainless steel mesh insert with coffee, drop it into the glass jar, add water, and wait. What surprised me was how good the results were for a setup that costs less than two trips to a coffee shop. The mesh filter is fine enough to catch most sediment, and the jar seals tight enough that I could shake it during steeping without worrying about leaks on my refrigerator shelf.
For a step up in both capacity and convenience, I also tested the 1 Gallon Cold Brew Dispenser with Stainless Spigot, which became my go-to for entertaining. Having a spigot means you’re not pulling a heavy, slippery glass jar out of the fridge every morning — you just turn the handle and fill your glass. It’s one of those small design choices that sounds trivial until you’re half-awake and reaching for caffeine with shaky hands.
The County Line Kitchen Jar That Won My Taste Test
Here’s where I need to get specific, because not all cold brew makers produce the same cup. After testing five different systems side by side — same beans, same grind, same steep time — the County Line Kitchen 64 oz Cold Brew Maker consistently produced the smoothest, most balanced brew. The stainless mesh filter on this one is slightly finer than the others, which means less sediment in your final cup and a cleaner mouthfeel.
I know “mouthfeel” sounds like something a food critic says when they’re trying to sound important, but with cold brew it genuinely matters. Gritty cold brew is unpleasant in a way that hot coffee with a few floating grounds never is, because you’re drinking it cold and the texture discrepancy is more noticeable. The County Line jar eliminated that problem entirely.
Why Your Grinder Matters More Than Your Brewer
This is the part of the story where I confess something embarrassing: for the first two weeks of my cold brew journey, I was using pre-ground coffee from the grocery store. I know. I’m supposed to be the expert here. But in my defense, I wanted to test whether cold brew was forgiving enough to make cheap grounds taste good. The answer is: sort of. It’s definitely more forgiving than hot brewing, but the difference when I switched to freshly ground beans was like night and day.
I used my Cuisinart Burr Grinder set to its coarsest setting, and the improvement was immediate. Fresh-ground beans released more aromatic oils during steeping, which translated to a richer, more complex flavor in the final brew. If you’re going to invest in one piece of cold brew gear, make it a burr grinder — not the brewer. A cheap mason jar setup with freshly ground beans will always outperform an expensive brewer with stale pre-ground coffee.
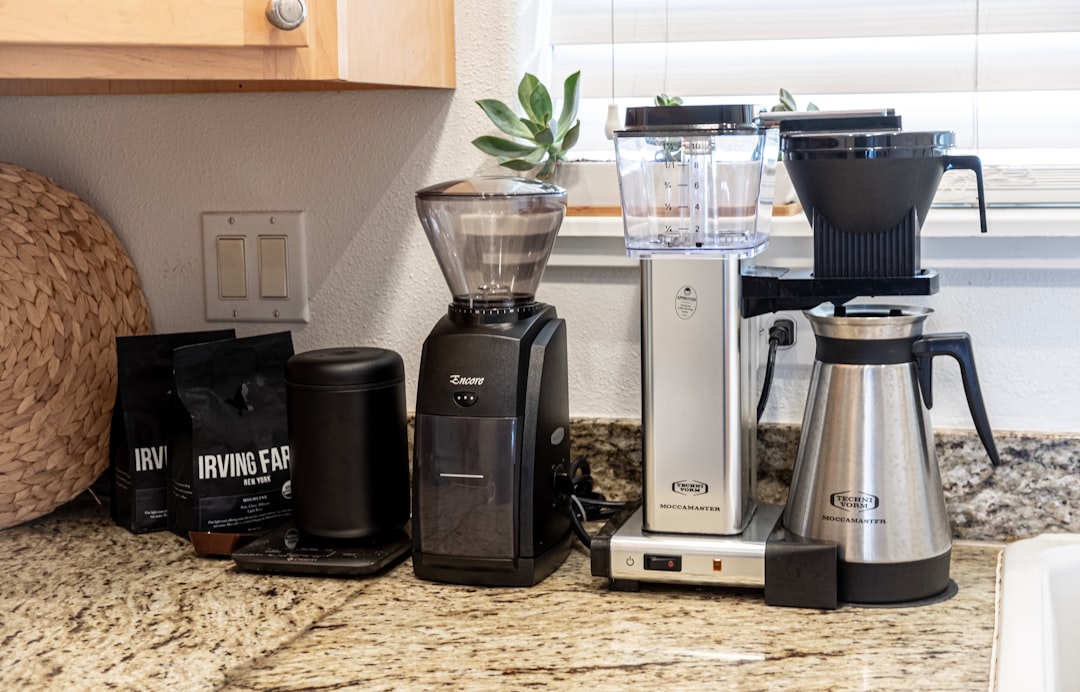
The reason burr grinders matter specifically for cold brew is consistency. Blade grinders pulverize beans into a mix of boulders and dust, and the dust over-extracts during that long steep, creating bitterness — exactly what you’re trying to avoid with cold brew. A burr grinder gives you uniform coarse particles that extract evenly and produce that signature smooth sweetness.
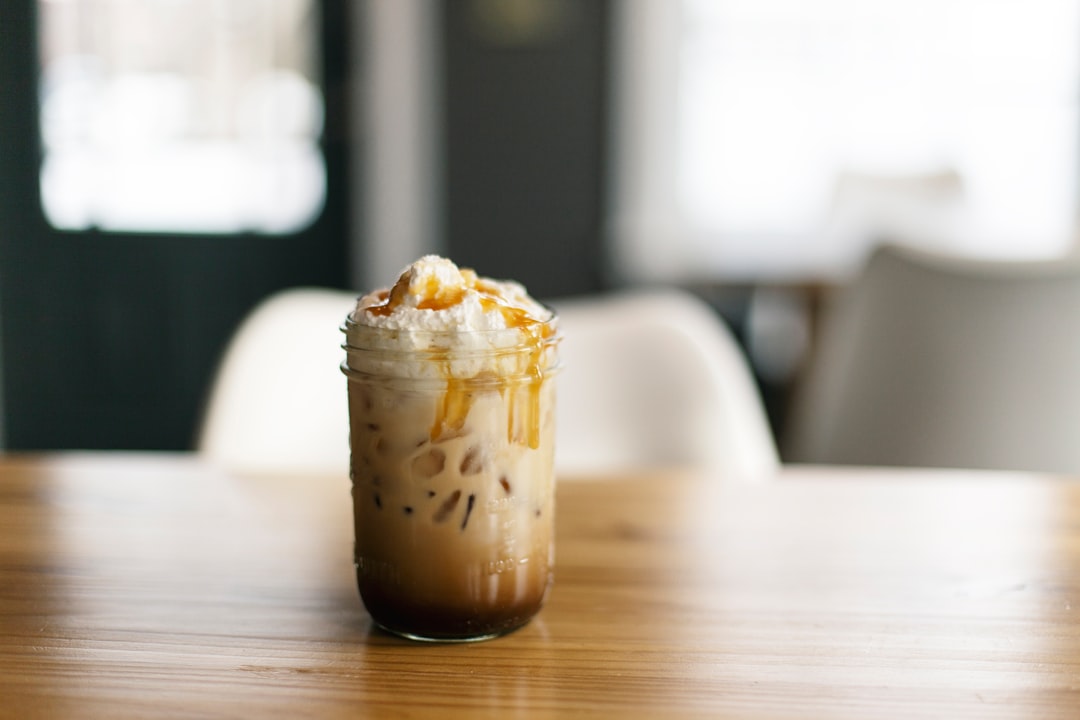
The Hot-Brew Alternative: Pour Over for Iced Coffee
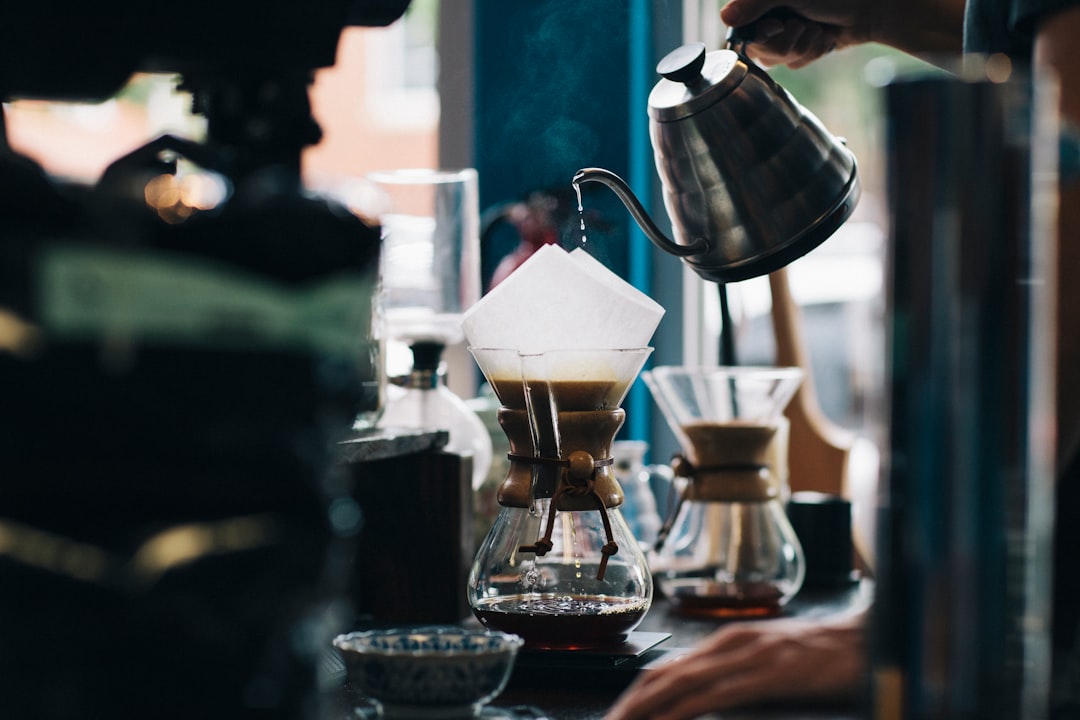
Here’s something cold brew purists won’t tell you: sometimes you want iced coffee now, not twelve hours from now. On those mornings, Japanese-style iced pour over is your best friend. You brew a concentrated hot pour-over directly over ice, which flash-chills the coffee and locks in bright, fruity flavors that cold brew’s long extraction can miss.
My weapon of choice for this technique is the Bodum 34 oz Pour Over Coffee Maker. The borosilicate glass handles temperature shock beautifully (pouring hot water over ice in a regular glass is a recipe for cracks), and the reusable stainless filter lets coffee oils through for a richer cup than paper filters allow. It’s also gorgeous on the counter, which matters more than I’d like to admit.
For an even more budget-friendly entry into pour-over, the classic Hario V60 Dripper sits right on top of your mug or carafe and produces an incredibly clean cup. I keep one in my cabinet for single-serving mornings when I don’t need the full Bodum setup.
Building Your Summer Coffee Station
By week three of my cold brew obsession, I had accidentally created what my husband now calls “the coffee corner.” It started innocently enough — the cold brew jar in the fridge, the grinder on the counter, a bag of beans nearby. But then I added flavored syrups, and things escalated quickly.
If you’re going to get into homemade flavored iced coffee (and you should, because it saves an absolute fortune compared to coffee shop prices), you need proper syrup pumps for your Torani or DaVinci bottles. I resisted this purchase for weeks, using the syrup bottles’ original caps and making a sticky mess every single morning. The pump dispensers give you a consistent quarter-ounce per pump, which means your vanilla cold brew tastes the same on Tuesday as it did on Monday. Consistency is everything when you’re trying to dial in your perfect cup.
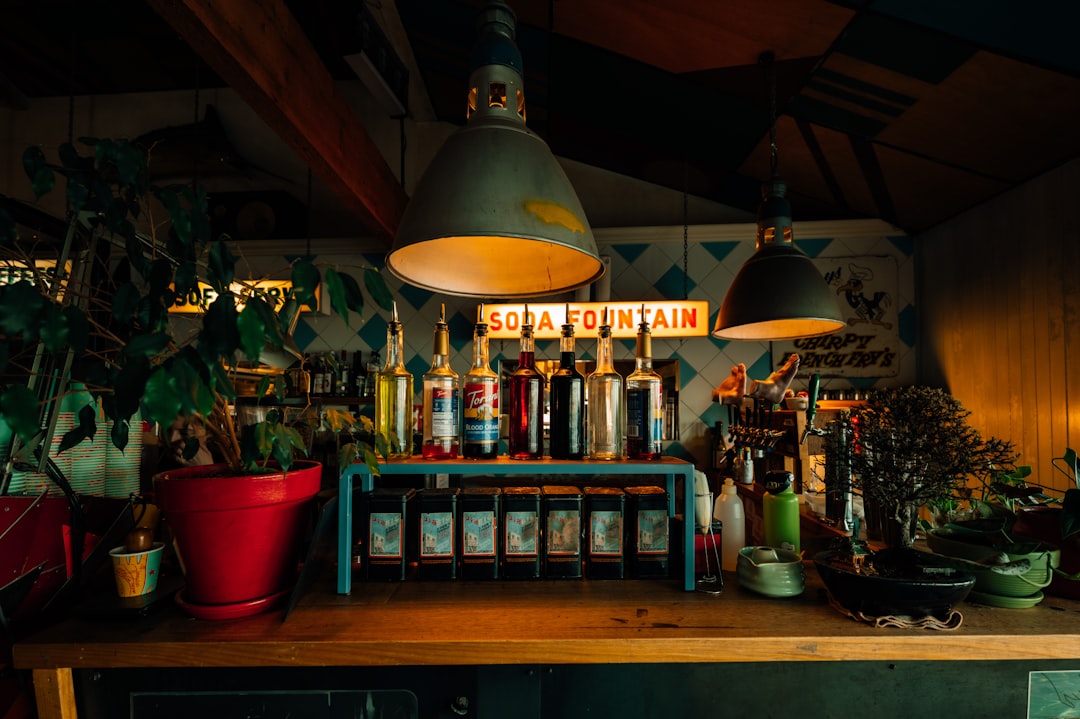
I wrote about my full summer beverage station setup a few weeks ago, but the coffee-specific version is simpler than you’d think: cold brew jar in the fridge, grinder on the counter, syrups with pumps next to the mugs, and a small tray to catch drips. That’s it. Five square inches of counter space and you’ve got a setup that rivals any café.
The Vessel Situation: Why Your Glass Matters
I’m going to say something controversial: drinking cold brew out of a regular glass is fine, but drinking it out of an insulated tumbler is transcendent. The difference isn’t just about temperature — it’s about the way the coffee hits your palate when the glass is frosty-cold versus room temperature. A chilled, insulated cup keeps every sip as refreshing as the first.
The YETI Rambler 20 oz Tumbler has become my daily driver, and I’m not even slightly embarrassed about how attached I am to it. The MagSlider lid keeps bugs out during patio mornings (a real problem in my backyard in June), and the double-wall vacuum insulation means my cold brew stays cold for hours, even in direct sunlight. I’ve accidentally left it in my car during afternoon errands and come back to still-cold coffee. That’s not a luxury; that’s a lifestyle improvement.
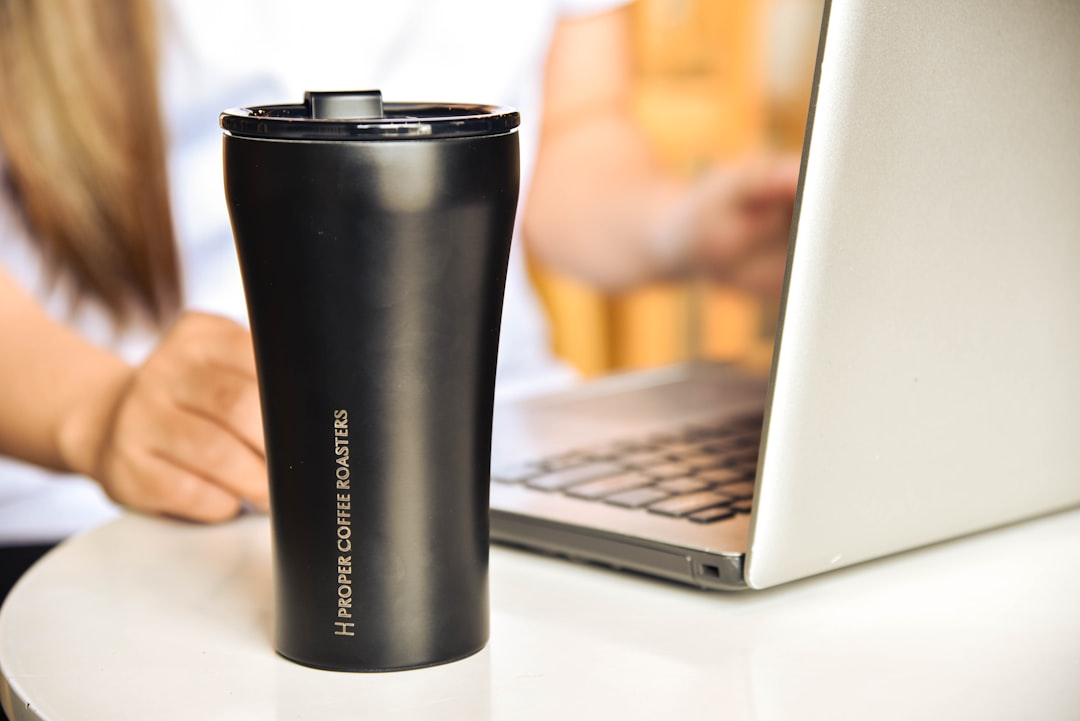
For something a little more stylish (and a little less “I’m heading to a tailgate”), I’ve been reaching for the Owala SmoothSip Slider Tumbler on weekends. The slider mechanism is oddly satisfying, and the 12 oz size is perfect for a single serving of cold brew with a splash of cream. It also fits in my car’s cup holder, which the YETI does not — a detail that matters more than you’d think when you’re running errands on a Saturday morning.
What I Learned From a Month of Cold Brew
After thirty days of cold brewing every which way, here are the non-negotiables I’ve settled on. First, use freshly ground, coarsely ground beans — this is not optional. Second, steep for at least 16 hours in the refrigerator. Twelve hours works, but 16 gives you noticeably more depth. Third, use a 1:4 coffee-to-water ratio for a concentrate, then dilute to taste. And fourth, always — always — serve it over plenty of ice in a cold glass or insulated tumbler.
The beautiful thing about cold brew is how forgiving it is once you nail the basics. Unlike espresso, where a few seconds of over-extraction can ruin a shot, cold brew gives you a wide window of deliciousness. And unlike drip coffee, which starts degrading the moment it hits the warming plate, cold brew concentrate stays fresh in your fridge for up to two weeks. I’ve been making a big batch every Sunday and enjoying perfect iced coffee all week long.
If you’re still buying iced coffee every morning — and I say this with love, as someone who did exactly that for years — you owe it to yourself to try making it at home. The upfront investment in a good cold brew maker, a burr grinder, and a decent tumbler pays for itself within a month. And the coffee? It’s genuinely better than what you’re getting at the drive-through. I tested it side by side with three different coffee shops in my area, and my homemade cold brew won the blind taste test every single time.
My espresso setup still has a permanent place in my kitchen, and I still love a hot cup on cool mornings. But from June through September? Cold brew is king, and my refrigerator is never without a jar of concentrate waiting for tomorrow morning.
For more kitchen tools that have earned their counter space, check out my guide to the summer kitchen tools that keep me cooking when the stove stays off. Because if there’s one thing I’ve learned in all my years in the kitchen, it’s that the right tool doesn’t just make the job easier — it makes you actually want to do it.