Every year, right around the last week of July, something shifts in my kitchen. The carefree energy of summer — the popsicle molds drying on the counter, the ice cream maker tucked next to the blender, the pitcher of sun tea always within reach — starts giving way to something more structured. I can feel it in the air, quite literally, because the morning humidity drops just enough to remind me that August is knocking, and with it, the school year.
I used to dread this transition. For years, the shift from summer kitchen to school-day kitchen felt like a fire drill. Where are the lunch containers? Why do we only have three matching lids? Who took the good thermos? But about six summers ago, I decided to treat the back-to-school kitchen reset the same way I treat spring cleaning — with intention, a plan, and a very good cup of coffee.
What follows is everything I’ve learned from building (and rebuilding) a kitchen that actually functions when the morning alarm goes off at 6:15 and everyone needs to be fed, packed, and out the door by 7:30. It’s not about buying a whole new kitchen. It’s about identifying the friction points and fixing them with tools that earn their space.
The Lunch Drawer Audit: Where Everything Falls Apart
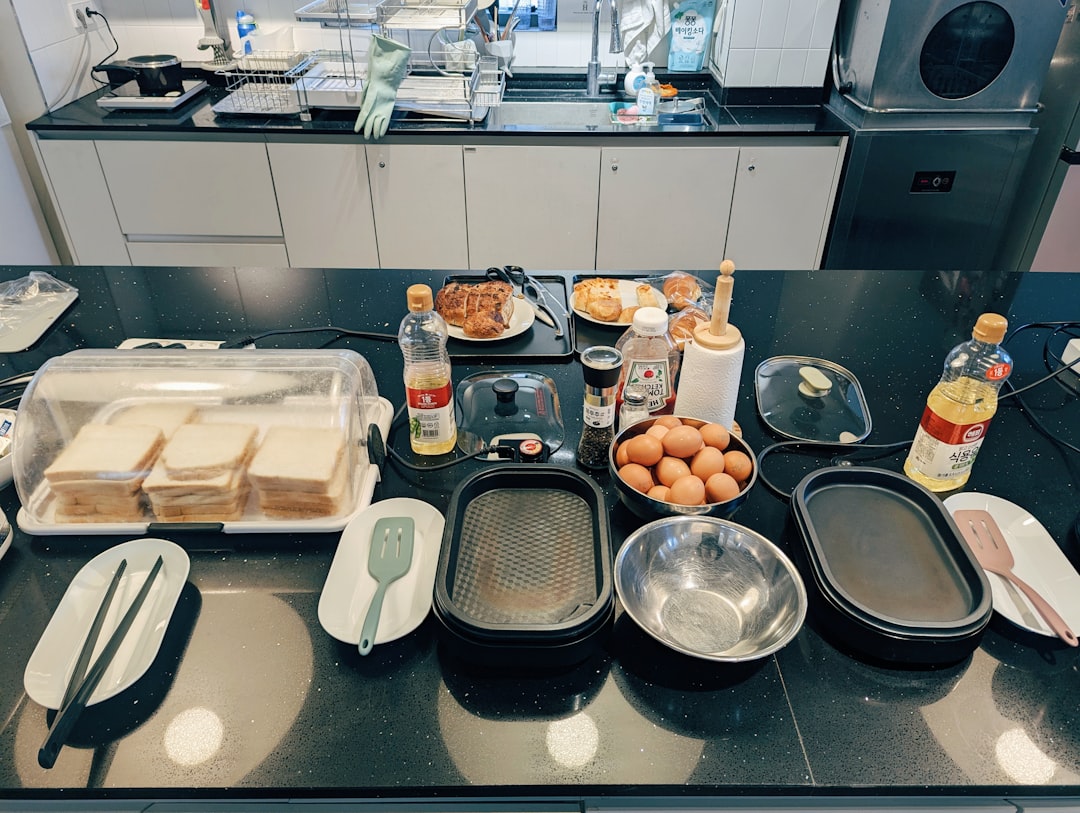
Before I buy a single thing, I do what I call the Lunch Drawer Audit. I pull everything out of the drawer and cabinet where we keep lunch gear — every container, every lid, every mismatched piece of a set that lost its partner three years ago. I lay it all on the kitchen table and sort it into three piles: keep, toss, and “why do I still own this?”
You’d be amazed at how many containers accumulate over a single school year. The plastic ones with the melted corners from the dishwasher. The ones with lids that almost seal but not quite. The tiny ones that held a single olive that one time. They all have to go. What stays is only what stacks neatly, seals reliably, and survives being thrown into a backpack.
After last year’s audit, I finally invested in a set of compartment-style containers that changed our mornings. I picked up a four-compartment bento box set for the adults and older kids, and a three-compartment bento set designed for younger kids that’s the right size for smaller appetites. The beauty of these isn’t just the portion control — it’s that packing lunch becomes a visual puzzle. Protein here, veggie there, something bright in the small section. Done.
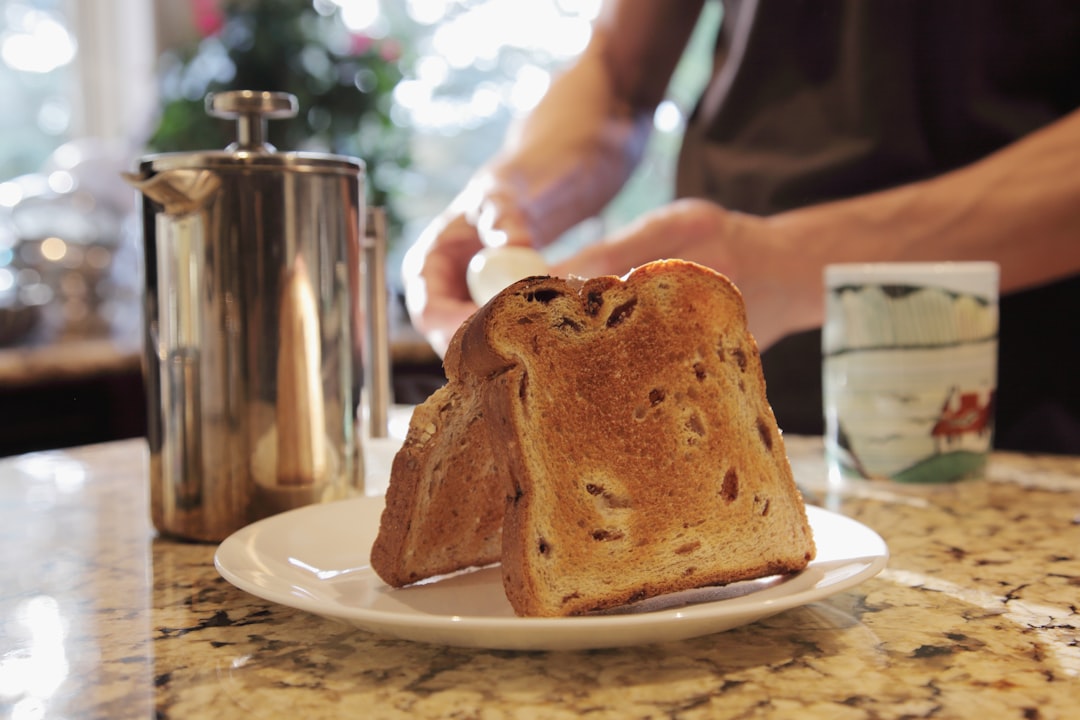
The team and I tested seven different bento styles last fall — dropping them, microwaving them, running them through the dishwasher on the heavy cycle — and the ones that survived all shared three traits: thick silicone seals, rounded interior corners (no crud traps), and lids that a child could actually open without an engineering degree.
The Bag That Carries Everything (And Keeps It Cold)
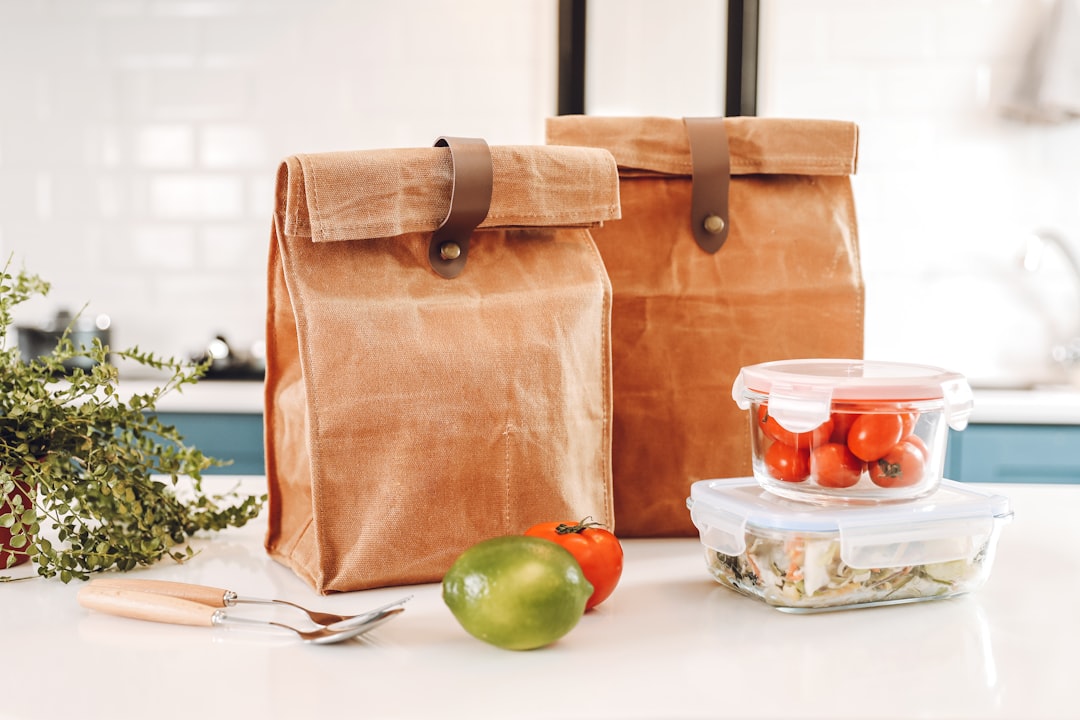
A great container in a terrible bag is a recipe for a lukewarm yogurt and a crushed sandwich. I learned this the hard way the year my youngest came home with what she described as “warm cheese mush” in her lunch. That was the year I stopped treating lunch bags as afterthoughts.
What you want is an insulated bag that does two things: maintains temperature for at least four hours and doesn’t leak when something inevitably tips. The Lifewit insulated lunch bag has been my go-to recommendation for two school years now. It’s the right size for two containers plus a cold pack, the lining wipes clean in seconds, and it collapses flat when not in use. I own three of them — one for each kid — and they’ve held up through an entire academic year of being shoved into lockers and cubbies.
The key insight on lunch bags is that bigger is not better. A bag that’s too large lets containers slide around and shift, which breaks the cold-chain. You want a snug fit where everything stays in contact with the ice pack. If you can fit a full water bottle and three containers with room to spare, your bag is too big.
Sunday Afternoon: The Prep Session That Changes Everything
Here’s where the kitchen starts working for you instead of against you. Every Sunday afternoon, I spend about ninety minutes doing what I call the Sunday Reset. It’s not elaborate meal prep — I’m not making twenty-one individual portions of chicken and rice. It’s more like component prep: I wash and chop the vegetables that will go into lunches all week, I hard-boil a dozen eggs, I cook a big pot of grains, and I portion out snacks into grab-and-go containers.
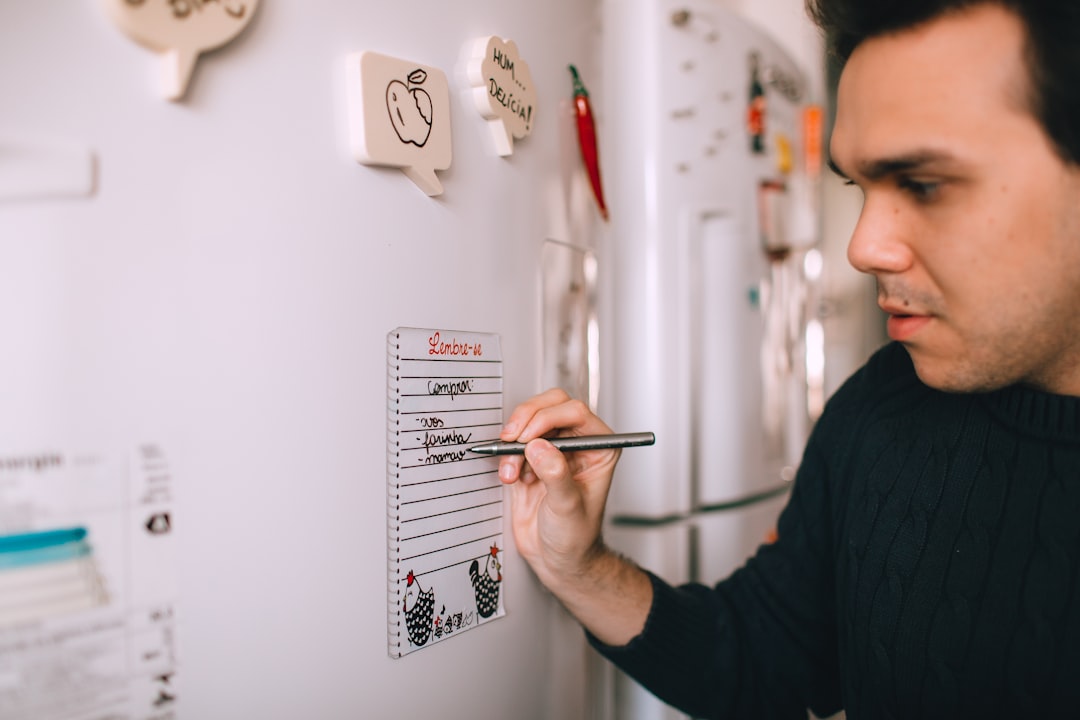
The tool that made this habit stick? A magnetic weekly meal planner on the fridge. Before I had this, the Sunday Reset existed in my head and fell apart by Wednesday. Now, the menu is visible to everyone, which means no one asks “what’s for lunch?” seventeen times before breakfast. I write the plan on Sunday, and the board runs the week. Simple as that.
I pair the planner with a set of glass meal prep containers with locking lids for the fridge. After my disastrous year with plastic containers that warped and stained, I switched entirely to glass. Yes, they’re heavier. Yes, they cost more upfront. But they don’t absorb tomato sauce stains, they go from fridge to microwave without a second thought, and the lids have stayed tight for three years and counting. The eight-pack I bought has paid for itself many times over in containers I didn’t have to replace.
The Morning Sprint: Breakfast Solutions That Actually Work
Let’s talk about the most chaotic fifteen minutes in any family kitchen: the morning rush. When the clock says 6:45 and three people need to leave the house fed by 7:20, you need systems that work faster than your sleepy brain can think.
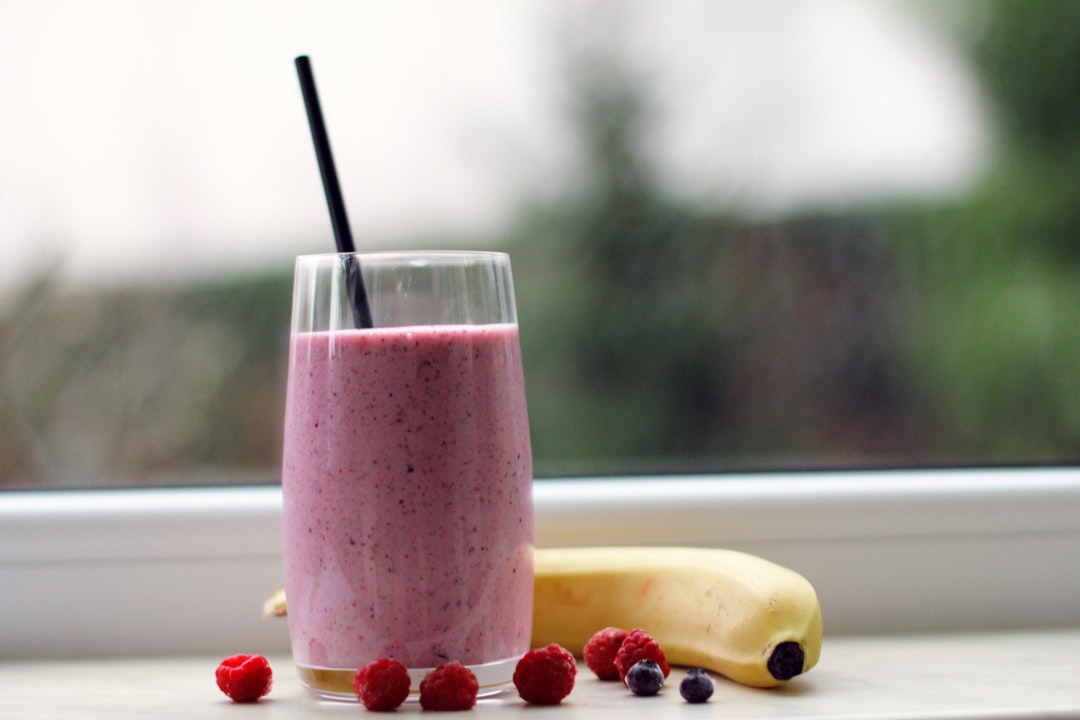
My saving grace has been the smoothie station. I set up everything the night before — frozen fruit portioned in cups, spinach washed and bagged, protein powder measured. In the morning, I dump a cup into the blender, add liquid, and press one button. The Hamilton Beach portable blender I picked up last summer changed the game because it blends directly into a travel cup. You make the smoothie, snap on the lid, and walk out the door. No pouring, no extra dishes.
For mornings when even smoothie prep feels ambitious, I keep a batch of overnight oats in the fridge — five jars, lined up like little soldiers, each one a complete breakfast. My older kid prefers the Ninja Fit compact personal blender for her own smoothies because it’s small enough for her to use independently. She’s twelve and has been making her own breakfast smoothies for a year now, which is a parenting win I will happily claim.
Beyond the Sandwich: Hot Lunches Without the Microwave
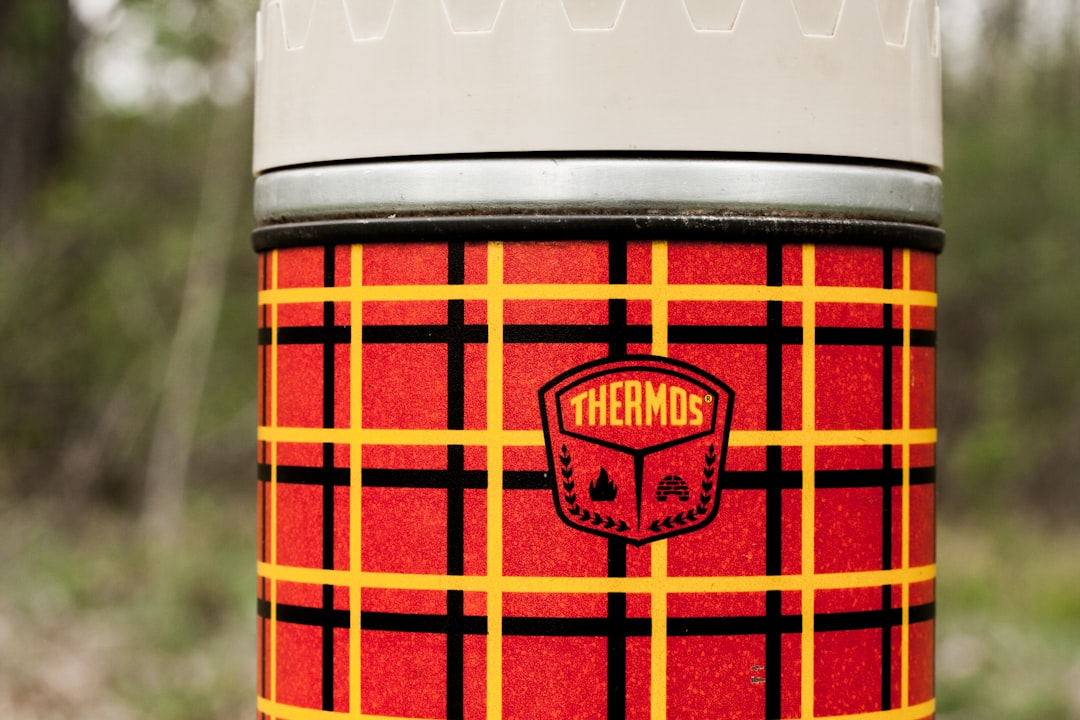
One of the biggest lunch revelations in my household was discovering that a good insulated food jar opens up an entirely different category of school lunches. Soups, pasta, rice dishes, even chicken nuggets stayed warm through morning arrival, recess, and into the lunch period. It was like someone handed me a second menu of options.
The THERMOS FUNTAINER food jar has been in rotation for three school years now. The 10-ounce size is perfect for younger kids, and it genuinely keeps food hot for five hours. I fill it with warm water for three minutes before adding the food — a trick my team tested against skipping that step, and the temperature difference at lunchtime was significant. Twenty degrees warmer, consistently.
For adults packing lunch, I use the larger version and fill it with leftovers from the night before. Chili, lentil soup, stir-fry rice — it all works. The key is to heat the food hotter than you think it needs to be on the stove, because it cools slightly in the first ten minutes inside the jar before the insulation fully kicks in.
The Waste-Free Lunch Kit: Small Changes, Big Impact
Last year, my middle child came home from school with a project about single-use plastics, and I received a very passionate lecture at the dinner table. That conversation led to a full overhaul of how we package snacks and small items. I had been using an embarrassing number of zip-top plastic bags every week, and my kid let me know about it.
So I switched. I picked up a set of reusable silicone snack bags that are dishwasher-safe and surprisingly easy to clean. The ones we’ve used for nine months now show zero signs of wear. They hold crackers, grapes, pretzels, and the occasional handful of chocolate chips that I may or may not sneak into my own lunch.
The switch from disposable to reusable was one of those changes that felt annoying for exactly one week and then became second nature. I keep them in a dedicated basket in the lunch drawer, right next to the small containers for dips and sauces. Everything has a place, and when everything has a place, the morning runs smoother.
The Systems That Survive the Year

Here’s what I’ve learned after doing this for enough years to have opinions: the back-to-school kitchen reset isn’t about the stuff. It’s about the systems. The containers, the bags, the planner — those are just the physical scaffolding. What actually matters is that everyone in the house knows where the lunch gear lives, what the weekly plan is, and how to execute their part without asking you four questions before coffee.
If you’re starting from scratch — maybe it’s your first year packing school lunches, or you’ve decided this is the year you stop winging it — I wrote about building a first kitchen from the ground up in my guide to equipping your first real kitchen. The principles are the same: start with the essentials, buy things that stack and store well, and don’t overthink it.
And if your lunch gear needs are tangled up with a larger pantry reorganization — because they usually are — I’d point you toward the Saturday I pulled everything off the shelves and rebuilt my pantry. The lunch drawer is really just a small version of the pantry problem: stuff accumulates, systems break down, and a single afternoon of focused effort can fix months of frustration.
The freezer is the other half of this story. If you’re doing any kind of batch cooking for school lunches — muffins, breakfast burritos, pre-portioned pasta — your freezer needs to be organized too. The year I finally fixed my freezer storage system was the year I stopped throwing away frozen leftovers that had been buried under a bag of peas since September.
My Back-to-School Kitchen Checklist
If you’re feeling overwhelmed, here’s the short version. These are the steps I run through every late July, in this exact order:
- Purge the lunch drawer. Toss mismatched lids, warped plastic, and anything that has been “temporarily” stored for more than six months.
- Assess your containers. You need enough to pack five days of lunches for each person, plus two extras for snacks. Count and fill the gap.
- Check your insulated bags. If the lining is cracked or the zipper sticks, replace it. A broken lunch bag is a daily frustration.
- Set up the smoothie station. Portion frozen fruit, stock up on your liquid base, and make sure your blender is where you can reach it at 6:45 AM without waking anyone.
- Stock the snack basket. Reusable bags, small dip containers, and pre-portioned snacks. When the basket is full, the week runs smoothly.
- Write the first week’s plan. Before school starts. Not the morning of. The magnetic planner is your friend here.
None of this is revolutionary. I’m not inventing the concept of packing lunch. But there’s a difference between surviving the school year and actually enjoying the rhythm of it, and for me, that difference comes down to about ninety minutes of setup on a Sunday afternoon in late July, a kitchen drawer that opens without a fight, and knowing that the smoothie ingredients are ready before I even walk into the room.
The school year will bring its own chaos. It always does. But the kitchen — the kitchen can be the steady part. The place where everything is ready, where everyone knows what to do, and where the small systems you build in August carry you all the way to June.