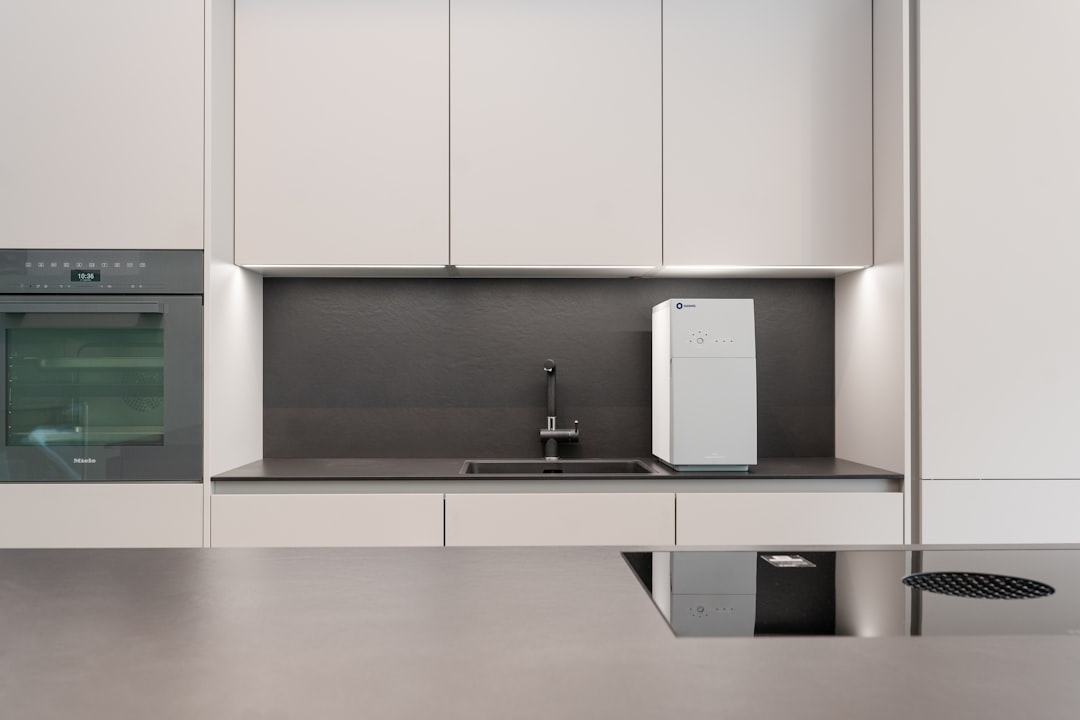
Let me tell you about the moment I finally broke down and bought a vacuum sealer. It was a Saturday morning in late July, and I was elbow-deep in my chest freezer, performing what I call the “annual archaeology dig” — excavating layers of mysterious foil-wrapped packages and rubber-stained plastic containers to figure out what was still technically food and what had become a science experiment. I found a package of salmon from the previous summer that looked like it had been left out in a snowstorm. The berries were frozen into a solid, freezer-burned brick. And the carefully labeled “Aunt Mary’s pesto” had developed a thick rind of ice crystals that told me everything I needed to know about my food storage situation: it was a disaster.
I’d spent fifteen years writing about kitchen tools, testing hundreds of gadgets, and recommending countless storage solutions — but I’d been quietly, stubbornly resisting the one appliance that would have saved me hundreds of dollars in wasted food. A vacuum sealer. The appliance I associated with late-night infomercials and overly earnest YouTubers shrink-wrapping everything from steaks to socks. I was wrong, and my freezer was the proof.
The Week I Stopped Being Stubborn
After that freezer excavation, I did something rare for me: I bought something without researching it for three weeks first. I grabbed a mid-range vacuum sealer machine, a box of bags, and committed to a simple experiment. For the next month, every single thing that went into my freezer would go in through the sealer. No exceptions. No “oh, I’ll just use a zip-top bag this once.” Everything.
The results were almost embarrassingly dramatic. That same salmon, repurchased and sealed properly, emerged from a month in the freezer looking and tasting like it had been at the fish counter that morning. Berries stayed individually quick-frozen in sealed pouches instead of fusing into berry-shaped concrete. Cheese — which I’d been throwing away after it crystallized in the dairy drawer — lasted weeks longer. I was converting food waste into grocery savings faster than I could seal it.
Here’s what I learned in that first month: the difference between a zip-top bag and a vacuum-sealed bag isn’t marginal. It’s the difference between food that lasts weeks and food that lasts months — sometimes a full year. For anyone who buys in bulk, grows a garden, or just hates throwing away leftover chili because it developed ice daggers in the back of the freezer, this machine pays for itself faster than almost anything else in the kitchen.
Not All Sealers Are Created Equal — Here’s What I Learned
After that first month converted me, I did what I always do: I went overboard. I started testing. I borrowed machines from friends, picked up a couple of budget models, and eventually splurged on a chamber sealer. Here’s the honest breakdown of what’s out there and who each type is for.
External (clamp) sealers are what most people picture — you put the open end of a bag into a slot, the machine sucks the air out and heat-seals it. These are affordable ($60–$150), compact, and honestly perfect for 90% of home cooks. The FoodSaver-style machines are the classics for a reason: they work, they’re widely available, and replacement bags are easy to find. The Anova Precision Vacuum Sealer is my personal favorite in this category — it has a built-in bag cutter, handles moist foods better than most, and the sealing strip is wide enough that you rarely get a failed seal.
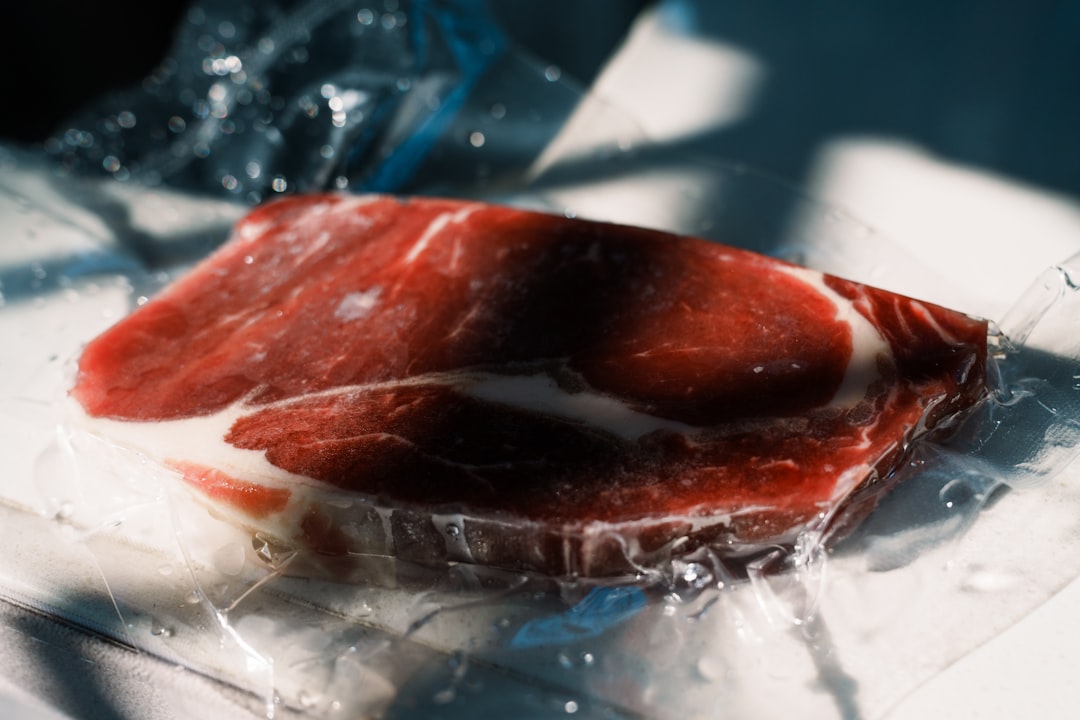
Chamber vacuum sealers are a different animal entirely. You place the entire bag inside a chamber, close the lid, and the machine removes air from the whole chamber — then seals the bag and returns the chamber to normal pressure. The result? A flawless, professional-grade seal every time, even with liquids like soups and marinades. They can also seal jars and canisters with the right accessories. The downside? They’re heavy, they’re expensive ($300–$800+), and they take up serious counter space. If you process large quantities of food — say, a serious hunter, a big-time gardener, or someone who cooks in bulk for a large family — a chamber vacuum sealer is absolutely worth the investment.
Handheld sealers are the entry-level option. Think of them as the gateway drug. They’re rechargeable, they work with special zipper-top bags (not standard heat-seal bags), and they’re perfect for someone who just wants to keep cheese fresh or seal up small portions. The rechargeable handheld models are great if you’re short on space or just dipping your toes in. Just know their bags are more expensive and less durable than the heat-seal kind.
The Real Cost: It’s All About the Bags
Here’s where the vacuum sealer industry gets sneaky. The machines are almost loss-leaders — it’s the bags that get you. A box of eight pre-cut vacuum sealer bags can run $15–$25, and if you’re sealing daily, you’ll burn through them fast. The smart move? Buy rolls instead of pre-cut bags. A bulk roll of vacuum sealer bags costs significantly less per seal, and you cut each bag to size, which means less waste for both your wallet and the planet.

I’ve also been experimenting with reusable silicone vacuum bags this year. They’re pricier upfront but can be washed and resealed dozens of times. For things like cheese, nuts, and dry goods that don’t need a permanent seal, they’ve become my go-to. For freezer storage, though, I still prefer the standard embossed bags — they hold a tighter seal at sub-zero temperatures.
One more money-saving tip: if you buy a machine with an accessory port (many FoodSaver and Nesco models have them), you can use it with vacuum canisters and standard Mason jars. This opens up a whole world of storage that doesn’t require disposable bags at all.
The Mason Jar Revelation
Six months into my vacuum-sealing journey, a friend showed me something that genuinely changed my kitchen: a Mason jar vacuum sealer attachment. It’s a simple little device — a wide-mouth or regular-mouth cap that fits over a standard Mason jar lid and connects to your sealer’s accessory port. You push the button, the air gets sucked out, and the lid pops down with a satisfying ping that sounds exactly like a properly sealed jar of canned tomatoes.
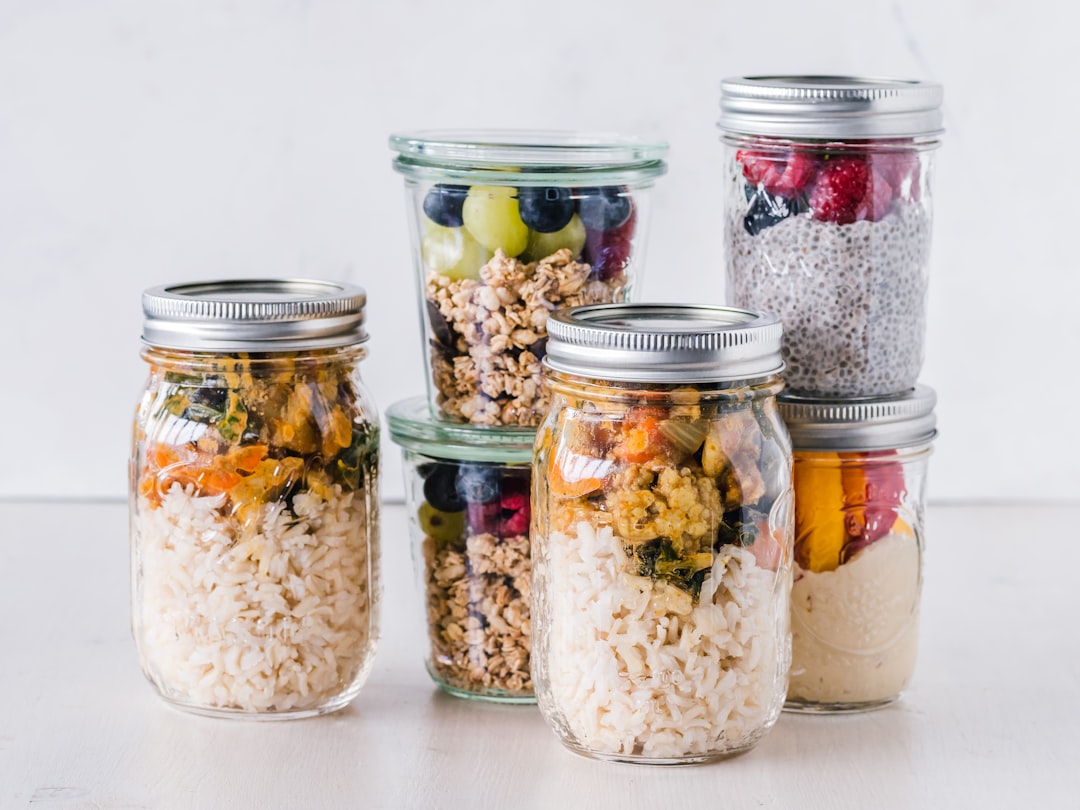
I now use this system for everything dry: rice, beans, nuts, granola, coffee beans, even brown sugar. Sealed Mason jars keep things fresh for months longer than the original packaging, they’re transparent so I can see what’s inside, and — this is the part my organization-obsessed heart loves — they stack beautifully. My pantry looks like a general store from 1890 and I’m not even a little bit sorry about it.
For wet items, the jar sealer works too, though I’m more cautious. I wouldn’t store soup in a vacuum-sealed jar at room temperature (that requires actual canning, which is a whole different process — if you’re curious about that, I wrote about my canning journey here). But for refrigerator storage, vacuum-sealed jars keep pesto, sauces, and dressings fresh for a remarkably long time.
What I Seal (And What I Don’t)
Once you own a vacuum sealer, you start looking at your kitchen differently. Everything becomes a candidate. Here’s what actually works well and what doesn’t, based on a year of aggressive testing:
Seal these:
- Meats and fish — The number one use. Buy in bulk, portion into meal-sized packages, seal, and freeze. I buy whole pork loins when they’re on sale, cut them into chops, and seal them in pairs. Same with chicken breasts and salmon fillets. External bag vacuum sealers handle this beautifully.
- Cheese — Vacuum-sealed hard cheeses last months without mold. Soft cheeses fare better in their original liquid in a sealed jar.
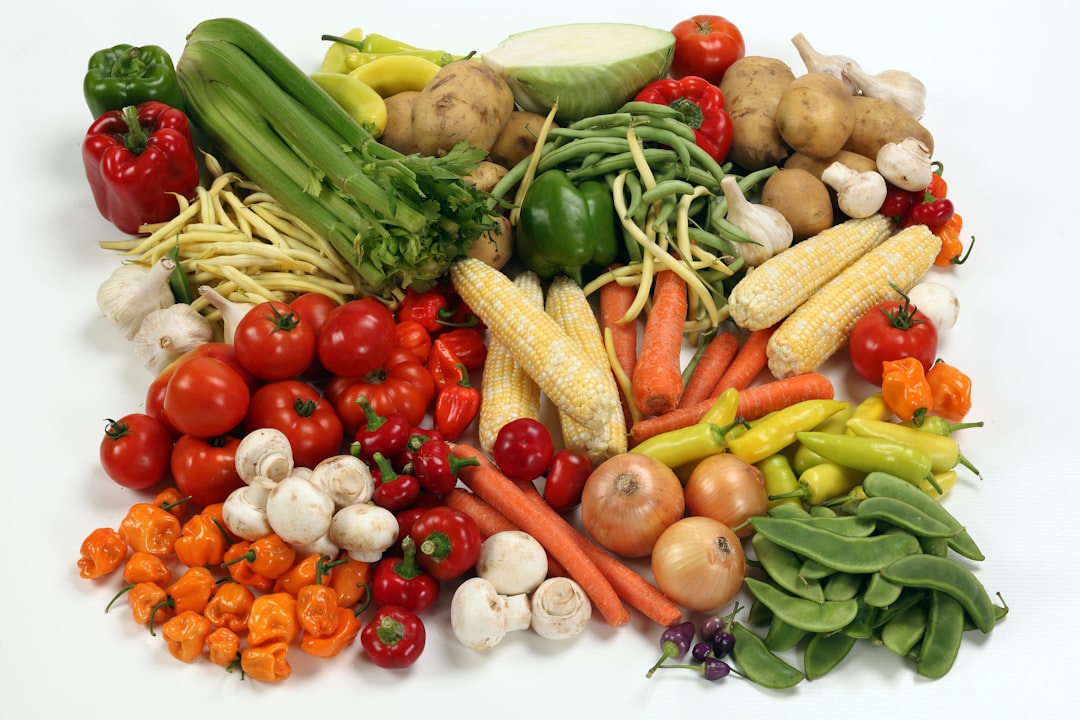
- Garden produce — Blanch vegetables, dry them thoroughly, seal, and freeze. Green beans, corn, peas, and peppers all perform beautifully.
- Fresh herbs — Seal whole sprigs and freeze. They crumble directly into soups and stews all winter. This is how I keep my back-burner soups tasting like summer in January.
- Leftovers and batch meals — Chili, soups, stews, and braises all freeze beautifully in flat-sealed bags that stack like books.
- Nuts and seeds — The oils in nuts go rancid quickly at room temperature. Sealed and frozen, they last a year.
Don’t bother with these:
- Cruciferous vegetables raw — Raw broccoli, cauliflower, and cabbage produce gases that can break the seal over time. Blanch them first.
- Mushrooms — They collapse and get slimy. Sauté first, then seal.
- Soft fruits and berries whole — The machine will crush them. Freeze berries flat on a sheet pan first, then seal the frozen berries.
- Anything still warm — Condensation is the enemy of a good seal. Cool food completely before sealing.
The Sous Vide Connection I Didn’t See Coming
Here’s a benefit I didn’t anticipate: vacuum sealing and sous vide cooking are a match made in culinary heaven. If you’ve ever tried to sous vide in a zip-top bag, you know the frustration of water seeping in, bags floating, and seasonings washing away. A proper vacuum-sealed bag eliminates all of that. The food cooks evenly, the flavors intensify, and cleanup is as simple as tossing the bag.
I now prep and seal portions of marinated chicken, pork tenderloin, and steak specifically for sous vide cooking. On a busy day, I grab a bag from the freezer, drop it straight into the water bath frozen (adding about 50% more cooking time), and have a restaurant-quality dinner with roughly four minutes of active effort. This is the kind of kitchen efficiency I used to dream about.
Which Machine Should You Actually Buy?
After a year of testing, here’s my honest recommendation matrix:
If you’re a casual user (occasional bulk purchases, weekly leftovers, small household): A mid-range external sealer in the $80–$120 range will transform your kitchen. Look for one with a built-in bag cutter, a moist/dry setting, and an accessory port. Don’t overthink it.
If you’re a serious home cook or gardener (regular bulk buying, garden preservation, large family meals): Step up to something like the Anova Precision Vacuum Sealer or a comparably featured model. The better sealing strip and stronger vacuum make a real difference when you’re processing twenty pounds of tomatoes or sealing a season’s worth of pesto.
If you’re processing large quantities or sealing liquids regularly (hunter, homesteader, serious batch cooker): Invest in a chamber vacuum sealer. Yes, it’s expensive. Yes, it’s heavy. But it seals liquids perfectly, the bags are dramatically cheaper (smooth interior, no embossing needed), and it will last decades.
If you’re short on space or budget: A handheld rechargeable sealer with reusable bags is a perfectly respectable entry point. It won’t handle freezer storage as well as a heat sealer, but for the refrigerator and pantry, it’s a game-changer for under $40.
The Honest Bottom Line
One year in, my vacuum sealer has earned permanent counter space — a designation I dole out about as freely as a Michelin inspector hands out stars. It sits next to my coffee grinder and my electric kettle, both of which had to fight for their spots too. My freezer is now a place of organized calm rather than chaotic dread. I throw away dramatically less food. I buy meat in bulk without anxiety. And when August dumps twenty pounds of garden tomatoes on me, I don’t panic — I seal.
If you’ve been on the fence like I was — thinking vacuum sealers are gimmicky, or unnecessary, or too much hassle — let me save you the decade of stubborn resistance I put in. Get one. Learn to use it well. Start with a box of bags, a tray of chicken breasts, and a Sunday afternoon. By the end of the month, you’ll wonder how you ever ran a kitchen without one.
And when you open your freezer next July and find perfectly preserved strawberries from last summer — no ice crystals, no freezer burn, just fruit that tastes like it was picked yesterday — you’ll understand exactly why I’m writing love letters to an appliance I once made fun of. The kitchen has a way of humbling you like that.

5 thoughts on “The Freezer Burn Epiphany That Changed How I Store Everything”