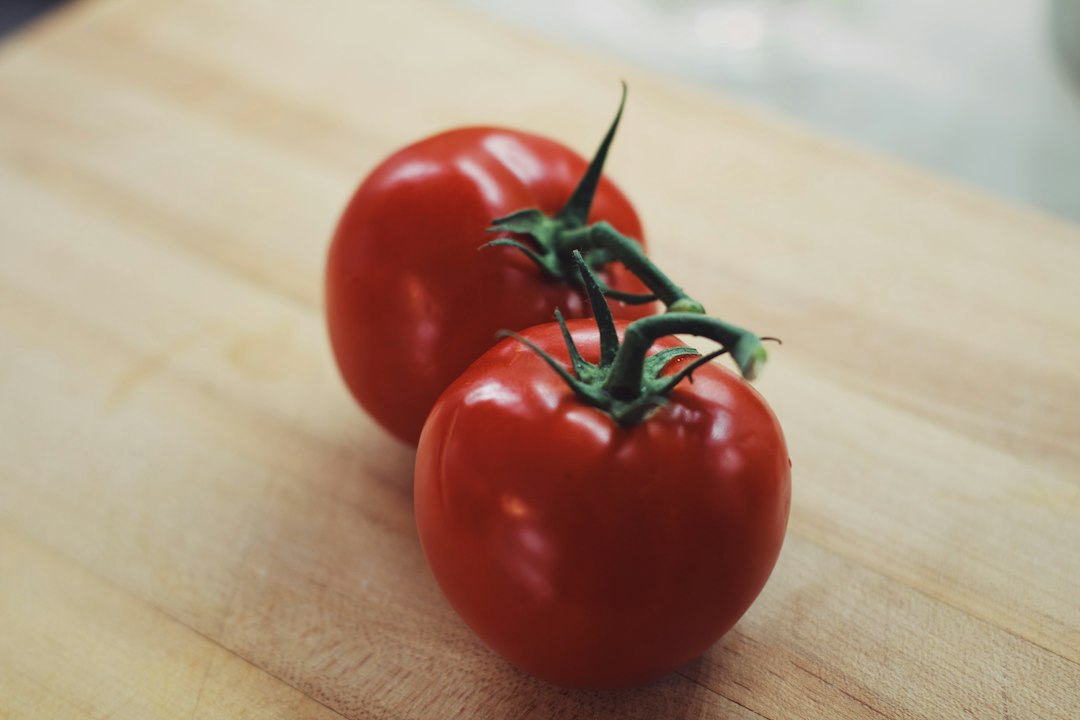
Every September, without fail, my kitchen hands me the same rude little test. The garden tomatoes come in heavy and ripe, I line three of them up on the board for the season’s first real sandwich, and I set my favorite chef’s knife against the skin of the first one. If the blade slides through like the tomato is made of butter, all is right in the world. If it presses down, dimples the skin, and slowly crushes its way through until I’m holding something closer to salsa than a slice — well. The tomato never lies. The knife needs attention, and it needed it months ago.
My grandmother had a rule about this. She never sharpened on a schedule, because she said schedules were for people who didn’t pay attention. She sharpened when the food told her to. An onion squeaked instead of parted? Sharpen. The skin of a pepper slid off the blade instead of yielding to it? Sharpen. I spent years thinking this was folk wisdom without much behind it, and then I spent one autumn actually counting, and I realized the tomatoes were right every single time. A dull edge is not a small inconvenience. It is the difference between cooking that feels like flow and cooking that feels like a negotiation.
So this year, with fall produce rolling in and soup season breathing down our necks, my team and I pulled every sharpener in the building — three whetstone kits, two electric machines, a stack of honing rods, and a couple of those little pull-through gadgets that live in junk drawers — and we spent two weeks putting edges back on knives that had no business being as neglected as they were. Here is everything we learned, and everything I wish someone had told me twenty years ago.
What a Dull Blade Is Quietly Costing You
The first thing to understand is that a dull knife isn’t just slow — it’s expensive and a little dangerous. A dull edge requires pressure, and pressure is where fingers get hurt. Every kitchen safety course worth its salt says the same thing: the sharp knife is the safe knife, because it goes where you point it instead of skidding off onion skins and heading for your knuckles. I’ve seen more kitchen accidents from dull blades than sharp ones, and I’ve got a small scar on my left index finger from a summer squash and a lazy edge to prove it.
Then there’s the food itself. A sharp knife cuts cells cleanly; a dull one tears them. That’s why your cut tomatoes weep juice all over the board, why your herbs blacken in minutes instead of staying green, and why your potatoes for hash browns turn gluey at the edges. If you’ve ever wondered why restaurant salads look crisper than yours, I’d put good money on the blade before I blamed the produce. The knife is the most-used tool in the entire kitchen, and it’s the one we’re all strangely willing to neglect.
If you’re starting from scratch — a first kitchen, a graduation gift, a divorce recovery kit — the knife itself is the first purchase, not the sharpener. But if you already own even one decent blade, everything below will do more for your cooking than any new gadget you can buy this fall.
Honing and Sharpening Are Two Different Conversations
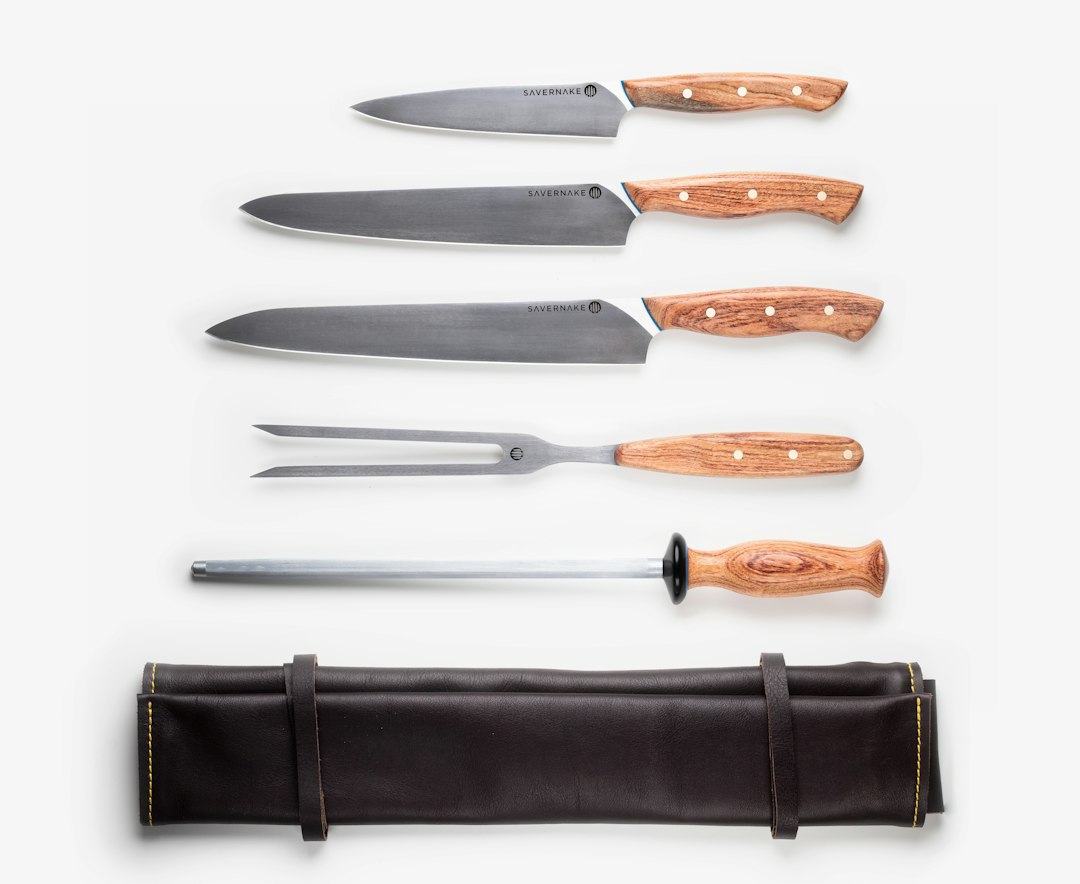
Let’s clear up the confusion that costs people so much good steel. Honing and sharpening are not the same job wearing different hats. Sharpening removes metal to create a brand-new edge. Honing simply straightens the microscopic wire of metal that already exists — that edge bends with daily use long before it actually wears away. When a chef drags a blade down that steel rod before service, they’re not sharpening. They’re combing the edge back into line.
The rhythm that finally worked for me, after years of doing it wrong: hone every few uses or once a week in a busy kitchen, and truly sharpen once or twice a year. That’s it. Most home cooks who think they have dead knives actually have bent edges that sixty seconds with a honing rod would resurrect. Before you buy anything in this article, try that. If you don’t own a rod, this is the least expensive fix on the page — the Utopia Kitchen 12-inch rod costs less than a sandwich platter and does the job for basic German-style steel, while the Cutluxe 10-inch honing steel is the one I reach for with my harder Japanese knives, because its slightly finer surface is gentler on those thin edges.
One honest warning from the testing bench: a honing rod cannot save an edge that’s truly gone. If the tomato still squishes after a week of honest honing, stop combing a bald tire. It’s time to sharpen.
Why I Keep Coming Back to a Plain Gray Stone
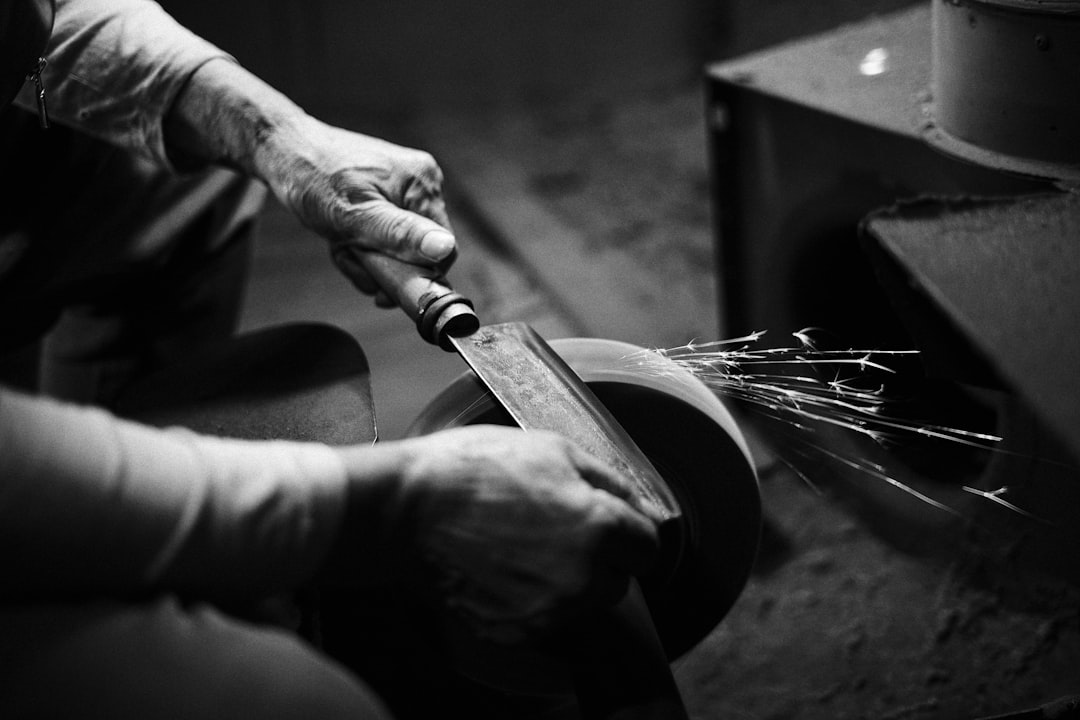
Ask ten professionals how to sharpen and nine of them will say whetstone, and for most of my life I found that answer deeply unhelpful, because stones scared me. They require technique, they require patience, and they’ll happily eat a blade if you hold the wrong angle for ten stubborn minutes. But here’s what changed my mind: a stone removes the least metal, respects the blade’s original geometry, and produces an edge that no machine I’ve tried can match. Once my team actually timed the learning curve, we found most people are producing respectable edges by their third session.
Grit is simpler than it sounds. Low numbers are coarse and aggressive — that’s where you repair chipped or truly dead edges. High numbers are fine and polishing. A dual-grit combination stone covers the whole home kitchen: the 1000 side does the heavy lifting, the 6000 side puts the scary-sharp finish on. The King KW65 1000/6000 combination stone is the one my grandmother’s kitchen would have recognized — no-frills Japanese brick that Serious Eats still tops its list with, and rightly so. If you want the same idea with a friendlier price and a non-slip base, the Sharp Pebble 1000/6000 was our testers’ favorite for a first stone.
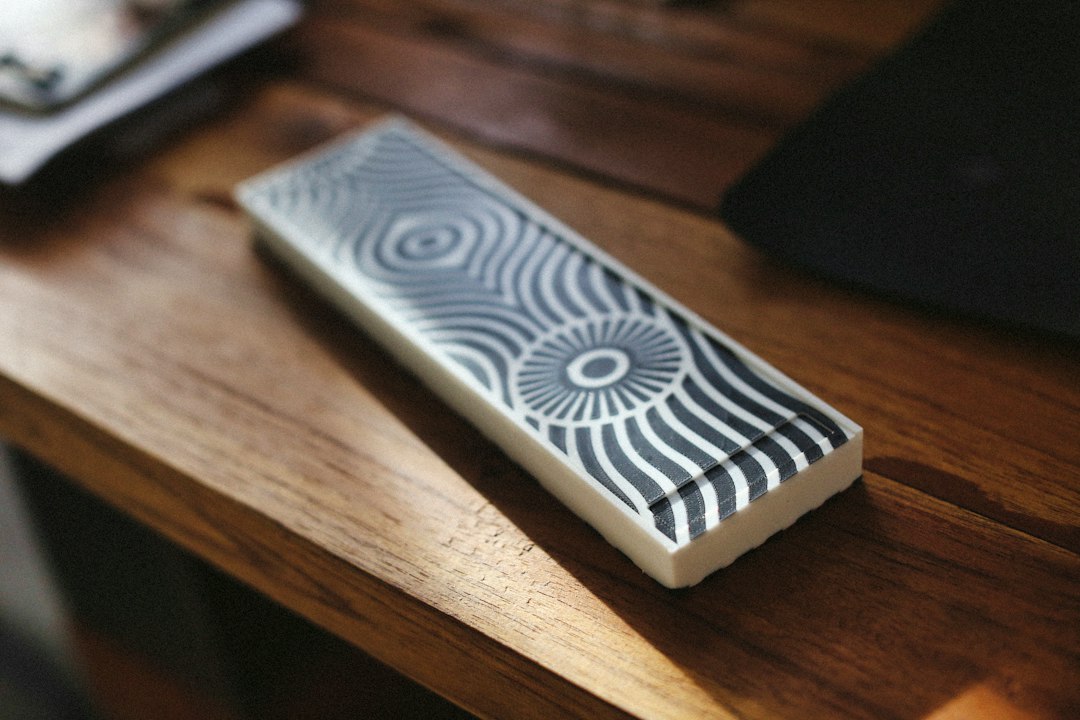
And if you suspect you’ll fall all the way into this hobby the way I did, the Intelitopia complete sharpening kit bundles a four-sided grit selection, a leather strop, a flattening plate, bamboo base, and — most importantly for beginners — a clip-on angle guide that holds your blade at fifteen degrees so your early strokes aren’t sabotaged by guesswork. That kit is what I hand to people who ask me to “just teach them once.”
The Stroke Itself: A Beginner’s Method That Forgives
Since we’re here, let me save you the first-week mistakes. Soak the stone in water for ten minutes — the bubbles stop when it’s ready — and set it on a damp towel so it can’t wander. Start on the coarse side. Draw the blade across in long, smooth strokes like you’re slicing a thin layer off the top of the stone, count your passes, then flip and repeat the same count on the other side. The angle guide keeps you honest while your hands learn the feel. When you can run your thumb — carefully, sideways, never along the edge — perpendicular across the blade near the heel and feel a tiny consistent burr on the opposite face, you’ve built a real edge. Move to the fine grit, repeat gently, then finish on the strop, dragging the blade spine-first like an old barber.
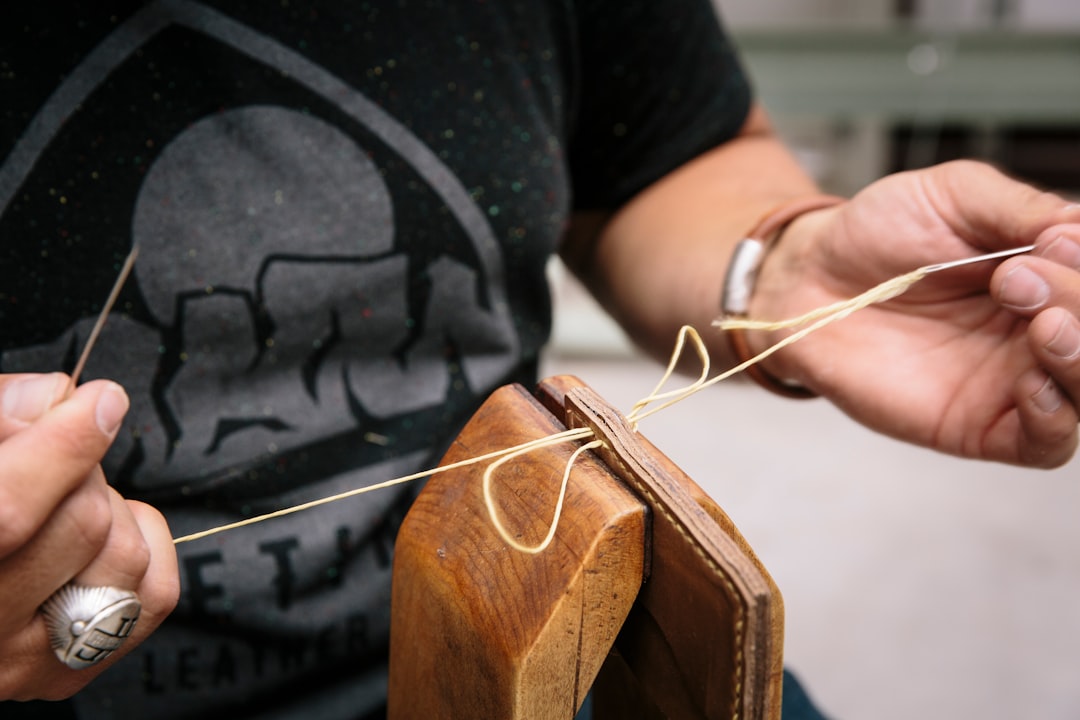
One last stone secret nobody puts on the box: the stone itself wears hollow in the middle over time, and a dished stone rounds your edges no matter how good your technique is. A diamond flattening plate re-levels the surface in about a minute. The Atoma 1200 plate is the buy-once-cry-once option that will outlive several stones; ours has flattened every stone in the test kitchen for three years and shows no wear.
When the Calendar Won’t Cooperate: Electric Sharpeners Worth the Outlet
Now, the honest part. There are seasons of life when nobody has ten quiet minutes and a bowl of water — new babies, new jobs, October. I stopped being a stone snob the year I realized my sister’s knives, maintained twice a year on a countertop machine, were sharper than mine because my “someday I’ll do it properly” never came. A good electric sharpener is not cheating. It’s maintenance that actually happens.
The Chef’sChoice 15XV is the machine I recommend without flinching. It’s the one Wirecutter keeps at the top of its guides for a reason: three diamond-abrasive stages with angle guides built into the slots, and it walks both straight and serrated blades through at a consistent fifteen degrees. If your drawer holds a mix of European and Asian steel, the Chef’sChoice AngleSelect handles both fifteen- and twenty-degree edges with a simple switch, which matters if you’re not sure what your knives are. And for the gadget-inclined, the Work Sharp kitchen sharpener uses flexible abrasive belts guided through precision slots — it’s fast, it’s satisfying to use, and it lives in a kitchen drawer instead of hogging counter space.
Two rules if you go electric. First, pull the blade through slowly and evenly — the temptation to speed up is how edges get rounded. Second, use the finest stage for maintenance touches instead of always starting coarse; the goal is always to remove as little metal as possible.
The Ten-Dollar Drawer Fix I Keep in the Camper
There is a whole shelf of the market devoted to cheap pull-through sharpeners, and most of them are as hard on blades as they look. But I’ll defend two. The AccuSharp is a decade-old classic, costs about the same as a fancy coffee, and restores a working — not beautiful, working — edge in under a minute. It lives in our camper and my harvest basket, because a tomato-knife emergency at the campground is real and the whetstone doesn’t travel. The KitchenIQ Edge Grip is the same idea in a wedge that hooks over the counter edge, with a coarse side for resurrection and a fine side for touch-ups, sized for an apartment kitchen or a first apartment drawer.
Neither one belongs near a two-hundred-dollar Japanese blade — they take more metal than a stone and their angles are their opinion, not yours. But for the thirty-dollar block-set knife that does ninety percent of the work in most American kitchens, a ten-dollar fix that actually gets used beats a perfect fix that never does. That is the whole philosophy of this site in one sentence.
Keeping the Edge You Just Paid For
Sharpening is the rescue; habits are the insurance. Glass and granite countertops are edge assassins — even one enthusiastic chop directly on a stone counter can undo an hour of careful work. Cutting boards matter more than people think; we spent six weeks testing boards this summer and the end-grain wood and soft plastic boards were dramatically kinder to edges than glass or bamboo, and you can read everything we learned here. Storage is the other silent killer: loose knives rattling in a drawer blunt themselves on each other every time the drawer moves.
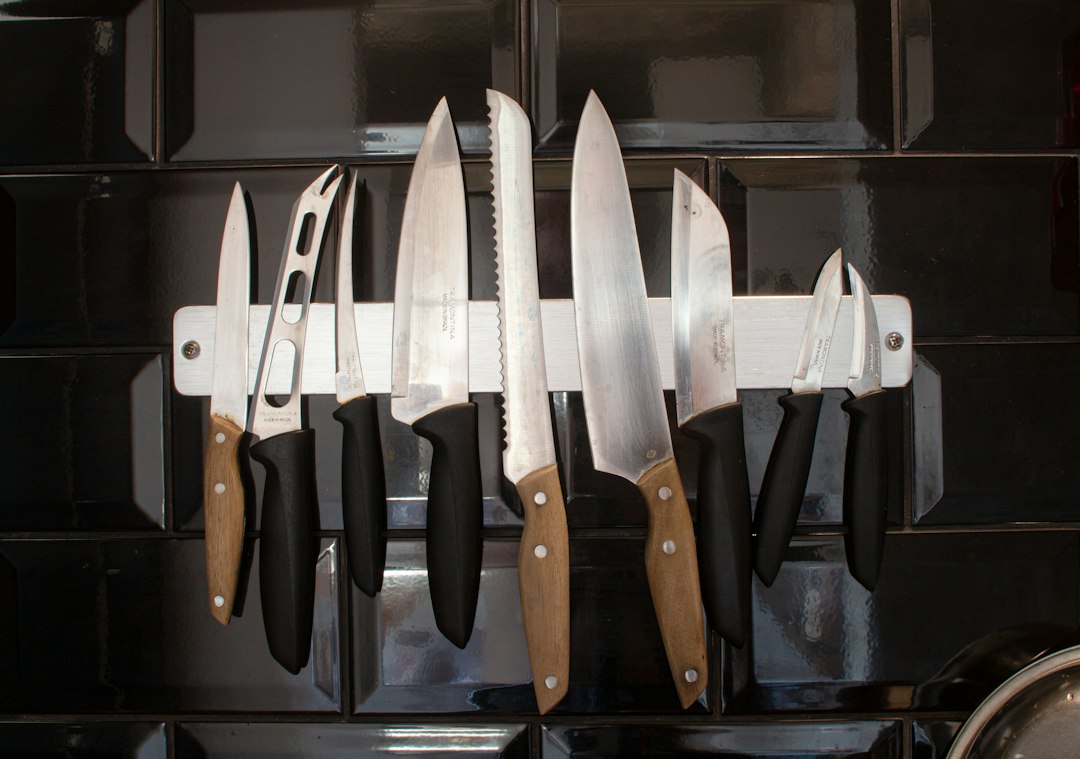
A magnetic strip on the wall or a slotted block keeps edges suspended and safe — and it turns out I have strong opinions about which slots deserve filling. And please, never let a good knife soak in a sink of dishwater or ride through the dishwasher. Water and heat loosen handles and corrode the fine edge you just spent a September afternoon perfecting. Wash it, dry it, hang it up. Thirty seconds, every time.
Where I’d Spend Your First Forty Dollars
If you’re standing at the starting line, here’s the order I’d buy in. First, a honing rod — it fixes the most common problem for the least money, and you’ll use it weekly. Second, either the Sharp Pebble stone if you have a patient Saturday morning in you, or the Chef’sChoice machine if you honestly don’t — both produce edges that will make your September tomatoes nervous. The pull-throughs come third, for the camper and the cabin and the glove box. And if you ever catch yourself hesitating over a knife because you’re not sure you deserve the fancy one yet, come talk to me after you’ve read about the summer a certain mandoline made my knife skills irrelevant. Confidence in the kitchen is built, not issued.
The tomato test will come around again next September, the same way it always does. But here’s what I’ve learned in twenty years of Septembers: the difference between a kitchen that flows and a kitchen that fights is almost never the fancy range or the copper pots. It’s whether the oldest, plainest tool in the drawer can do its one job. Give your knives an afternoon. They’ll pay you back every single day until next tomato season — and that, as my grandmother would say while sliding the first perfect slice off the blade, is a promise the tomatoes will keep.