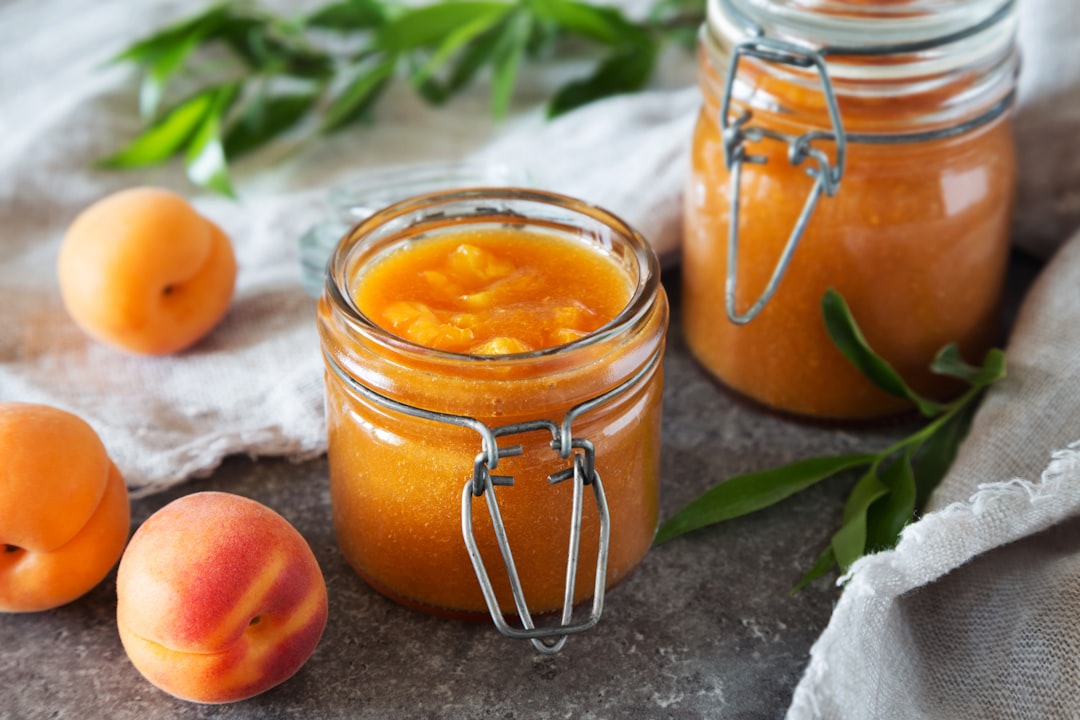
There are exactly twelve days a year when my kitchen smells like it’s supposed to. Not like dinner, not like coffee, not like the toast I burned yesterday morning. I’m talking about the particular perfume that only happens when a bushel of freestone peaches, a flat of plums, and two quarts of dark sweet cherries are sitting on the counter at the same time, ripening in a race against each other. That’s stone fruit season. And if you blink, you’ll miss it.
I learned this lesson the hard way about fifteen years ago. I’d been so distracted by a new baby and a kitchen renovation that I completely forgot to put up peaches. By the time I made it to the orchard, the good ones were gone — shipped off to grocery stores two states away, replaced by mealy impostors that tasted like cardboard and regret. I promised myself I’d never let that happen again. And I haven’t.
Every July, I clear my schedule, stock my preserving kit, and turn my kitchen into a small-batch stone fruit processing operation. My grandmother would recognize the routine immediately, even if she’d side-eye half my tools. She put up forty quarts of peaches every summer using nothing more than a paring knife, a pot, and sheer stubbornness. I use slightly more equipment, but the spirit is the same: capture this season in a jar so you can taste July in January.
The Two-Week Window Nobody Warns You About
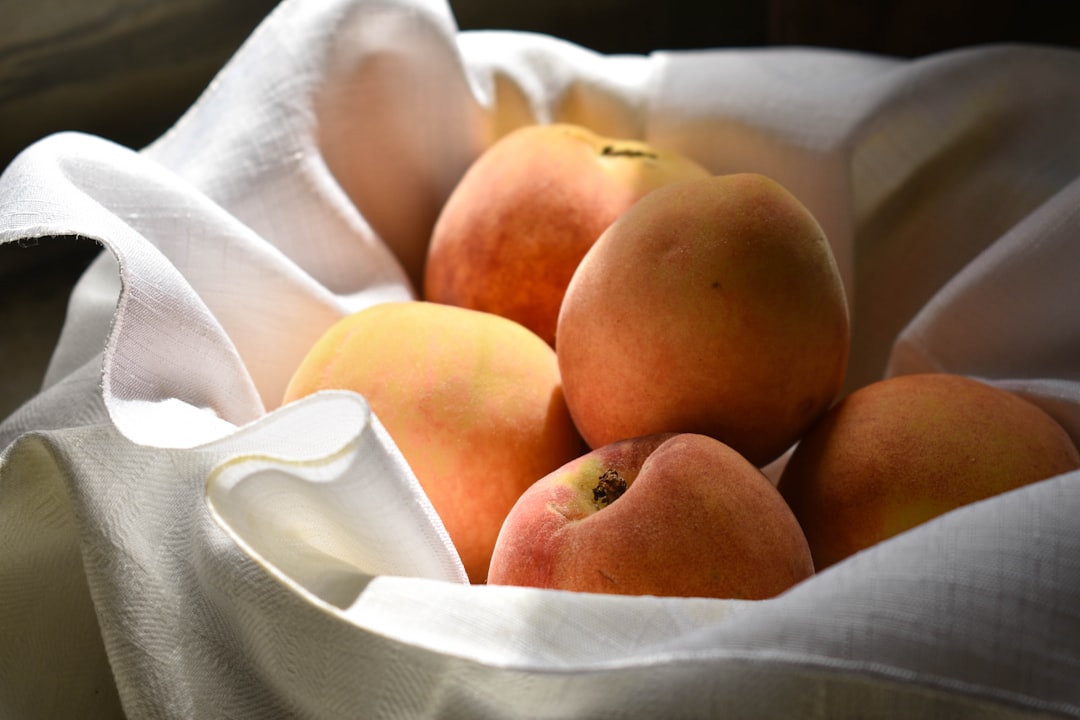
Here’s what they don’t tell you about stone fruit season: it doesn’t last. Blueberries give you a solid six weeks. Strawberries? Almost two months if you’re lucky. But peaches, plums, nectarines, and apricots — the whole drupe family — have maybe fourteen good days at peak ripeness. The farmers market tables groan under the weight of them one Saturday, and by the next, they’re down to the last bruised box.
That urgency is what makes this particular stretch of summer feel so different from everything else I cook all year. There’s no leisurely Sunday afternoon of meal prep here. When the fruit is ready, you process it. Today. Not tomorrow, when it will have softened another notch and started attracting fruit flies. I’ve pulled all-nighters standing over a water bath canner in late July, and I’d do it again.
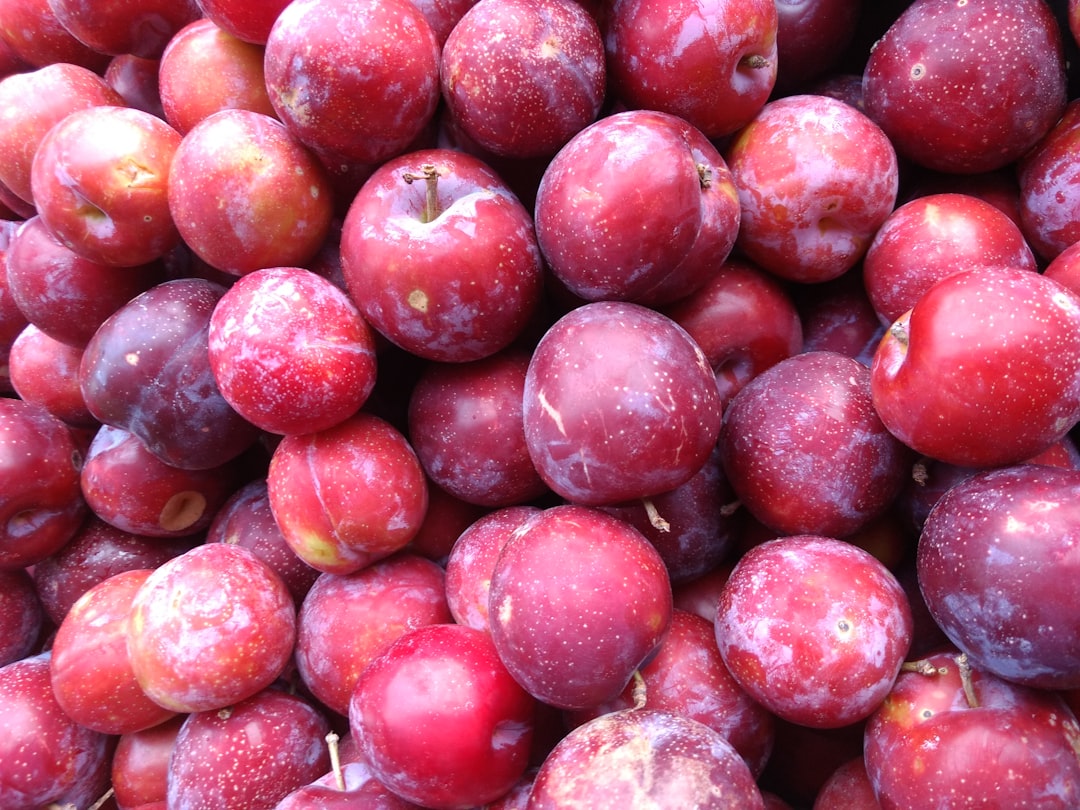
The trick is being ready before the fruit arrives. Not shopping for tools when you’re already standing in your kitchen with a half-bushel of collapsing peaches. So consider this your advance briefing — everything I’ve learned about capturing stone fruit season at its peak, assembled into one practical, battle-tested guide.
Pitting and Prepping: The First Battleground
Let’s start with the most tedious part: getting the pits out. If you’re working with freestone peaches (the variety where the flesh pulls cleanly away from the stone), this isn’t terrible. But if you’ve got clingstones — and early-season varieties almost always are — you’re in for a wrestling match.
For years, I used a paring knife and a lot of colorful language. Then I discovered the OXO Good Grips Peach Pitter, and honestly, it changed my summer routine. It’s a simple tool — a curved blade on a handle that scoops the pit out in one motion — but it saves me at least an hour per bushel. The design mirrors what my grandmother’s old peach pitter did, just with better ergonomics.
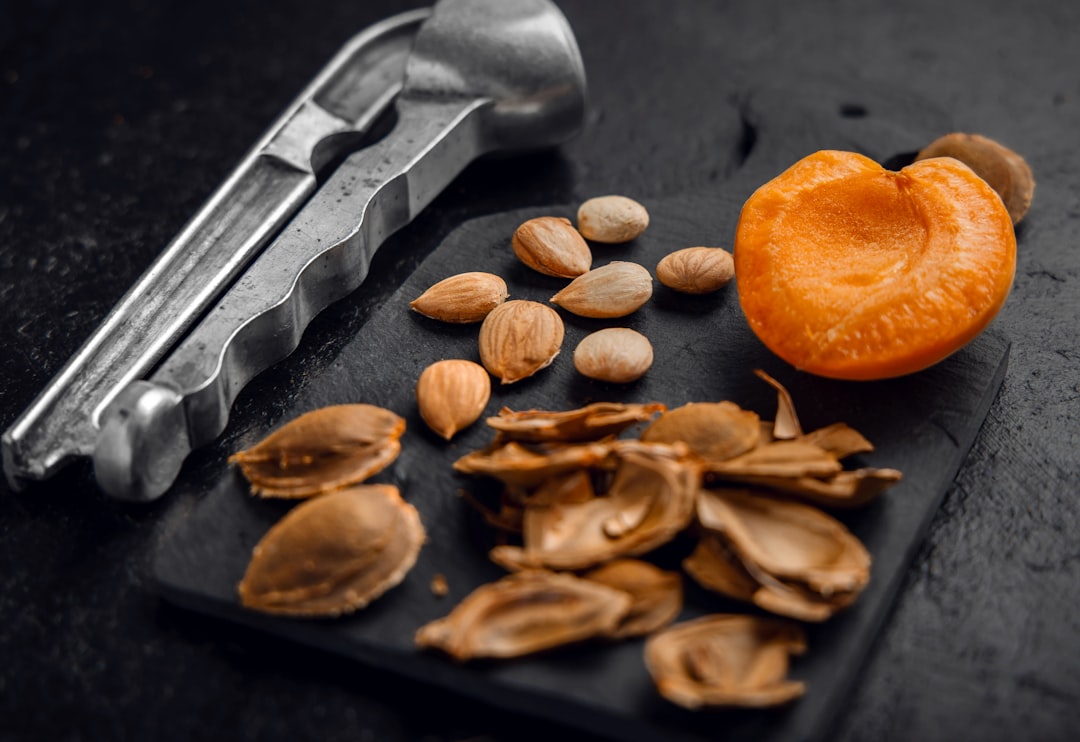
Cherries are their own particular challenge. You can pit them by hand with a paperclip (a trick my aunt taught me that actually works), but if you’re dealing with more than a pint, save yourself and get a proper cherry pitter. I’ve used the Westmark Cherry Pitter for years — it’s German-made, cast aluminum, and built like it could survive being run over by a tractor. For larger batches, I switch to the heavy-duty stainless steel model with the space-saving lock design, which handles six cherries at a time without spraying juice across my entire kitchen.
The Water Bath: Your Best Friend in July
If you’re new to preserving, here’s the single most important thing I can tell you: high-acid fruits like peaches, plums, cherries, and most berries can be safely preserved in a water bath canner. You do not need a pressure canner. You need a pot deep enough to cover your jars with two inches of water, a rack to keep them off the bottom, and the patience to wait for a rolling boil.
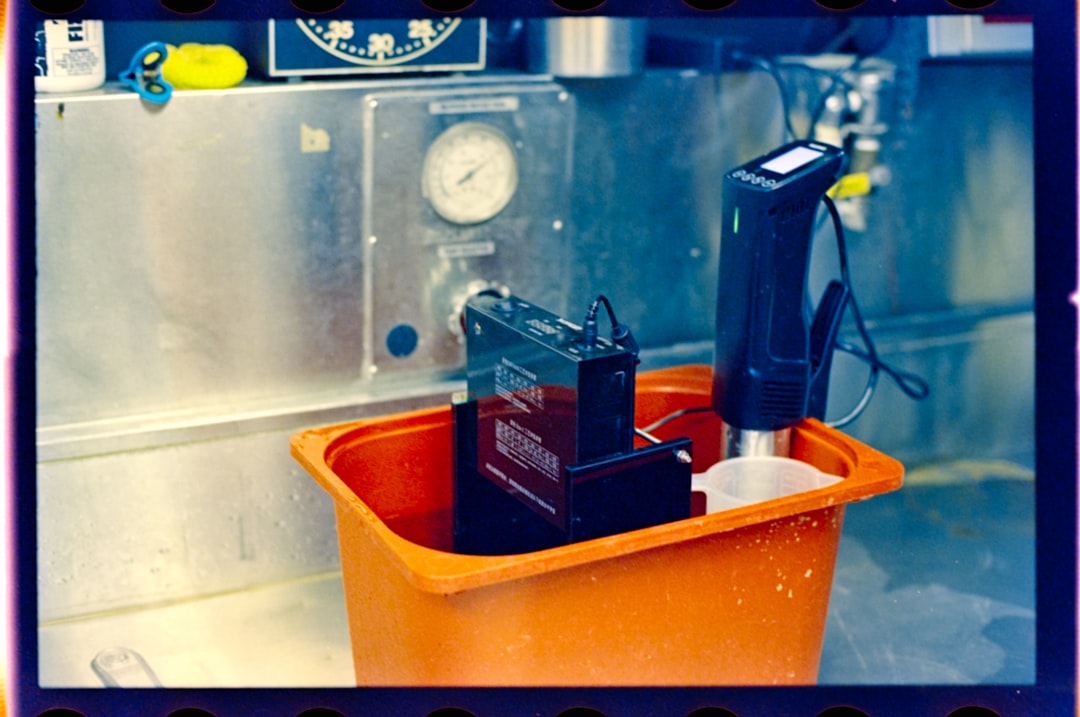
My setup has evolved over the years from a stockpot and a kitchen towel (don’t do this — the jars slide) to a proper 24-quart water bath canning kit with a rack and lid. The rack alone is worth the investment. It lowers the jars in as a group, keeps them from rattling against each other, and lifts them all out at once when the processing time is up. If you’ve ever fished a hot jar out of boiling water with tongs and a prayer, you understand why a rack matters.
The kit I use comes with a jar lifter, a wide-mouth funnel, and a lid lifter — the four tools that make canning feel like a manageable afternoon project instead of a survival challenge. I wrote about building a kitchen system for July’s harvest earlier this season, and the water bath canner is the cornerstone of that whole system.
Jars: The Canvas of Summer Preserving
I have a complicated relationship with Mason jars. I own too many. I can’t stop buying them. And every July, I wish I had more.
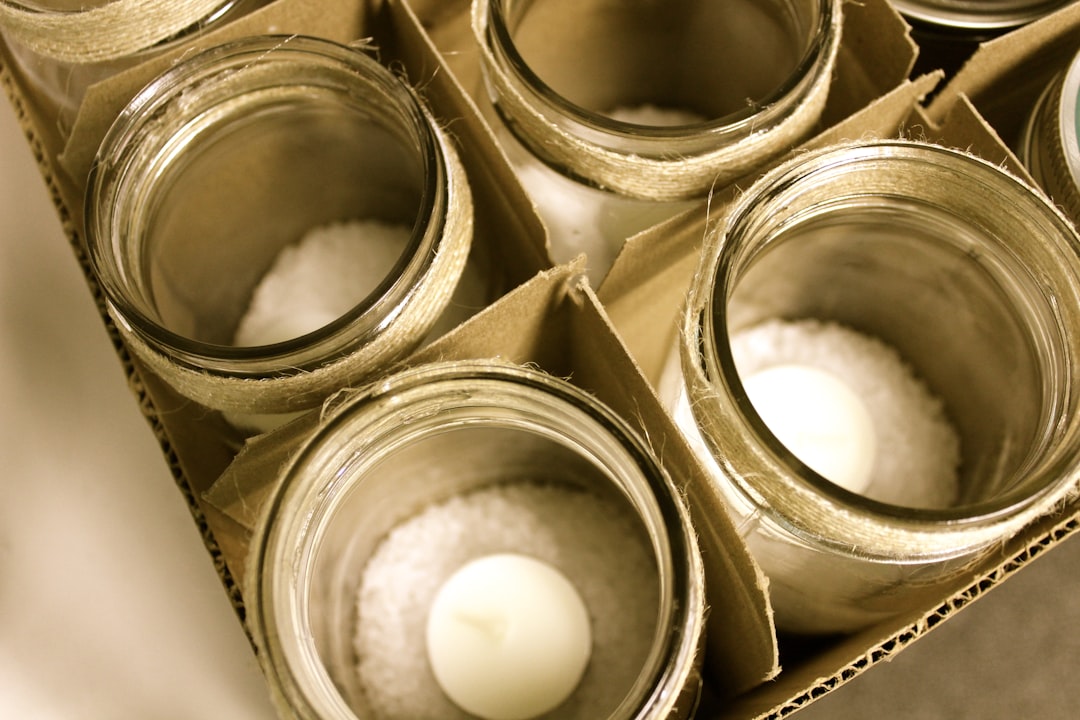
For stone fruit, wide-mouth pint jars are the sweet spot. They hold exactly the right amount for a family of four (or a single cook who’s planning ahead), and the wide opening makes packing peach halves and plum quarters dramatically easier. I’ve narrow-mouthed my way through a bushel of peaches exactly once, and the memory still haunts me — you end up with mangled fruit and sticky hands up to the wrists.
I keep a running stash of Ball Wide Mouth Pint Jars in my pantry at all times, but I always order a fresh case in June because breakage happens and lids wear out. Buy extra lids. Always. There is nothing worse than having twelve jars of peach butter ready to seal and only nine functional lids.
A good stainless steel canning funnel is the unsung hero here. It sits in the jar opening and gives you a target wide enough to actually hit. My old plastic funnel melted during a particularly enthusiastic jam session, and I replaced it with a stainless version that has now survived eight seasons. Get one with a built-in strainer if you can — it saves a step when you’re filling jars with chunky preserves.
The Puree Problem: When You Need a Food Mill
Not every stone fruit is destined to live in a jar as a perfect half. Some of them — the bruised ones, the overripe ones, the ones that got squished on the way home from the orchard — become something else entirely. Peach butter. Plum sauce. Cherry compote. Nectarine leather. And for all of those, you need a food mill.
A food mill is the tool that separates the smooth from the scratchy. You load cooked fruit into the hopper, turn the crank, and the mill pushes the puree through a disc while catching the skins, seeds, and stems. It’s the difference between peach butter that coats a biscuit like velvet and peach butter that feels like you’re eating sand.
I’ve used the OXO Good Grips Food Mill for the better part of a decade. It’s not the cheapest option, but it clamps securely to the bowl, the handle has real leverage, and the three disc sizes cover everything from a chunky applesauce texture to a silky puree. If you’re on a budget, the generic stainless steel food mill with three discs does nearly the same job for about half the price — just expect to crank a little harder.
The Jam Pan Question: Does Copper Actually Matter?
This is where I lose some people, and that’s fine. You do not need a copper jam pan. A heavy-bottomed stainless steel pot works beautifully. I made jam for years in a Dutch oven and never had a single complaint.
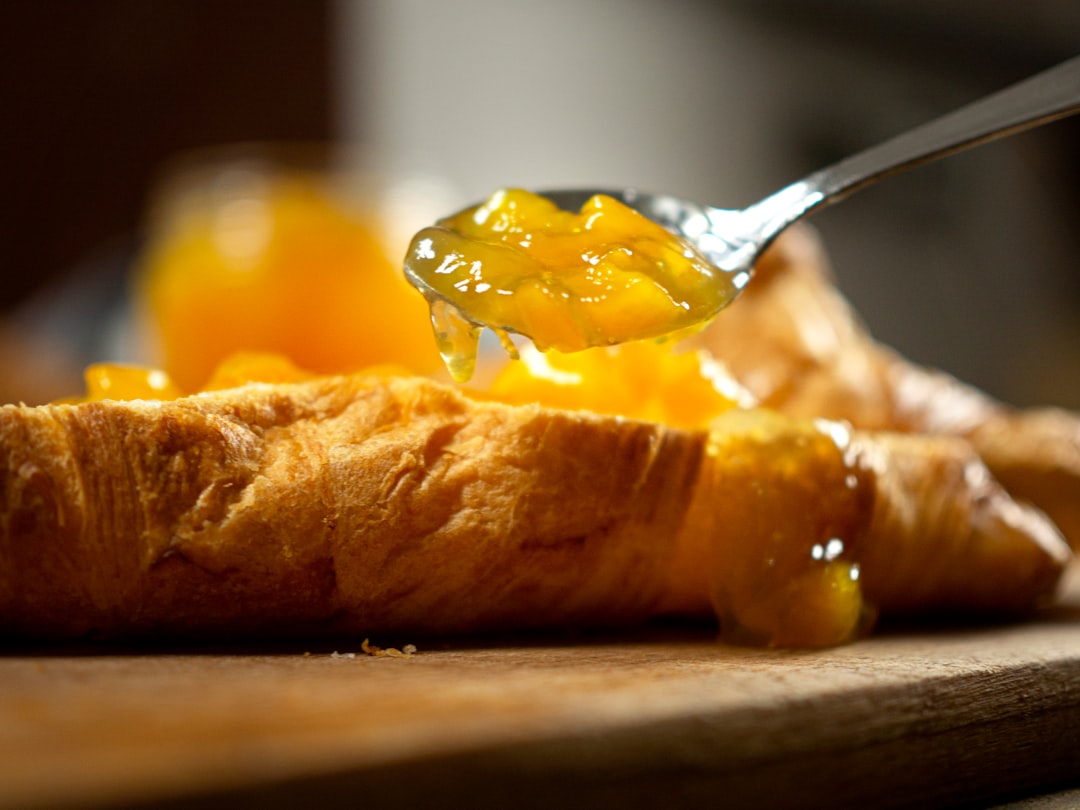
But. If you make a lot of jam — and after stone fruit season, you might find that you do — there’s something about a hand-hammered copper preserving pan that elevates the entire experience. Copper conducts heat so evenly that hot spots virtually disappear, which means your jam cooks faster and tastes fresher. The sugar doesn’t scorch. The fruit doesn’t caramelize unevenly. And the pan itself is wide and shallow, which encourages evaporation and gives you a better set with less cooking.
I inherited my copper pan from an aunt who used it for fifty years. If you don’t have a generous aunt, a good stainless maslin pan with a pouring spout and tri-ply bottom will get you 90% of the way there. The important thing is that the pan is wide — at least ten inches across — so the jam has surface area to reduce.
Beyond the Jar: Dehydrating and Freezing
Not every peach needs to end up in a jar. Some of the best stone fruit preservation happens without a canner at all. Dehydrating turns surplus plums into wrinkled little flavor bombs that are incredible in winter oatmeal. And fruit leather — the grown-up version of the roll-ups I lived on as a kid — uses up the puree that’s too ugly to jar but too delicious to compost.
For fruit leather, you’ll need silicone dehydrator sheets with edges to contain the puree. Pour it thin, dry it low and slow, and you’ve got snackable fruit leather that tastes like the best summer you ever had. I make a dozen sheets every July, roll them up, freeze them, and dole them out through February.
Freezing is the simplest method of all. Lay peach slices on a parchment-lined sheet pan, freeze until solid, then transfer to a container. They’ll keep for a year and make the most extraordinary smoothies. If you want to go deeper on freezing strategy, I wrote about my freezer system overhaul — it changed how I think about long-term storage.
My Stone Fruit Season Timeline
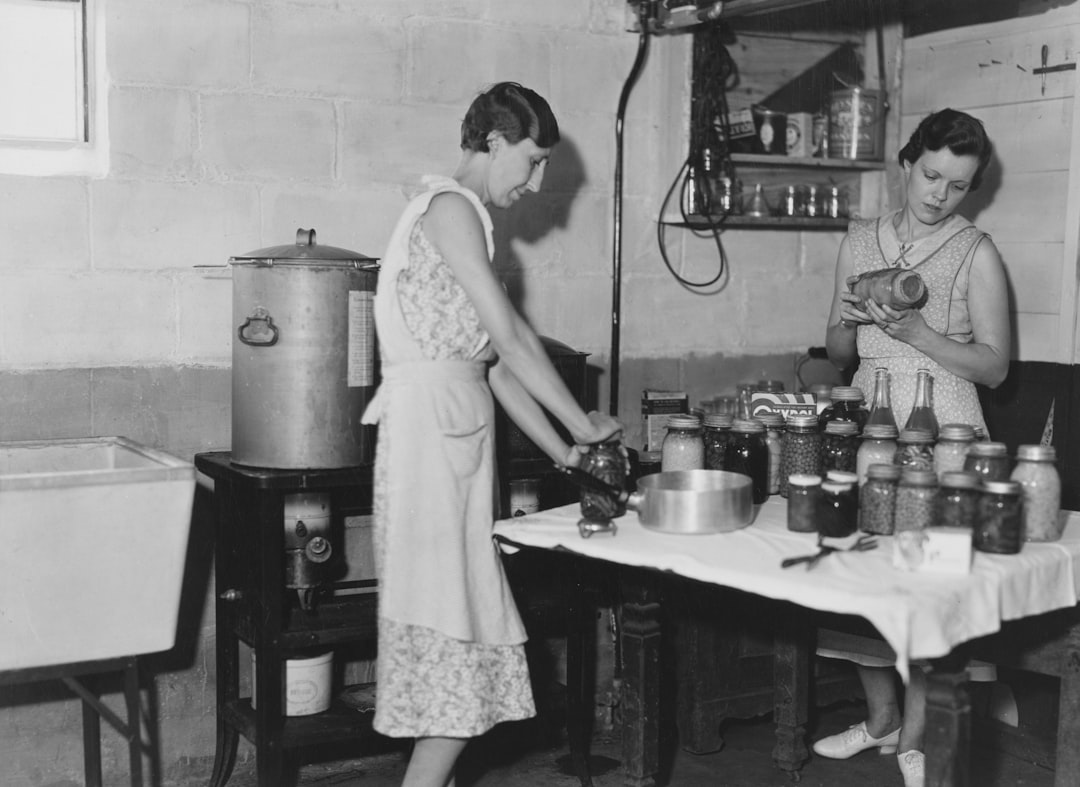
After fifteen years of doing this, I’ve developed a rhythm. Here’s how my two weeks usually unfold:
Days 1-3: Fresh eating. Fruit comes in, gets sorted by ripeness, and the most fragile specimens are eaten immediately. Peach cobbler for dinner is acceptable behavior.
Days 4-6: Canning begins. I start with peaches in light syrup — halved, not sliced, because halves look gorgeous in the jar and fit better. While the water bath is running, I pit cherries for the next batch.
Days 7-9: Jam and butter production. Everything that’s too soft to can as halves goes through the food mill and into the maslin pan. This is the messiest part of the season. My kitchen smells incredible. My dog stays underfoot hoping for drops.
Days 10-12: Dehydrating and freezing. The last stragglers — late-ripening plums, the final handfuls of cherries — get sliced thin for the dehydrator or laid on sheet pans for the freezer. By day thirteen, the counter is bare, and I’m exhausted but deeply satisfied.
What I’d Tell My Younger Self
If I could go back to that first summer I missed stone fruit season, I’d tell myself three things. First, the window is shorter than you think — set a phone reminder for mid-July right now. Second, you don’t need every tool at once. Start with a water bath kit, a case of jars, and a good pitting tool. Third, the effort you put in during these two weeks will feed you all winter long. Every time you open a jar of peach halves in January, you’ll taste July. And that taste — warm, golden, impossibly floral — is worth every sticky counter and late night by the canner.
My grandmother knew this. She didn’t have a copper pan or a stainless steel food mill or a cherry pitter that locked for storage. She had a paring knife, a massive pot, and the unshakable belief that feeding your family from the seasons was simply what you did. I’ve upgraded her toolkit, but I haven’t changed her philosophy. Stone fruit season is a gift. All you have to do is show up ready.

One thought on “Twelve Days of Gold: Your Complete Stone Fruit Season Survival Guide”