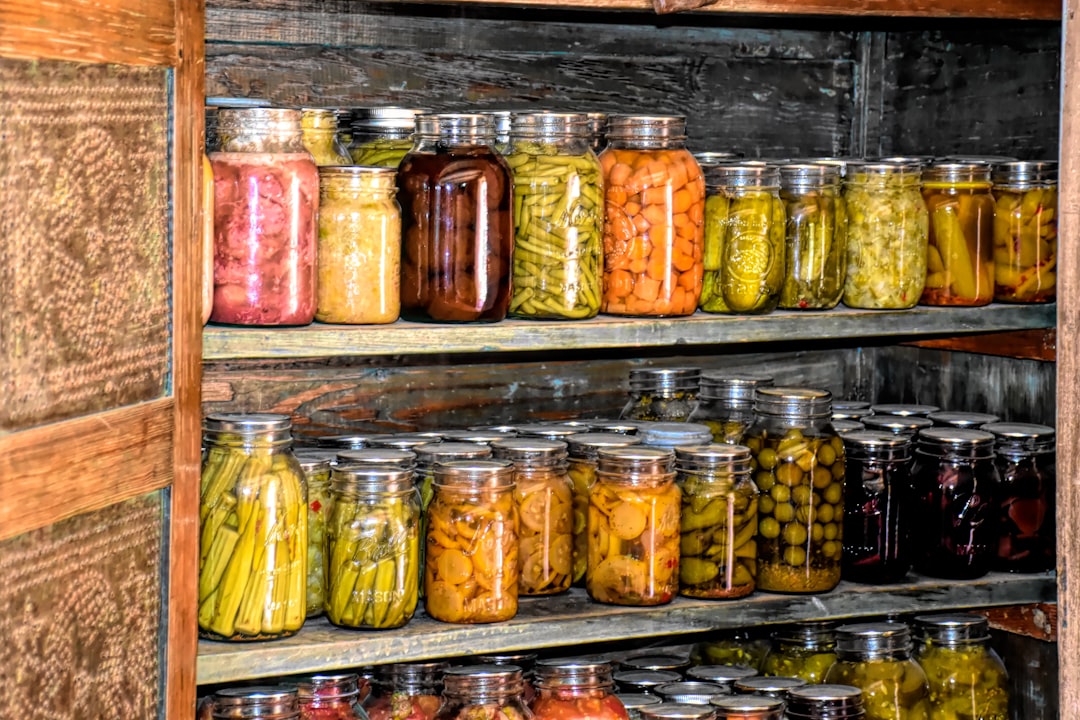
By the second week of August, my kitchen counter has usually disappeared. It’s under forty pounds of tomatoes, a battalion of peppers, more basil than any reasonable person should have planted, and the plums my neighbor leaves on my porch because she knows I’m powerless to say no. For most of my life, the answer to this annual avalanche was the same one my grandmother taught me standing on a step stool: get out the canning pot, sterilize the jars, and put up the harvest the proper way. I still can every summer, and I always will. But about six years ago, a humming box took up residence on my counter, and it has quietly changed how my family survives the August glut. This year, my team and I ran four different food dehydrators through peak harvest — hundreds of pounds of produce, dozens of batches of jerky, more fruit leather than any parent wants to admit — and I want to walk you through what we learned.
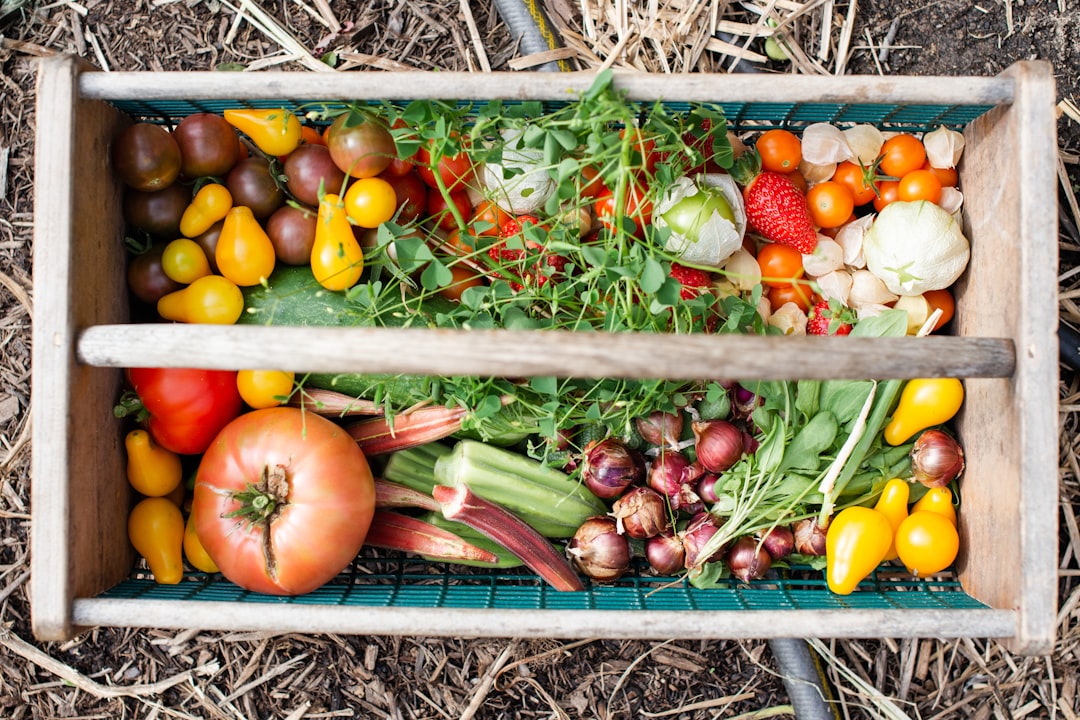
Here’s the thing nobody tells you about August: it’s the month when your preservation systems get stress-tested. The freezer is already half full of berry pickings from July. The canning pot can only process so many quarts in a day. And meanwhile the tomatoes are softening on the windowsill at a rate that feels personally aggressive. Drying is the third pillar of food preservation — the one that takes almost no active effort, shrinks food to a fraction of its size, needs no freezer space, and gives you snacks instead of ingredients. If you’ve been curious whether a dehydrator deserves your counter space, this is the month to find out.
Why a Canning Family Finally Made Room for Drying
I resisted dehydrators for a long time, and I’ll tell you exactly why: they felt like cheating. My grandmother preserved in glass, over a hissing pressure canner, with a schedule and a system. A machine you plug in, load, and ignore overnight felt too easy, like something out of a late-night infomercial. Then a friend handed me a shoebox of dried apple rings from her garden tree, and my six-year-old self — the one who used to eat the chewy dried apples from the general store — staged a full rebellion.
The honest truth, after years of running both systems side by side: they’re not competitors. Canning gives you ready-to-eat meals and sauces; freezing gives you closest-to-fresh texture; drying gives you concentration. A dried tomato is tomato distilled to its essential self. Dried basil in January tastes more like August than any “fresh” herb shipped across the country ever will. And dried fruit disappears into lunchboxes at a rate that borders on alarming. If you’re already a canner, my complete guide to putting up summer from a step stool still applies — the dehydrator just catches everything the canning pot can’t get to.
The Two Kinds of Dehydrators (and Why It Matters More Than the Brand)
Walk into this search knowing one thing first: nearly every dehydrator on the market falls into one of two camps, and the camp matters more than the logo. Stackable units are the round or square towers with a heating fan in the base — the classic Nesco silhouette. You add trays as your harvest grows, they’re affordable, and they tuck into a cabinet in the off-season. Their quirk is that heat rises, so top trays dry slower than bottom trays, which means some tray rotation on long jobs.
Shelf-style units look like a small oven: a box with removable trays and a fan mounted in the back. That rear-mounted fan is the whole ballgame — it pushes air horizontally across every tray evenly, so no rotating, and you can pull one tray out to check on peach slices without disturbing the rest. For most serious garden households, this evenness is worth paying for. If you’re deep in harvest triage mode, my notes on building a kitchen system that can keep up with a disappearing counter apply double here.
Two other specs to check before you buy: temperature range (you want settings that reach at least 155–165°F for safe jerky, and go low to around 95°F for delicate herbs) and timer (a 48-hour timer means you can run overnight batches without babysitting). Everything else — stainless versus plastic trays, glass doors, fancy presets — is comfort, not necessity.
The Machines I’d Actually Spend My Own Money On
We ran four units through the summer, and the results split cleanly by household size. Here’s the honest breakdown, starting with the one I’d hand a first-time buyer.
The Budget Gateway: Nesco Snackmaster Pro
The Nesco Snackmaster Pro is the unit most of us either grew up with or saw on a relative’s counter, and it’s still the smartest first dehydrator under a hundred dollars. It’s the stackable design — you can expand it up to twelve trays, which is plenty for herb loads and apple season — and its 600 watts of top-down heat handled our test batches of banana chips and kale crisps without drama. It dries a little unevenly on tall stacks, so rotate trays halfway through. For someone who wants to try drying without commitment, this is the one. My one note: it runs a touch loud, so we run ours in the laundry room overnight.
The Sweet Middle: Cosori’s Stainless Six-Tray
The machine that converted me is the Cosori six-tray stainless dehydrator, and if you can picture only one unit in this whole piece, picture this one. Rear-mounted fan, so every tray dries evenly — we ran sliced tomatoes top to bottom and measured no meaningful difference between trays. The 48-hour timer earned its keep during plum week, when batches started at 10 p.m. and finished while we slept. It’s quiet enough to run during dinner, the trays go in the dishwasher, and the stainless build means no plastic touching your food at drying temperatures. For most families with a real garden, this is the one I’d put my own money on.
Smaller kitchen or smaller harvest? Cosori’s compact five-tray model keeps the same even-drying design in a footprint that fits an apartment counter — we kept one in the test kitchen’s break room and it never left its corner all summer. And if you’re feeding a serious garden or a serious jerky habit, step all the way up to the Cosori ten-tray with over sixteen square feet of drying space; our biggest August run — two full trays each of tomatoes, peppers, peaches, and apples — still left room to spare.
The Heavy Hitters: Excalibur and Magic Mill
Excalibur is the name longtime drying families say with reverence, and the eight-tray Excalibur showed us why: a 7.2-cubic-foot box, an 80-hour timer, and a thermostat that holds steady like a laboratory instrument. If you dry for backpacking trips, make jerky in bulk, or put away serious garden volume every year, it’s the buy-once machine. The Magic Mill ten-tray impressed our crew almost as much at a friendlier price — 700 watts, a 48-hour timer, and ten extra-large stainless trays that swallowed an entire CSA share in one run. Either one will outlast a decade of Augusts.
Herbs: The Gateway Project That Pays for the Machine
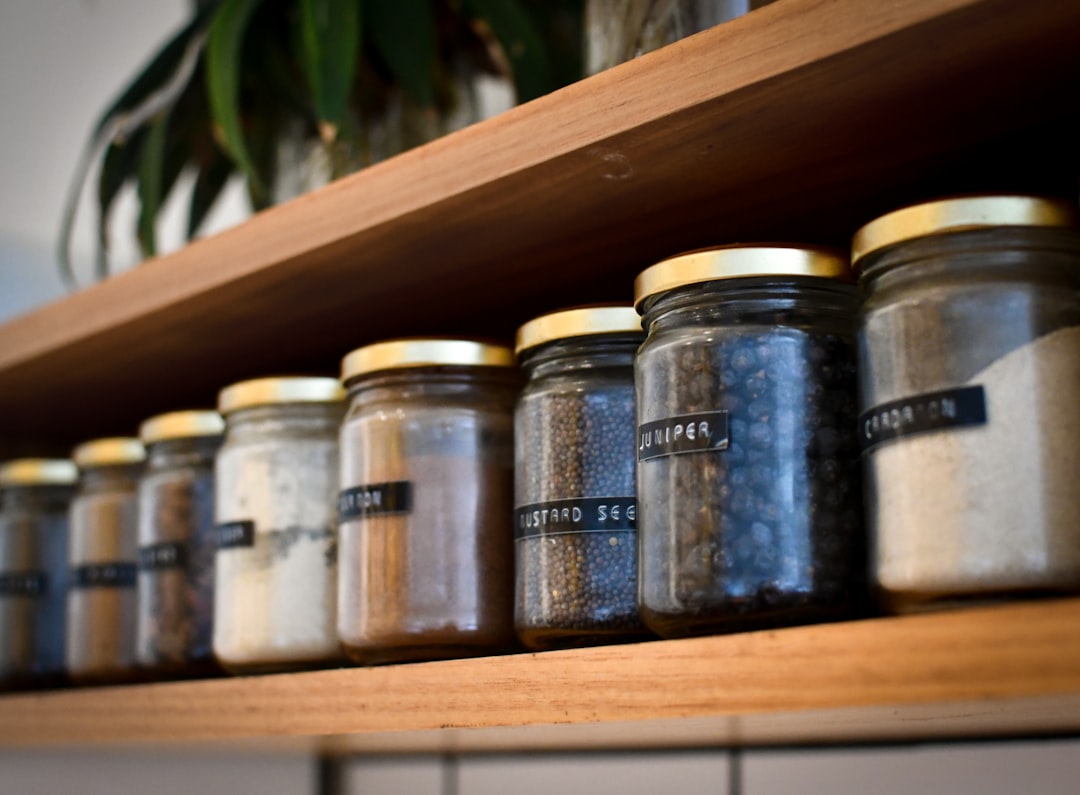
Start here, even if you buy nothing else I mention. Every August I face the basil problem: it flushes so fast the plants go to flower if you blink, and there are only so many batches of pesto a freezer can hold. Drying herbs is absurdly simple — rinse, pat thoroughly dry, strip the leaves, spread in a single layer, and run at 95–105°F for a few hours until a leaf crumbles between your fingers. We dried basil, oregano, thyme, sage, and mint by the tray-full this summer. That jar of dried basil cost the electric company about four cents and tastes better than anything from a spice aisle. I keep mine in small jars right next to the stove — tucked into the corner cabinet I finally organized this summer.

Jerky and the Question Nobody Should Skip
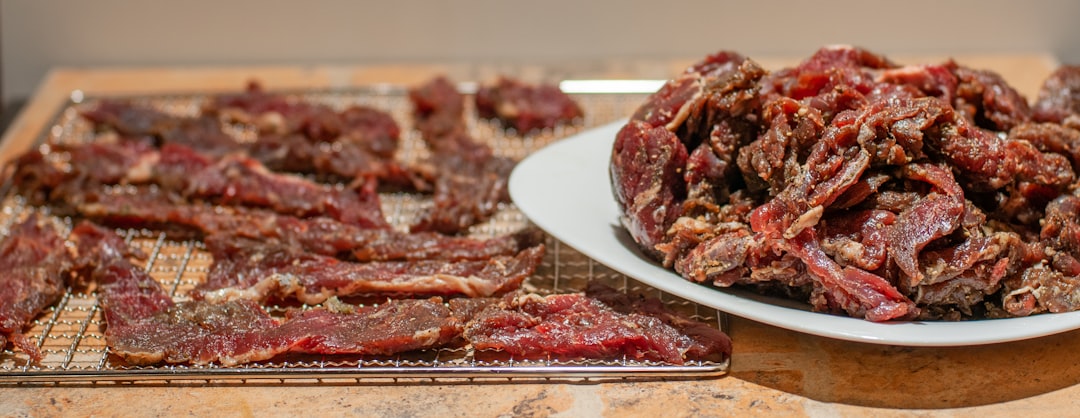
Jerky is where dehydrators earn their place in a household with teenagers, and it’s also where food safety can’t be an afterthought. The rule that matters: meat needs to reach 160°F (165°F for poultry) to be safe, and many home dehydrators top out near the edge of that. Our approach — and the approach every food-safety agency endorses — is to heat thin-sliced marinated meat to 160°F in the oven or a quick stovetop simmer before it ever touches the trays, then dry at 155–160°F until a strip cracks but doesn’t snap when bent. Lean cuts, sliced thin against the grain, marinated overnight. The stackable Nescos make excellent jerky machines; the shelf-style units with full temperature range make it easier. Either way, homemade jerky at a fraction of gas-station prices disappears fast around here.
Fruit Leather: Justified Insanity
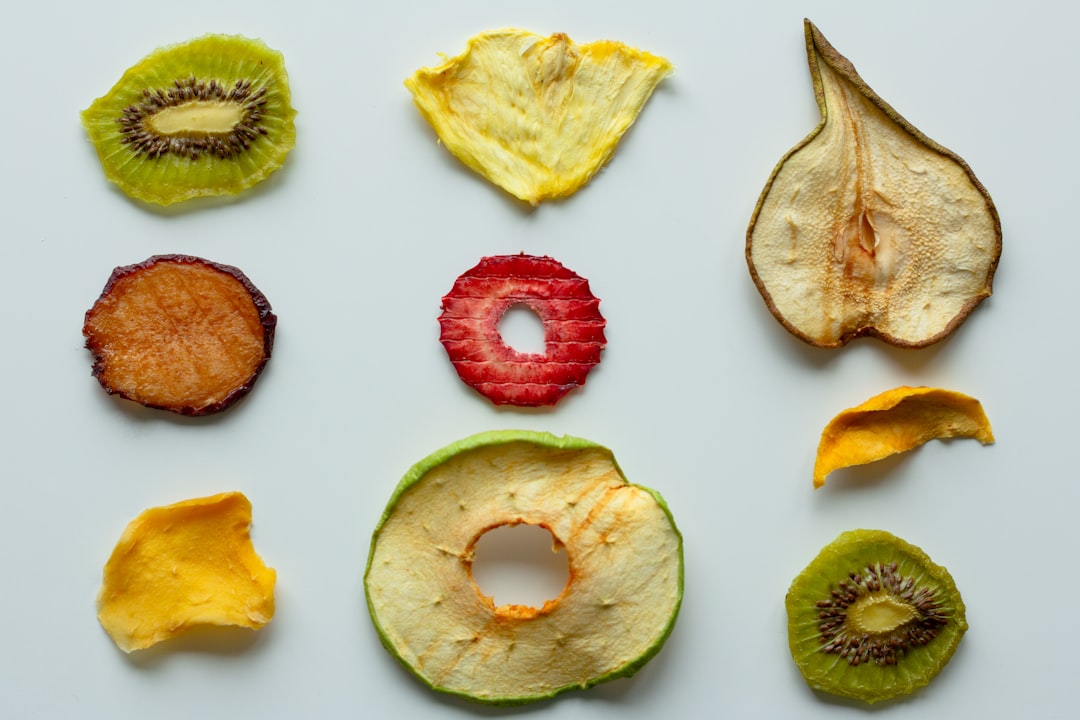
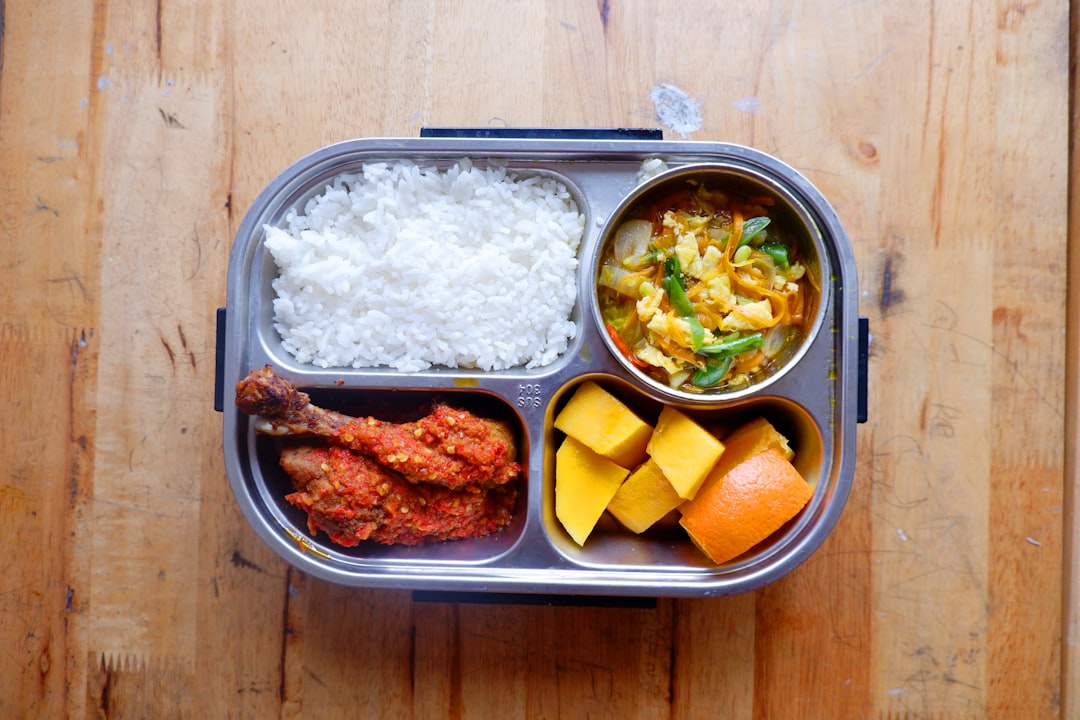
I’ll be honest — fruit leather was the project I expected to skip. Then we made one batch of peach-raspberry leather, and it became the single most requested item in the house. The method is almost comically simple: cook down soft fruit, blend it smooth, sweeten if the fruit needs it (ours didn’t), and pour a thin, even layer onto the trays. Here’s the accessory that makes it possible: silicone sheets with raised edges. Do not attempt fruit leather on bare mesh trays unless you enjoy scraping purée out of tiny holes. We use these flexible silicone trays sized for the Cosori, and for the bigger boxes, these 14-inch edge-lipped sheets that fit Excalibur shelves. Dry at 135–140°F for six to eight hours, until the center is tacky but not wet. Roll it in parchment, and you’ve turned bruised clearance fruit into lunchbox gold.
Tomatoes, Peaches, and the Big August Projects
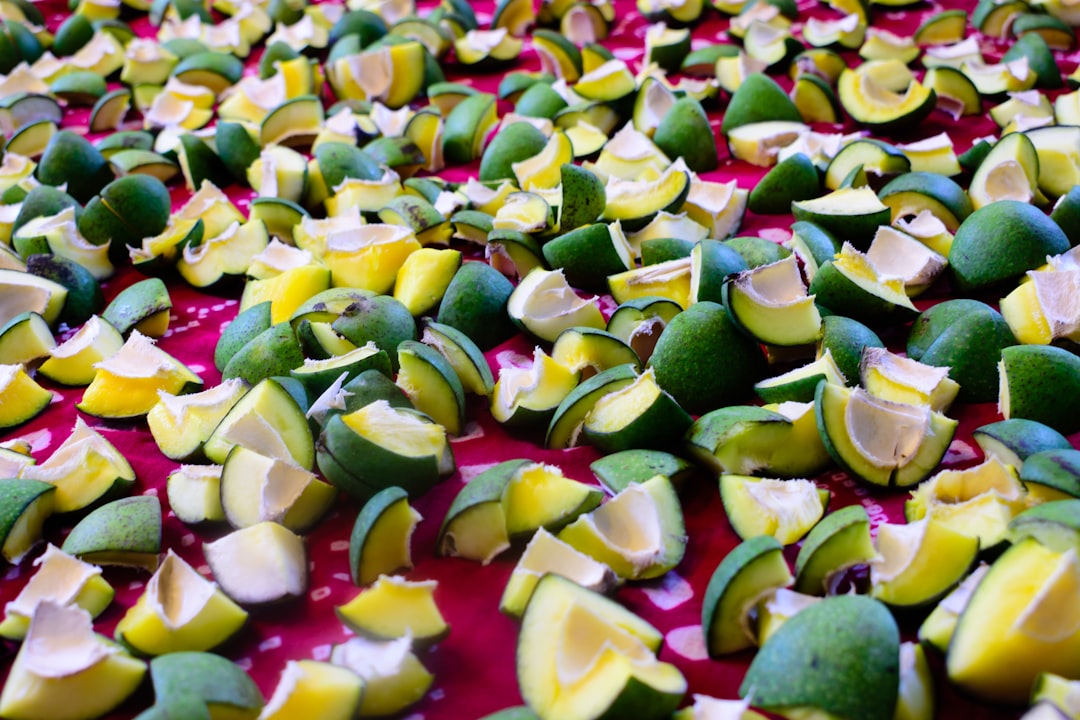
Dried tomatoes were my grandmother’s one concession to the dehydrator era, and now I understand why. Slice paste tomatoes a quarter-inch thick, seed side up, dry at 135°F for eight to twelve hours, and what remains is a concentrated sweet-tart leather that transforms winter pasta. We pack ours in jars with olive oil and a bruised garlic clove — they never survive to Thanksgiving. Peaches dry into chewy, sun-colored rings that make spectacular additions to oatmeal. Apples get a quick dip in lemon water to hold their color, then become the apple rings my family devours by the jar. Even pepper flakes and onion powder started as whole produce in our test runs. The dehydrator doesn’t replace August canning; it catches the second wave, the bruised pieces, the “we cannot possibly eat all this” moments.
Storing What You Dry (Do This Part Right)
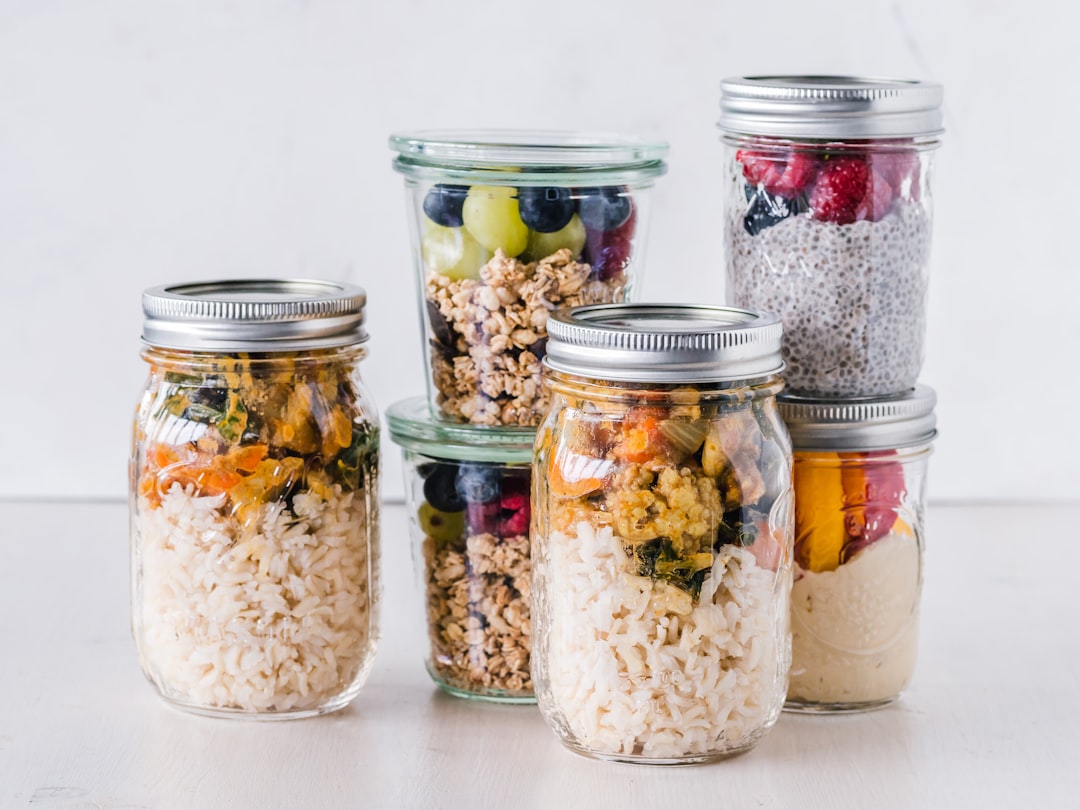
A batch is only as good as its storage, and this is where first-timers lose their harvest. Everything must be completely cool and completely dry before it meets a jar — condensation is the enemy. I condition dried fruit by filling a jar halfway, shaking daily for a week, watching for any moisture beading; if it appears, back into the dehydrator it goes. Then store in airtight glass, in the dark. Mason jars are perfect for shelf storage of things you’ll eat within a couple of months, and they’ve never failed me for pantry keeping. For long-term storage, nothing beats vacuum sealing — we ran a compact vacuum sealer with reusable bags through dozens of batches this summer, and dried food sealed this way keeps its color and flavor for a year or more. If freezer burn has ever taught you hard lessons, the same rules apply here that saved my entire approach to storing everything.
Ten Things I Wish Someone Had Told Me First
- Dry similar thicknesses together — a tray of uneven slices finishes at four different times.
- Herbs go in at 95–105°F; cranking the heat to “speed it up” just bakes off the flavor.
- Pretreat apples, pears, and peaches with a lemon-water dip or they’ll brown on you.
- Rotate trays on stackable units every few hours; shelf-style boxes earn their price here.
- Line the bottom of shelf units with a spare silicone sheet for drips — cleanup becomes a thirty-second job.
- Over-drying is nearly impossible to do to fruit; under-drying is what grows mold. When in doubt, dry longer.
- Let everything cool fully before packing — warm food in a sealed jar makes its own humidity.
- Label every jar with the contents and date. In February, dried peach and dried pear look suspiciously alike.
- Run the machine in a garage or laundry room if noise bothers you — the good ones are quiet, not silent.
- Start with one fruit, one herb, and one batch of jerky before you buy trays and sheets for a homestead you don’t have yet.
The Part Where I Get a Little Sentimental
My grandmother kept a dehydrator in the garage for exactly one month every summer, and I used to think it was a minor betrayal of her canning pot. I understand it now. She wasn’t abandoning tradition; she was doing what women in her family had always done — using the best tool available to make sure nothing from the garden went to waste. The humming box on my counter is the same instinct with a newer motor. The stone fruit that arrives every July gets its own celebration at my house, and the survival guide we put together for stone fruit season now includes a dried-peach chapter that didn’t exist in her day.
If your counter is buried this weekend, that’s not a crisis — it’s an invitation. Start with the herbs on your windowsill and a $40 machine if that’s what fits your budget, or go straight to the stainless workhorse if you already know you’ve got years of harvests ahead of you. Either way, come February, you’ll open a jar of something that tastes like this exact weekend. And that, more than any spec sheet, is what these machines actually sell.

One thought on “The Humming Box That Saves My August: Four Food Dehydrators, One Garden Glut, and Everything We Learned”