
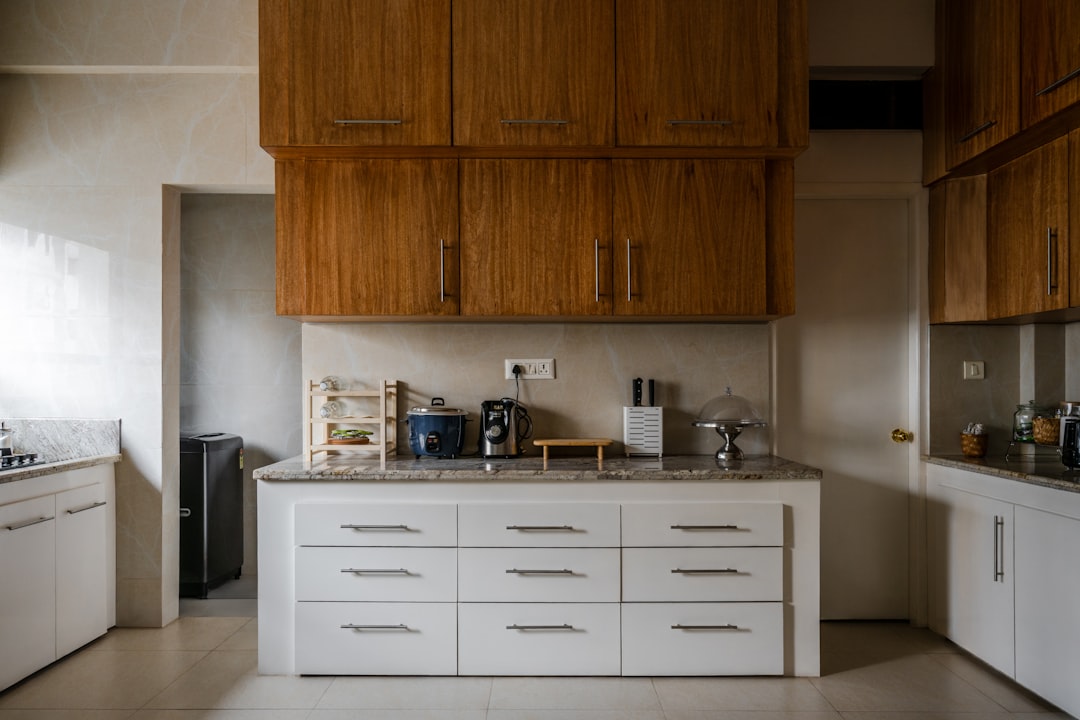
Let me tell you something embarrassing: for the first three years I lived in my current home, I treated my kitchen like a puzzle I’d solve “someday.” The pots were stacked inside each other like Russian nesting dolls. The spatulas lived in a mason jar that tipped over every time I grabbed the big one. My spice situation was, frankly, chaotic — half alphabetized, half shoved wherever there was a gap. I’m a professional home and kitchen writer, and my own kitchen was a mess. The irony wasn’t lost on me.
What finally pushed me over the edge wasn’t a magazine-worthy inspiration photo. It was a Tuesday night when I knocked an entire jar of paprika into a pot of simmering soup because I couldn’t reach behind the Dutch oven without performing what my husband called “kitchen gymnastics.” That was it. I gave myself a $200 budget and one weekend to transform how my kitchen functioned. Not how it looked on Instagram — how it worked when I was in the middle of getting dinner on the table with flour on my hands and the dog underfoot.
Here’s what I learned: you don’t need a renovation or a massive budget to make a small kitchen feel twice as big. You need about a dozen strategic storage upgrades — and the willingness to let go of the idea that everything has to live on the counter. I’m going to walk you through exactly what I changed, what I bought, and what I’d absolutely do again. If your kitchen feels cramped, this one’s for you.
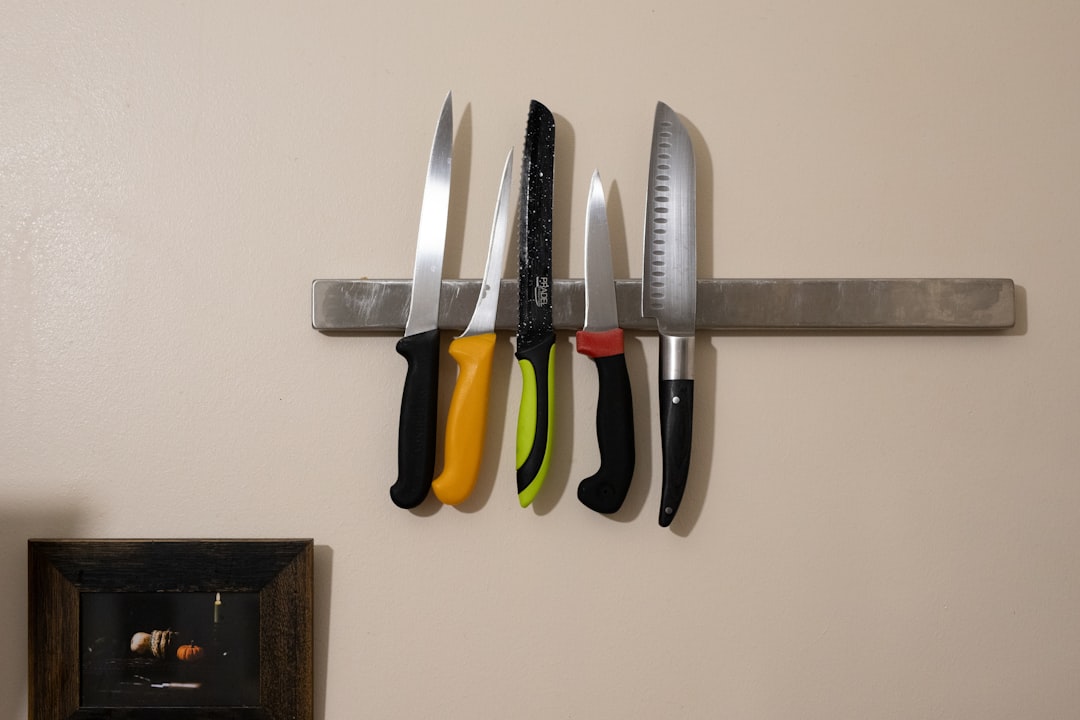
The Magnetic Knife Strip That Gave Me Back an Entire Counter
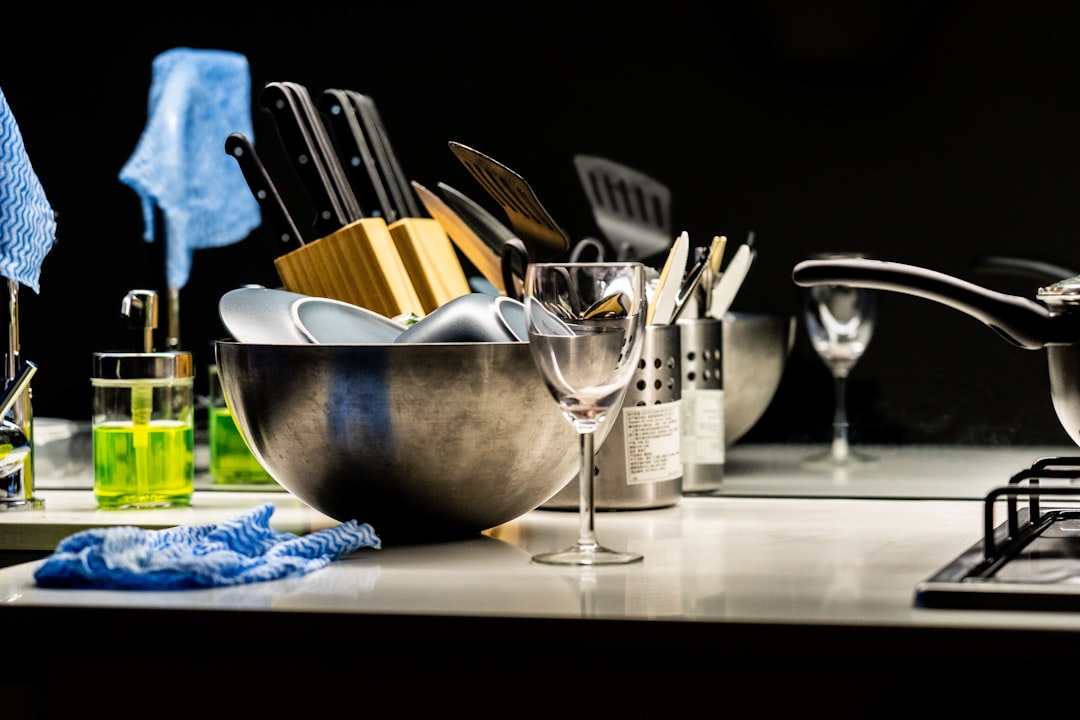
I know, I know — magnetic knife strips aren’t exactly a new idea. But here’s the thing: I’d been avoiding one because I thought they looked “restaurant-y” and cold. What I didn’t realize is how much precious real estate my wooden knife block was eating up. That thing was the size of a small toaster and it sat on my counter collecting dust and taking up space I desperately needed for food prep.
After reading way too many reviews, I installed a 16-inch magnetic strip above my prep area, and friends — it was like gaining a whole new section of counter. The installation took about ten minutes with the included hardware. I arranged my chef’s knife, paring knife, serrated bread knife, kitchen shears, and even a couple of metal measuring cups along it. Everything is visible, everything is within arm’s reach, and nothing is cluttering my workspace. If you’re working with limited counter space, a quality magnetic knife strip is the single fastest upgrade you can make.
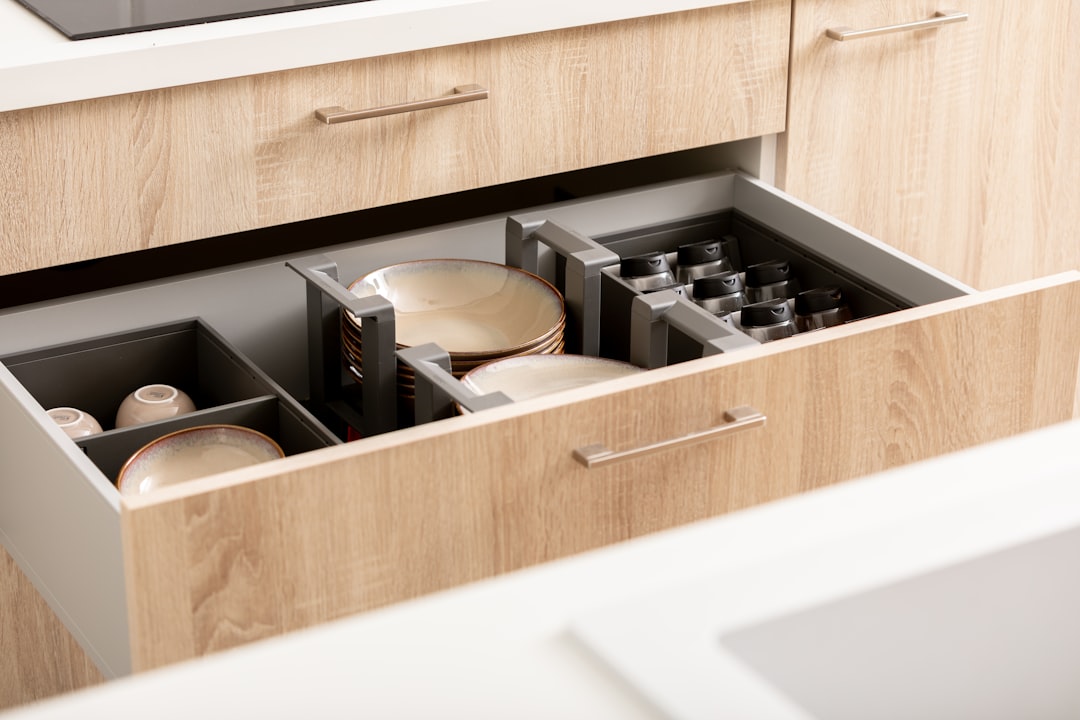
Pull-Out Cabinet Shelves: The Splurge That Earned Its Keep
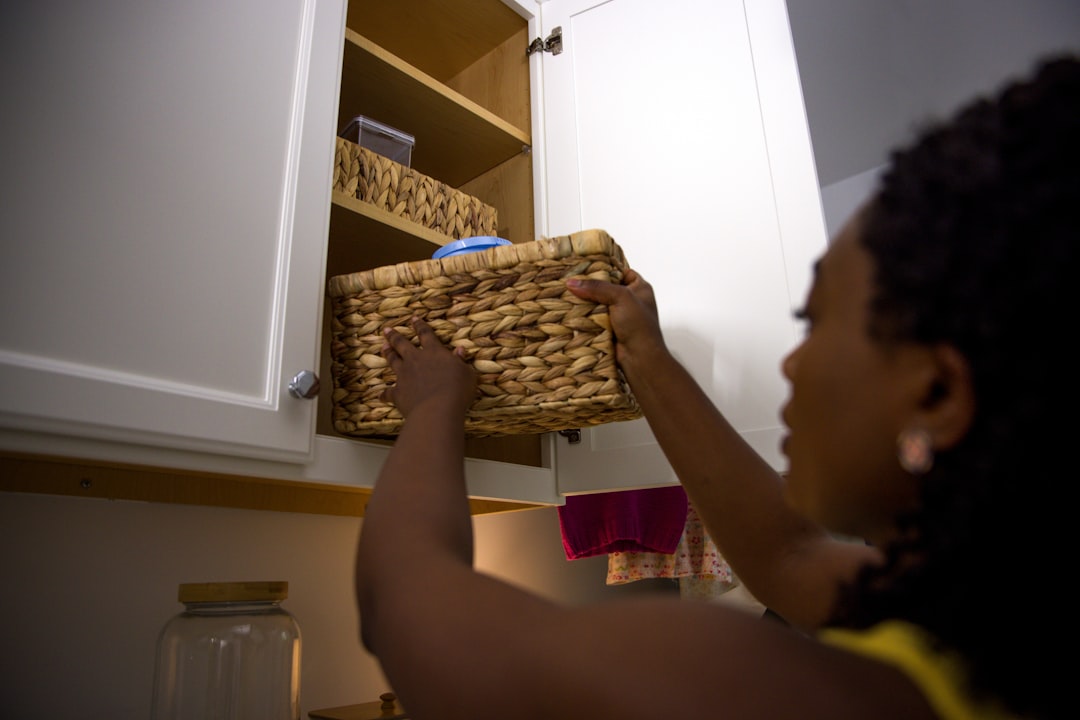
This was the biggest line item in my budget, and I hemmed and hawed about it for weeks. My lower cabinets were what I call “the abyss” — deep, dark spaces where Tupperware lids went to die and small appliances gathered dust because I couldn’t see what was in the back without getting on my hands and knees. Not exactly ideal when you’re trying to find the rice cooker at 5:45 on a Wednesday.
I installed two pull-out cabinet organizers — essentially sliding shelves on rails that mount inside your existing cabinets. They glide out smoothly, and suddenly I could see every single thing stored in there. My slow cooker, the extra blender jar, the large stock pot — all of it accessible without rearranging half the cabinet first. The pull-out cabinet shelves I used were around $35 each, adjustable to fit most standard cabinet widths, and honestly worth every penny. If your lower cabinets are a disaster zone, start here.
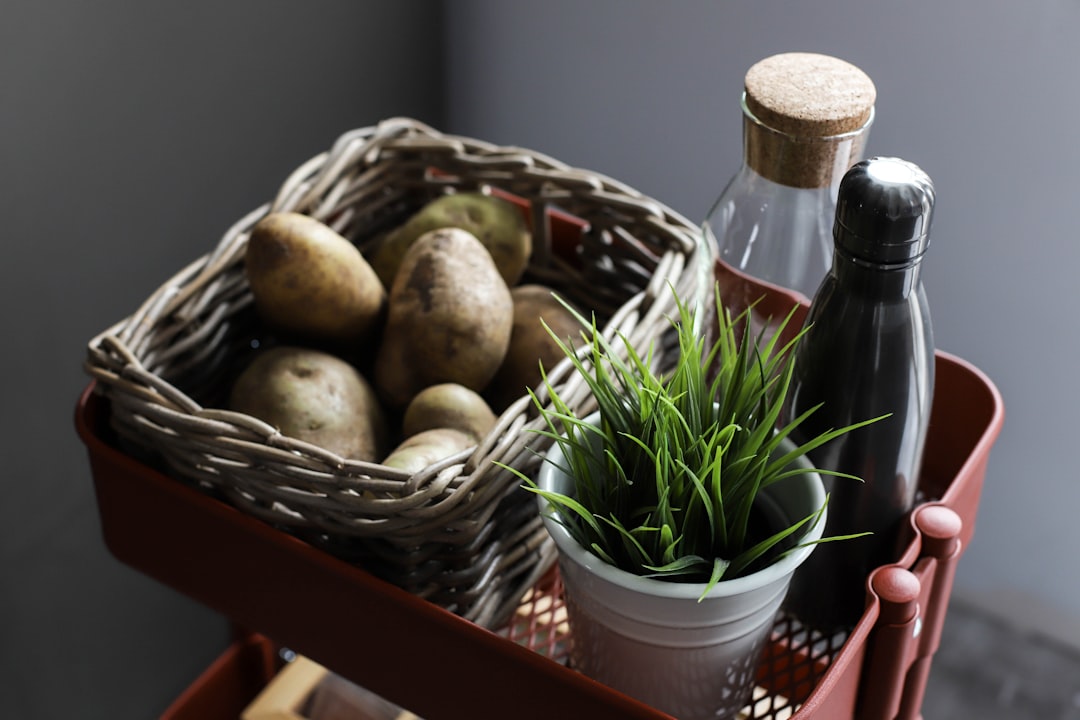
The Slim Rolling Cart That Turns Dead Space into Storage Gold
You know that awkward gap between your refrigerator and the wall or cabinets? The one that’s maybe six or eight inches wide and collects dust bunnies and lost spatulas? I turned mine into one of the most useful storage spots in my entire kitchen with a slim rolling cart. This thing is narrow enough to slide right into that gap, has three tiers of shelving, and rolls out when I need it.
I use mine for oils, vinegars, bulk spices, and a few larger bottles that never fit well in my upper cabinets. When I’m cooking, I just wheel it out, grab what I need, and tuck it back. It’s like having a tiny pantry where there was literally nothing before. A narrow rolling kitchen cart typically runs between $25 and $40, and it transforms space you didn’t even know you had. I genuinely don’t know how I lived without one.
A Wall-Mounted Spice Rack Changed My Cooking Life
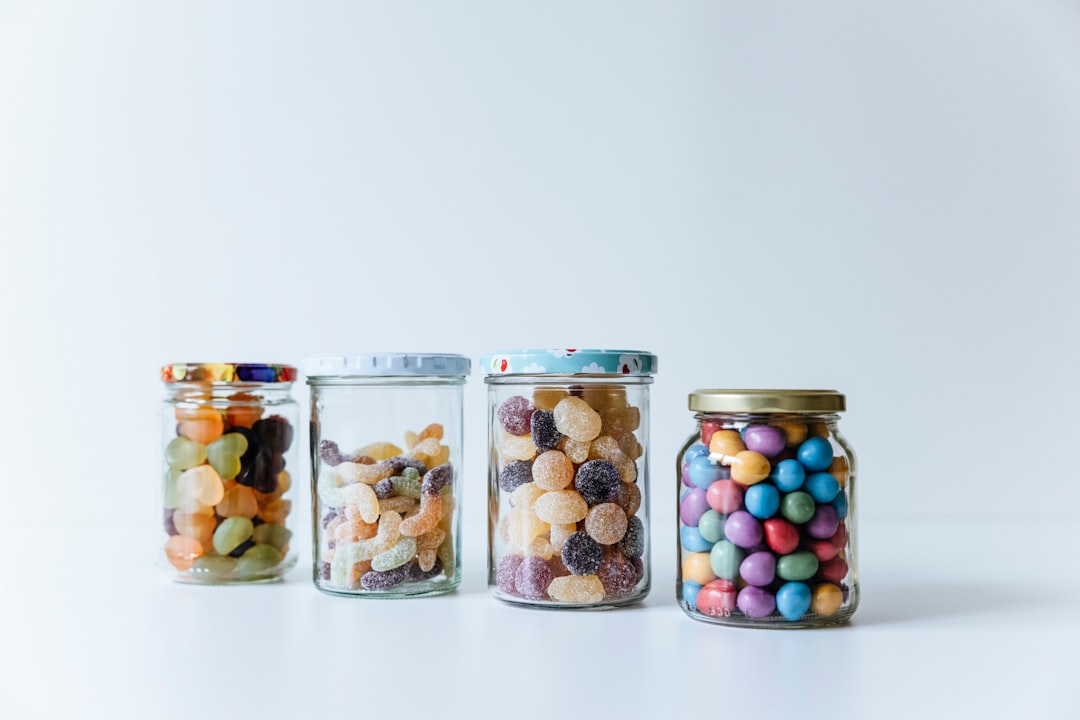
Remember that paprika incident I mentioned? It was the direct result of storing all my spices in an upper cabinet where I couldn’t see anything without a step stool and a prayer. I’d buy spices I already owned because I couldn’t tell what was in the back. Duplicates of cumin? Three. Turmeric? Don’t ask.
The fix was surprisingly simple: a wall-mounted spice rack installed on the small strip of wall between my upper cabinets and my counter. It holds about 30 jars in clear view, and I can grab exactly what I need without digging. I went with a tiered design that lets me see every label at a glance. The whole setup cost under $25 and took maybe 20 minutes to install. If you cook at all regularly, this is one of those changes you’ll wonder why you didn’t make sooner — I wrote about similar small-habit changes in my piece on kitchen habits I had to unlearn, and organizing my spices was absolutely at the top of that list.

Under-Cabinet Hooks: The Storage Hack Hiding in Plain Sight
This one feels almost too simple to mention, but it made such a difference that I have to. I attached a set of under-cabinet hooks along the bottom edge of my upper cabinets, and now my most-used mugs, measuring cups, and a couple of lightweight cooking utensils hang right where I need them. No more opening a cabinet door and having three mugs tumble out like they’re staging an escape.
The hooks I used are the screw-in type — small, sturdy, and they blend in with the cabinet finish so they don’t look cluttered. You can find a great set of under-cabinet kitchen hooks for under $10. I hung six of them across two cabinets, and they freed up an entire shelf that now holds my small appliance collection that used to live on the counter. Sometimes the smallest changes create the biggest ripple effects.
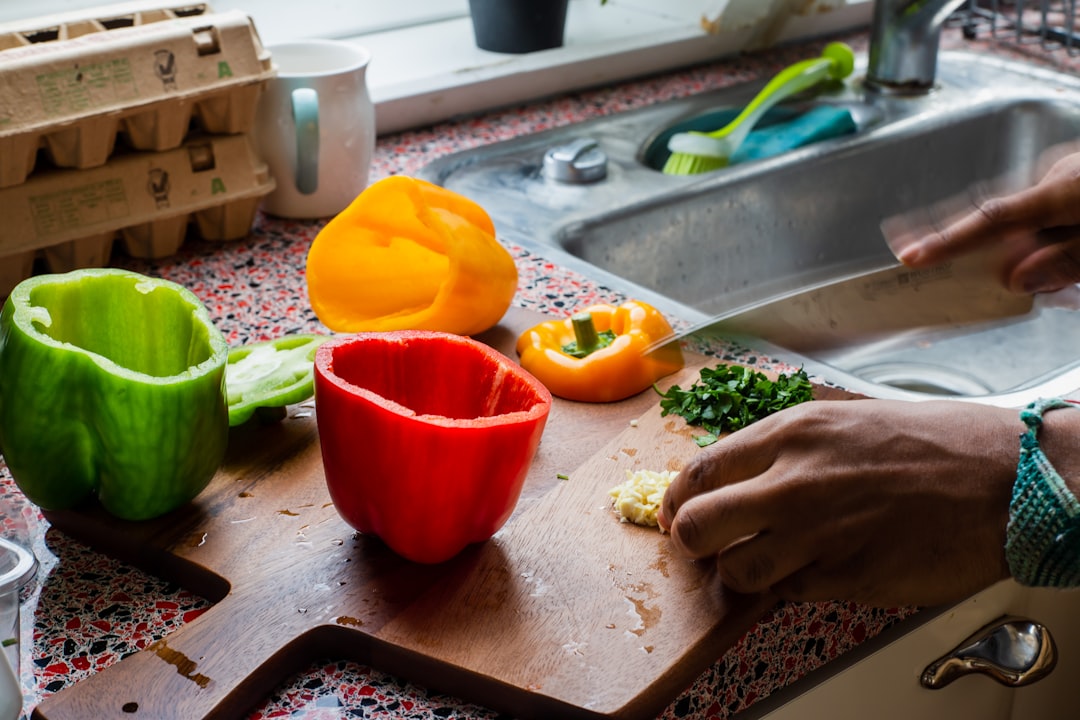
Over-the-Sink Cutting Board: Counter Space Magic
If you have a small kitchen, your sink is probably taking up a significant chunk of your counter. It’s necessary, but it’s also dead space when you’re not actively washing dishes. An over-the-sink cutting board sits across the sink basin, essentially turning that area into an extra foot or more of usable workspace. I was skeptical — would it be stable? Would it slide around?
The answer is: a good one won’t budge. The over-the-sink cutting board I picked has silicone-grip feet and fits snugly across my standard double basin. I use it for everything — chopping vegetables, assembling sandwiches, even as extra plating space when I’m serving a big meal. It cost about $22, and it’s one of those things that makes me smile every time I use it because it feels like I’m somehow cheating the laws of kitchen physics.
Drawer Dividers That Actually Stay Put
My utensil drawer was another disaster zone. You know the scene: a tangle of whisks, wooden spoons, metal spatulas, and that one oddly long ladle that prevents the drawer from fully closing. I’d tried cheap plastic dividers before, but they shifted around every time I opened the drawer, which defeated the whole purpose.
What finally worked were adjustable bamboo drawer dividers with spring-loaded tension. You cut them to length (or extend them) and they lock firmly in place. No sliding, no shifting, no organizing the organizer. I set up zones — cooking utensils in one section, baking tools in another, everyday flatware in the third. The adjustable bamboo drawer dividers were about $18 for a set of four, and they turned my most frustrating drawer into one of my favorites. Sometimes the satisfaction of opening a neatly divided drawer is enough to make you feel like you’ve got your whole life together — even if the rest of the house is a different story.
The Over-the-Door Organizer Nobody Talks About
Here’s the wildcard of my makeover, and honestly the thing that surprised me the most. I hung an over-the-door organizer on the inside of my pantry door, and it immediately became one of the most functional spots in my kitchen. I use it for lightweight items that used to get lost in the pantry shuffle — boxes of tea, packets of instant yeast, small jars of specialty ingredients, snack bars, you name it.
The one I chose has clear pockets so I can see everything at a glance, and it holds a surprising amount. I also use the bottom few rows for cleaning supplies — sponges, dish soap, and the small scrub brushes that always seemed to migrate around the kitchen. A good over-the-door pantry organizer runs about $15 to $20, and it uses space that was previously just… a door. I wish I’d discovered this years ago, and it pairs perfectly with the food storage containers I already rely on for pantry staples.
Tension Rods: The Dollar-Store Secret Weapon
This might be the most budget-friendly item on my list, and it punches way above its weight. I installed a few tension rods inside my cabinets to create vertical dividers for baking sheets, cutting boards, and serving platters. Instead of stacking them (which meant removing five things to get to the one I wanted), they now stand upright in neat rows, like a file cabinet for cookware.
Tension rods cost about $5 for a multi-pack, and they’re endlessly versatile. I’ve seen people use them to organize pot lids, create mini-shelves for cleaning supplies under the sink, and even section off deep drawers. If you’re looking for kitchen cabinet tension rods to try this yourself, go for the adjustable kind with rubber end caps — they grip better and won’t scratch your cabinet interiors. This tiny investment solved one of my most persistent storage headaches.
What I’d Skip (Lessons from the Returns Pile)
Not everything I tried made the cut, and I think that’s worth sharing too. I bought a spinning lazy susan for my corner cabinet — everyone recommends them — but in my particular cabinet, the angles were so awkward that it barely improved anything. It just meant my items went in circles instead of gathering dust in a straight line. I also tried a hanging pot rack, which looked beautiful in photos but felt cramped and cluttered above my small workspace. Both went back.
The lesson? Small kitchens need solutions that respect the space you have, not fight against it. Measure everything twice. Be honest about how you actually cook, not how you wish you cooked. And don’t be afraid to return something that doesn’t work — the right storage solution should make your kitchen feel easier, not more complicated. I talked about similar lessons in my guide to time-saving kitchen gadgets, and the same philosophy applies to storage: if it doesn’t genuinely simplify your routine, it’s not worth keeping.
The Final Tally
So how did I do on that $200 budget? Here’s the breakdown: magnetic knife strip ($22), two pull-out cabinet shelves ($70), slim rolling cart ($30), wall-mounted spice rack ($24), under-cabinet hooks ($9), over-the-sink cutting board ($22), bamboo drawer dividers ($18), over-the-door organizer ($17), and tension rods ($5). Grand total: $217. I went $17 over budget, and I regret nothing.
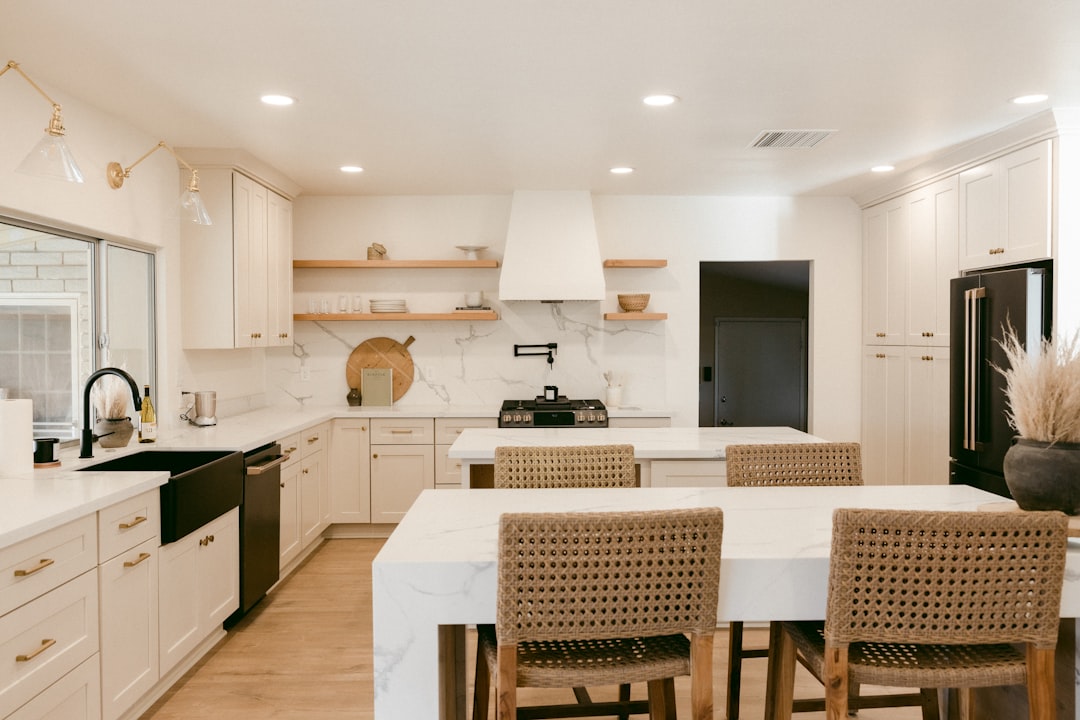
My kitchen doesn’t look like a magazine spread. It looks like a kitchen that works — where I can find what I need without a treasure hunt, where there’s actually room to chop vegetables, and where opening a cabinet door doesn’t require protective gear. If you’re living with a kitchen that feels too small, too cluttered, or too frustrating, I promise you: a couple hundred dollars and a free weekend can change everything. Start with the storage solutions that solve your biggest daily frustration, and build from there. Your future self — the one who can actually find the paprika — will thank you.
3 thoughts on “I Gave My Tiny Kitchen a $200 Storage Makeover — Here’s What Actually Worked”