Some of my earliest memories involve standing on a wobbly wooden step stool in my grandmother’s kitchen, watching her slender hands press circles of wax onto jars of strawberry jam. I must have been five or six, mesmerized by the alchemy of it — how a mound of bruised fruit could become something golden and shelf-stable and frankly magical. She’d hand me a clean towel and let me polish the finished jars while she lined them up on the counter like little soldiers going off to war against winter. I didn’t know it then, but she was teaching me one of the most practical, satisfying skills a home cook can possess.
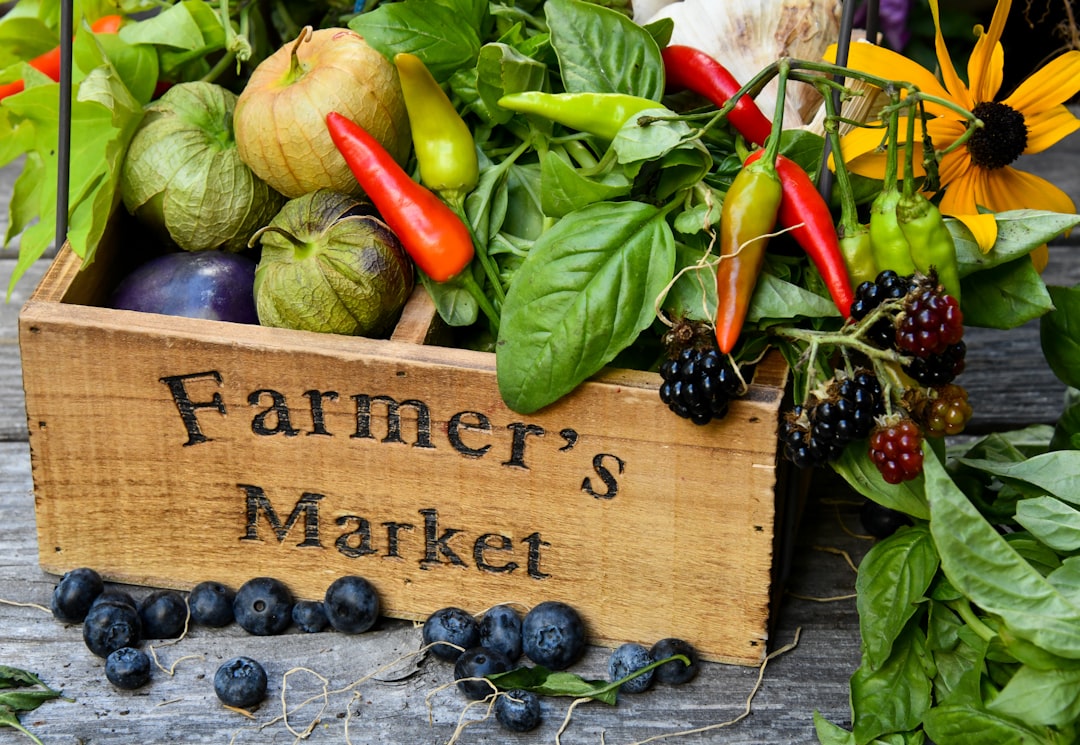
Canning and preserving are having a serious moment right now, and honestly? I’m thrilled. More people are discovering what my grandmother knew instinctively: there’s something deeply grounding about capturing summer at its peak and tucking it away for colder months. Whether you’ve got a farmers market haul threatening to wilt on your counter or a backyard garden producing more tomatoes than any human should reasonably face alone, home preserving is the answer. And the best part? The barrier to entry is remarkably low. You don’t need a commercial kitchen or a heritage recipe passed down through generations — though if you’ve got one of those, I’m officially jealous.
The Canning Pot: Where Everything Starts
Let’s begin with the workhorse of any preserving operation: the water bath canner. This is the big, enameled pot with a wire rack inside that holds your jars while they process in boiling water. It’s the single most important piece of equipment you’ll buy, and the good news is that a quality one will last you decades. My grandmother’s canner outlived her by twenty years, and I only replaced mine recently because I wanted one compatible with my induction cooktop. Look for a pot that holds at least seven quart jars, comes with a fitted jar rack, and has sturdy handles — you’ll be moving a lot of boiling water and you want confidence in your grip. A good water bath canner kit often includes several of the tools I’m about to mention, which makes it an excellent starting point if you’re building your setup from scratch.
Now, water bath canning is perfect for high-acid foods: jams, jellies, pickles, tomatoes with added acid, and most fruits. But if you dream of pressure canning green beans or chicken broth, you’ll need a dedicated pressure canner — not to be confused with a pressure cooker, though some models do double duty. That’s a conversation for another day. For most beginners, water bath canning covers an enormous range of recipes and is far less intimidating to learn.
Jars, Lids, and the Ritual of the Seal
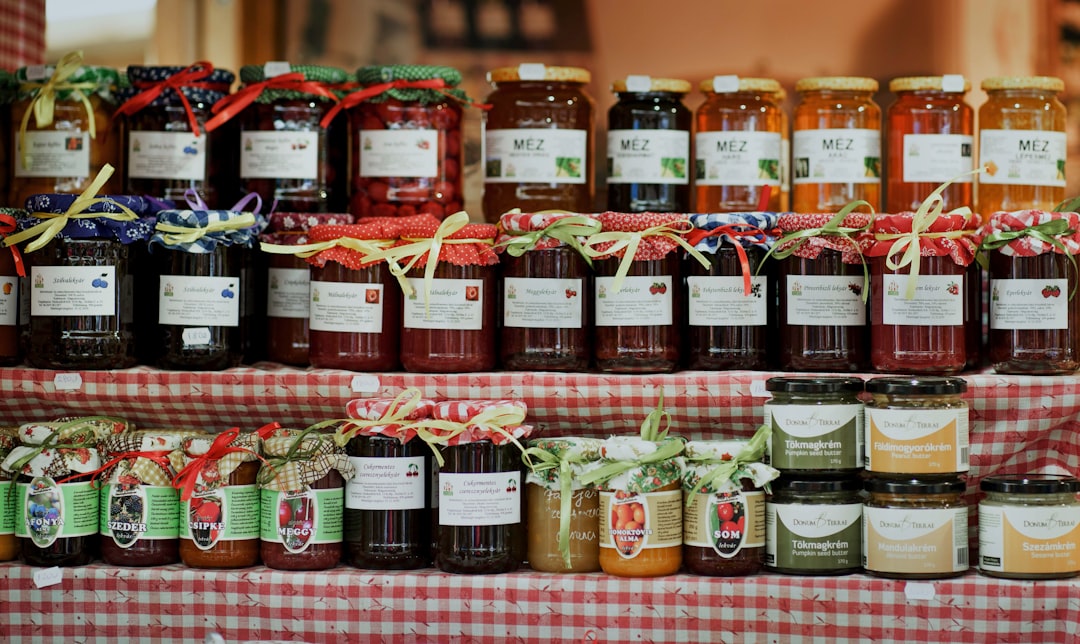
I have strong opinions about canning jars, and I’m not apologizing for them. Mason jars — specifically the two-piece lid system with a flat metal lid and a screw band — are the gold standard for home canning. The brands you’ll see everywhere are Ball and Kerr, and both are excellent. I keep a rotating inventory of half-pint jars for jams and jellies, pint jars for pickles and sauces, and quart jars for whole tomatoes and large-batch preserves. Wide-mouth jars are easier to fill and clean, and I reach for them more often than not. You can stock up on wide-mouth canning jars in multi-packs, which is more economical than buying them piecemeal.
Here’s something that trips up a lot of newcomers: the flat metal lids are single-use for canning. The sealing compound on the underside compresses during processing and creates that satisfying vacuum seal, but it won’t seal reliably a second time. The screw bands, however, are reusable — just check them for rust or dents before each season. I label my jars with the contents and date using a simple piece of masking tape and a Sharpie, because nothing humbles you faster than staring at three identical jars of amber liquid and trying to remember which one is peach butter and which one is apricot.
The Tools That Earn Their Spot
Beyond the pot and the jars, there’s a small constellation of tools that make canning infinitely easier and safer. Some of these come in starter kits, and honestly, that’s the smartest way to acquire them if you’re starting from zero. But let me walk you through each one and explain why it matters.
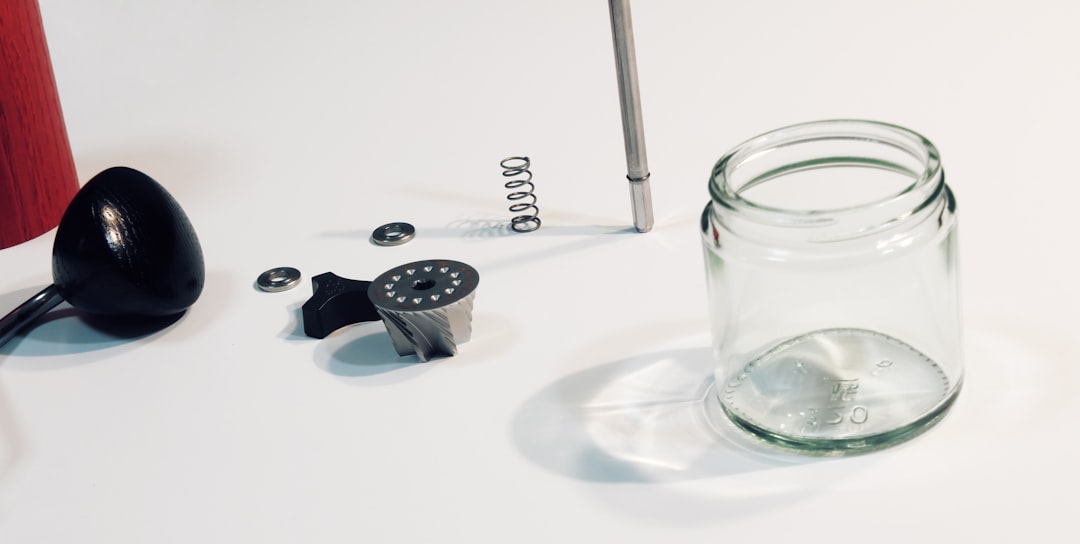
First up: a canning funnel. This is a wide-mouthed funnel that fits snugly into the top of your jars, and it prevents the messy, sticky chaos of trying to ladle hot jam directly into a narrow opening. Without one, you’ll end up with preserve on the jar rim, which can prevent a proper seal. Trust me on this — I’ve ruined more jars than I care to admit before I got serious about using a funnel every single time.
A jar lifter is non-negotiable. This is essentially a pair of tongs with curved, rubberized grips designed to snatch hot jars out of boiling water safely. Attempting to use regular kitchen tongs or — heaven forbid — oven mitts is how accidents happen. A proper jar lifter gives you secure control of scalding jars without putting your hands anywhere near the water.
You’ll also want a lid wand — a magnetic wand that lets you fish flat lids out of hot simmering water without burning your fingers. Yes, you could use tongs, but the magnetic wand is faster and more precise, and when you’re processing dozens of jars in a hot kitchen in July, every small efficiency matters. A bubble remover and headspace tool rounds out the essential kit; it’s a slim plastic wand that helps you release trapped air bubbles from filled jars and measures the correct headspace — the gap between the food and the lid — which is critical for a safe seal.
The Prep Work Nobody Talks About
Before a single strawberry meets a jar, there’s prep work that separates a successful canning session from a frustrating one. You need clean, hot jars — run them through the dishwasher or simmer them in your canner to sterilize them. Lids should be simmered (not boiled) in a small saucepan to soften the sealing compound. Your workspace should be clear, your recipe should be printed or bookmarked on a device you’re not also using to text your sister, and your ingredients should be prepped and measured.
I treat canning day almost like a dinner party — I set the mood, clear the clutter, and commit to being present. Part of that ritual involves my large stainless steel stockpot for cooking down jams and sauces separately from the canner. Having two large pots going simultaneously means you can process one batch while preparing the next, which significantly cuts down on total time. If you’re someone who gets into a flow state in the kitchen the way I do, this kind of multitasking is genuinely satisfying.
And don’t overlook the importance of a good cutting setup. Preserving involves a tremendous amount of chopping, slicing, and peeling — pounds of fruit and vegetables that need to be processed quickly before they start to oxidize or lose their peak freshness. I wrote about this in my piece on my summer pantry reset routine, but it bears repeating: sharp knives and a sturdy, spacious cutting board are the unsung heroes of any preserving marathon.
Pectin, Acid, and the Science Behind the Seal
Let’s talk briefly about the science that makes canning work, because understanding it makes you a better preserver. High-acid foods — those with a pH below 4.6 — can be safely processed in a water bath canner because the acid level prevents the growth of Clostridium botulinum, the bacteria responsible for botulism. This is why jams, jellies, pickles, and most fruits are water bath candidates, while low-acid vegetables and meats require pressure canning at higher temperatures.
Pectin is the natural gelling agent found in fruits that gives jams and jellies their set. Some fruits — like apples, citrus, and cranberries — are naturally high in pectin, while others — like strawberries and peaches — need a boost. You can use commercial pectin (available in liquid and powdered forms), or you can cook your preserves longer to concentrate natural pectins. I use liquid pectin for most of my jams because it gives me a consistent, reliable set without overcooking the fruit. There’s nothing wrong with either approach, but if you’re a beginner, commercial pectin removes one variable from an already multi-variable process.
Acid — usually in the form of bottled lemon juice or citric acid — is added to recipes to ensure safe pH levels. This is particularly important for tomatoes, which have hovered near the borderline pH in recent years due to breeding for sweetness. When a recipe calls for added acid, add it. This isn’t the place for creative interpretation.
My Favorite Things to Preserve in Early Summer
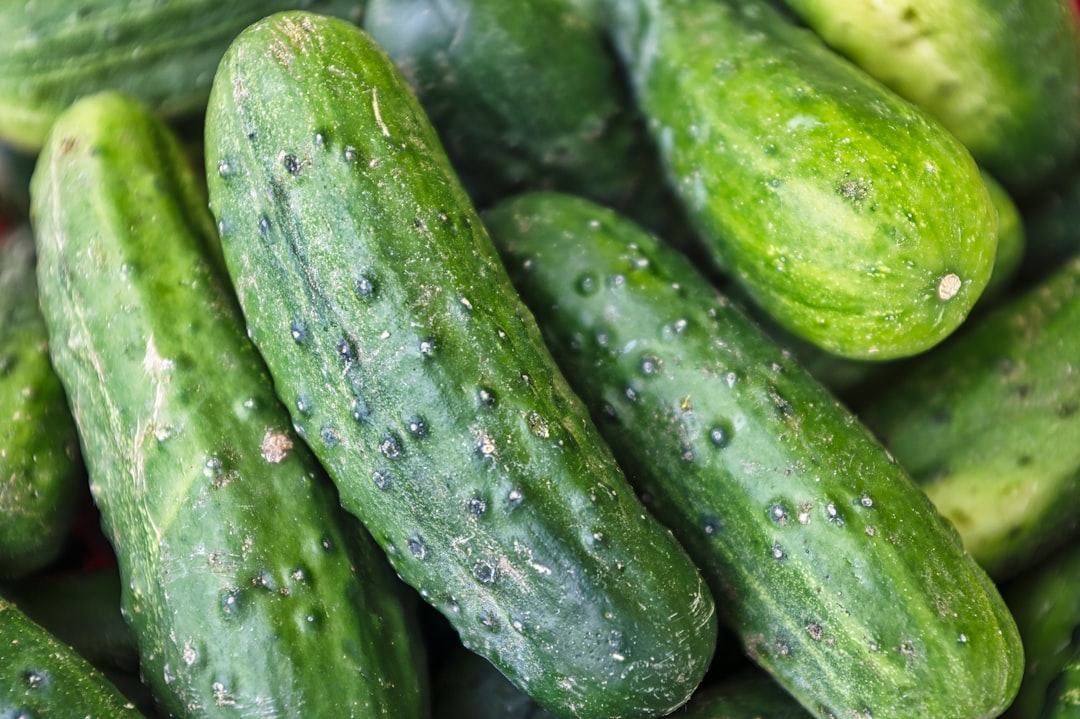
June is a glorious time for preserving. Strawberries are peaking in most parts of the country, and if you’ve never made strawberry jam from truly ripe, in-season berries, you are in for a revelation. The flavor bears almost no resemblance to what you find on grocery store shelves. I also love putting up pickled red onions (ridiculously easy, endlessly useful), cherry compote, and early-season green beans with dill and garlic.
One of my favorite summer rituals is making a big batch of spiced pickles using whatever looks best at the farmers market. Bread and butter pickles, dill spears, spicy refrigerator pickles — I make them all throughout the season. Pickling is an especially forgiving entry point into preserving because many quick pickle recipes don’t even require a water bath; they live happily in the refrigerator for weeks. Once you gain confidence there, you can move on to shelf-stable canned pickles.
I also keep a stash of flavored vinegars and simple syrups going all summer long — lavender simple syrup for lemonades and cocktails, raspberry vinegar for salad dressings, and a deeply comforting vanilla peach butter that I slather on everything from toast to pork chops. As I mentioned when I shared why I switched to glass containers, having beautiful, shelf-stable homemade goods stored in glass jars is both practical and aesthetically pleasing in a way that plastic never achieved.
Storage, Labeling, and the Joy of a Full Pantry
Once your jars have cooled and you’ve verified the seals — press firmly on the center of each lid; if it doesn’t flex, you’re golden — they need a cool, dark, dry storage spot. My grandmother kept hers in a root cellar, but a kitchen pantry or basement shelf works beautifully. Remove the screw bands before storing; they can trap moisture against the lid and cause rust, which looks unappetizing even when the seal beneath is perfectly intact.
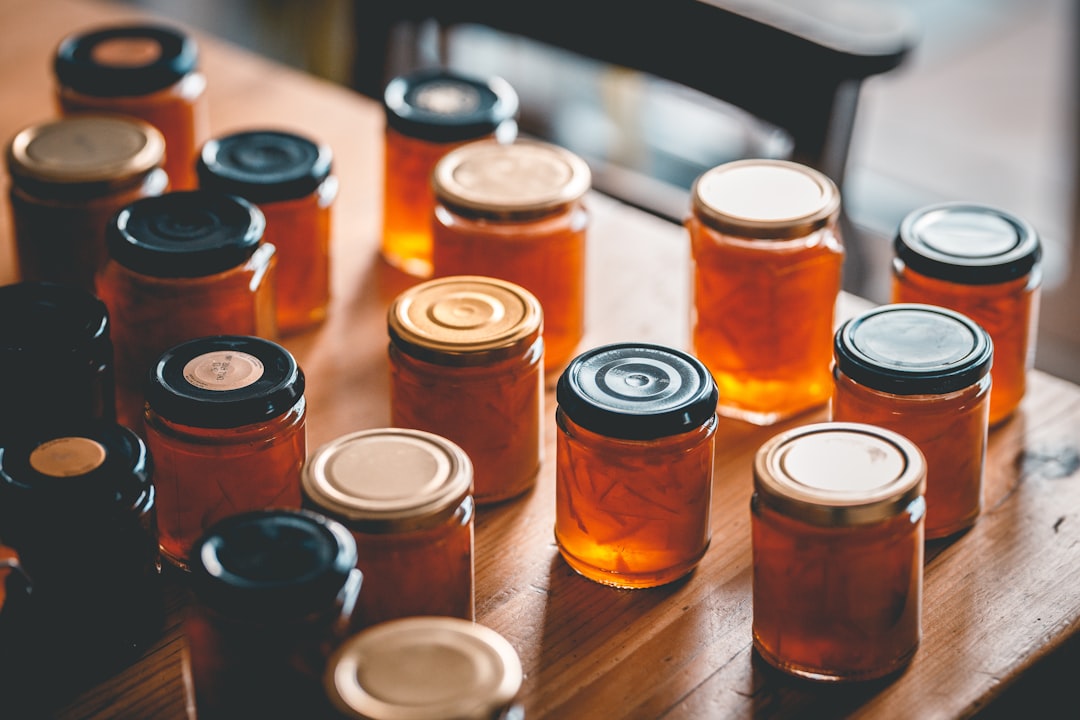
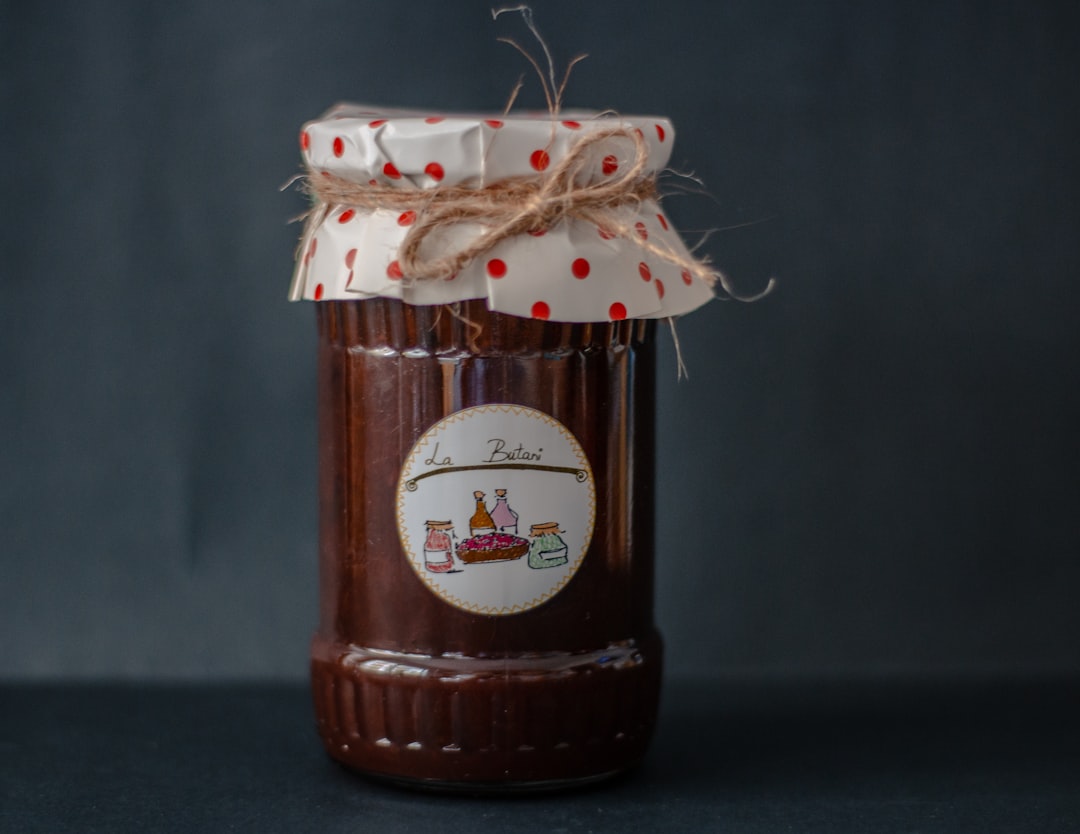
Labeling is where I see even experienced canners get sloppy. At minimum, write the contents and the date on every jar. I use a simple system: masking tape and a Sharpie for everyday jars, and kraft paper labels with twine when I’m gifting them. Speaking of which, a jar of homemade jam is one of the most universally appreciated gifts I’ve ever given, and I’ve given a lot of them. Tie a ribbon around the lid, scribble a quick note, and you’ve got something that costs very little but communicates genuine care and effort.
Properly canned goods stored in ideal conditions will keep for at least a year, though most jams and pickles are at their best within six to eight months. I try to rotate through my pantry stash so nothing languishes too long, and I build preserving into my overall food storage strategy alongside other preservation methods like freezing and dehydrating.
Common Mistakes I’ve Made So You Don’t Have To
Let me save you some grief with a short list of mistakes I’ve personally committed over the years. First, never skip the headspace measurement. That small gap between the food and the lid exists for a reason — it allows the food to expand during processing and creates the vacuum that seals the jar. Overfilling leads to failed seals and wasted effort.
Second, always process jars for the full time listed in your recipe, adjusted for your altitude. At higher elevations, water boils at a lower temperature, which means you need to add processing time to compensate. It’s a simple adjustment but a critical one for food safety. A good magnetic digital timer that sticks to your range hood is worth its weight in gold on canning day.
Third, don’t reuse lids for canning. I know it’s tempting — they look perfectly fine after one use — but the sealing compound is spent. You can absolutely reuse the screw bands and the jars themselves indefinitely, but fresh lids every time. Stock up before the season starts, because they tend to sell out by late summer when everyone suddenly decides to put up tomatoes.
Finally, don’t be afraid to start small. You don’t need to preserve fifty pounds of anything to have a meaningful canning experience. A single batch of jam — four or five half-pint jars — teaches you the entire process from prep to seal. Start there, build your confidence, and let your ambition grow naturally. As I wrote about in kitchen habits I had to unlearn, perfectionism is the enemy of progress, especially in the kitchen.
Your Canning Season Starts Now
There is something profoundly satisfying about lining up your finished jars on the counter, still warm from the canner, hearing the occasional pop of a lid sealing as it cools. It’s a sound that connects me directly to my grandmother, to my mother, to every woman in my family who looked at a surplus of summer fruit and saw not a problem but an opportunity. Canning is practical, it’s creative, it’s economical, and it’s one of the most tangible ways I know to capture a season and carry it forward.
If you’ve been curious about preserving, make this the summer you try it. Get yourself a canning starter kit, pick up a flat of strawberries from the farmers market, and dedicate a Saturday morning to your first batch of jam. I promise you’ll stand in front of those four little jars and feel something close to magic — the same magic I felt on that step stool thirty-something years ago, watching my grandmother turn fruit into gold.


3 thoughts on “I Learned to Can on a Step Stool at Age Six — Here’s Everything You Need to Start Preserving Summer”