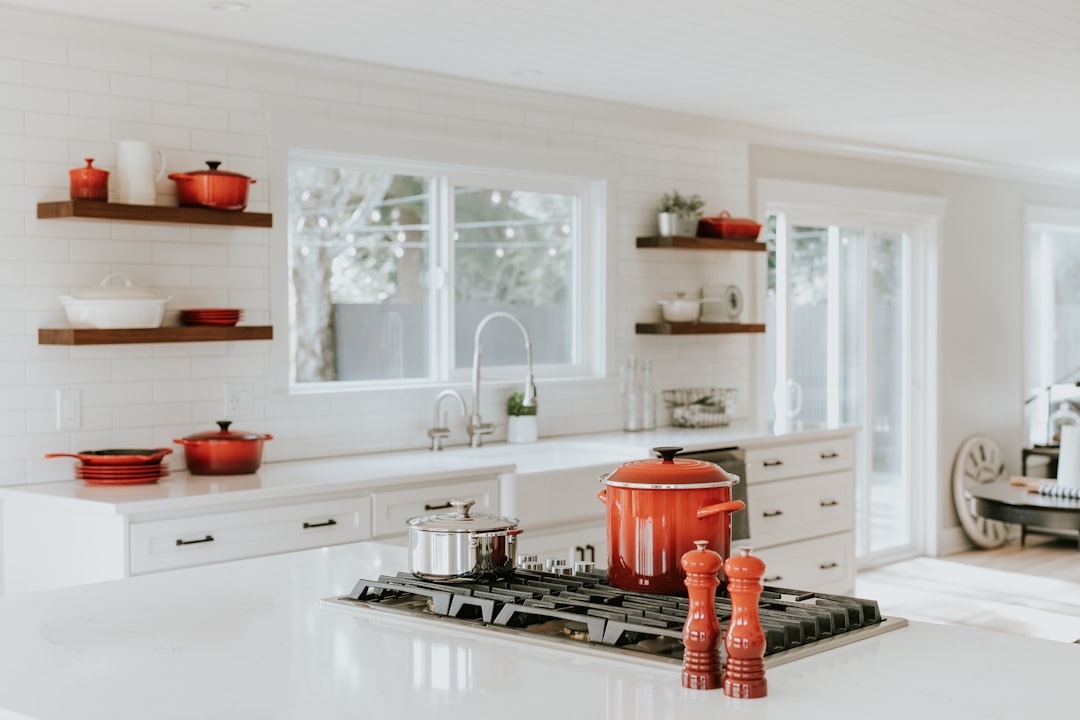
There comes a moment in every cook’s life when you open the pantry door and something falls out at you. Not gently — with attitude. For me, it was a half-open bag of bread flour that had quietly divorced its twist tie sometime during the Obama administration. It landed on my foot, exploded across the kitchen floor, and as I stood there in a white dust cloud wondering whether to laugh or cry, my younger sister (who had been sitting at the table eating toast) said the five words that would change my kitchen forever: “You need to deal with that.”
She wasn’t wrong. I’d been avoiding the pantry for months. Every time I needed something, I’d dig, sweep things aside, and pray nothing toppled. Three generations of kitchen discipline had apparently skipped a generation when it came to my own shelves. So that Saturday morning, I pulled on my apron, poured a thermos of coffee, and did what I should have done a year earlier — I pulled every single item out of the pantry and laid it on the kitchen table. All of it. Forty-seven jars of spices (eleven of which were duplicates I’d forgotten about), six half-used bags of rice from different grocery runs, an ungodly collection of snack clips holding together bags that were mostly air, and — I kid you not — a tin of saffron that had followed me through three apartments.
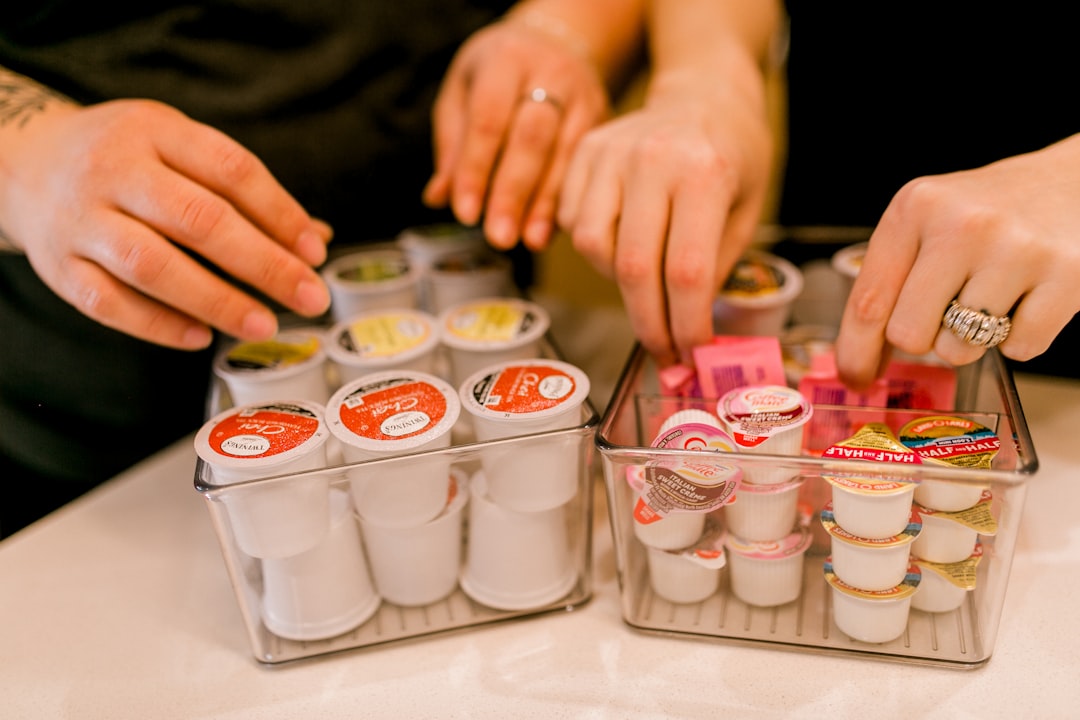
What followed was the most satisfying seven hours of home improvement I’ve ever done without picking up a power tool. And by the end of it, I had a pantry that worked — not Instagram-perfect, but functional in a way that made cooking faster, grocery shopping smarter, and the daily question of “what do we have?” answerable at a glance. Here’s what I learned, what I bought, and what I’d do differently if I were starting over tomorrow.
The Audit: Before You Buy a Single Bin
My biggest mistake in previous organization attempts — and I’ve made many — was buying containers first and thinking later. You end up with a collection of bins that don’t quite fit your shelves, don’t quite hold what you need them to, and slowly migrate to the garage to hold extension cords. This time, I started with a blank table and a notebook.
I sorted everything into categories: baking supplies, grains and pasta, canned goods, snacks, spices, oils and vinegars, and the dreaded “miscellaneous” pile (which, honestly, is where the saffron tin lived). Once I could see what I actually had, the storage needs became obvious. I needed clear containers for dry goods so I could tell when flour was running low. I needed shallow bins for snacks that my nieces could grab without climbing the shelves like little mountaineers. And I needed some kind of system for the deep, dark corner cabinet where cans go to die.
If you’re doing your own audit, my team’s best advice is to be ruthless about expiration dates. I tossed things I didn’t even remember buying. The space you reclaim by simply clearing out stale goods is often enough to make the rest of the pantry breathe.
The Container Question: Glass, Plastic, or Both?
This is where I went back and forth for weeks. Glass jars are beautiful — they show off the colors of your ingredients, they don’t absorb odors, and there’s something deeply satisfying about a row of matching glass canisters with bamboo lids. They also weigh a ton and will shatter if your nephew decides to play drum kit on the pantry shelf.
I ended up with a hybrid system. For the pantry’s prime real estate — the eye-level shelves I open every day — I used a set of glass jars with bamboo airtight lids. Seven pieces in graduated sizes, holding everything from coffee beans to pasta to the brown sugar I use in my pie crust. The airtight seal keeps everything fresh, and being able to see the contents means I never accidentally buy a third bag of Arborio rice when I already have two hiding behind the oatmeal.
For the bulk dry goods that live on lower shelves — flour, granulated sugar, cornmeal — I went with a 24-piece set of airtight plastic containers with labels. BPA-free, leak-proof, and honestly, they’ve held up better than some of my expensive glass canisters. The labels that come with the set are pre-printed with common pantry items, which saved me from my usual “I’ll label these later” procrastination.
The key lesson from the great container overhaul I did last month still holds: consistency matters more than material. Pick one style, commit to it for each zone, and don’t mix five different jar shapes on the same shelf unless you enjoy visual chaos.
Vertical Space: The Frontier You’re Wasting
Here’s something I never noticed until my sister pointed it out: my pantry shelves had a good eight inches of dead air above the items on them. That’s not just wasted space — it’s the difference between stacking your baking supplies in neat, visible layers and having a single row of flour bags that keep falling over like exhausted toddlers.
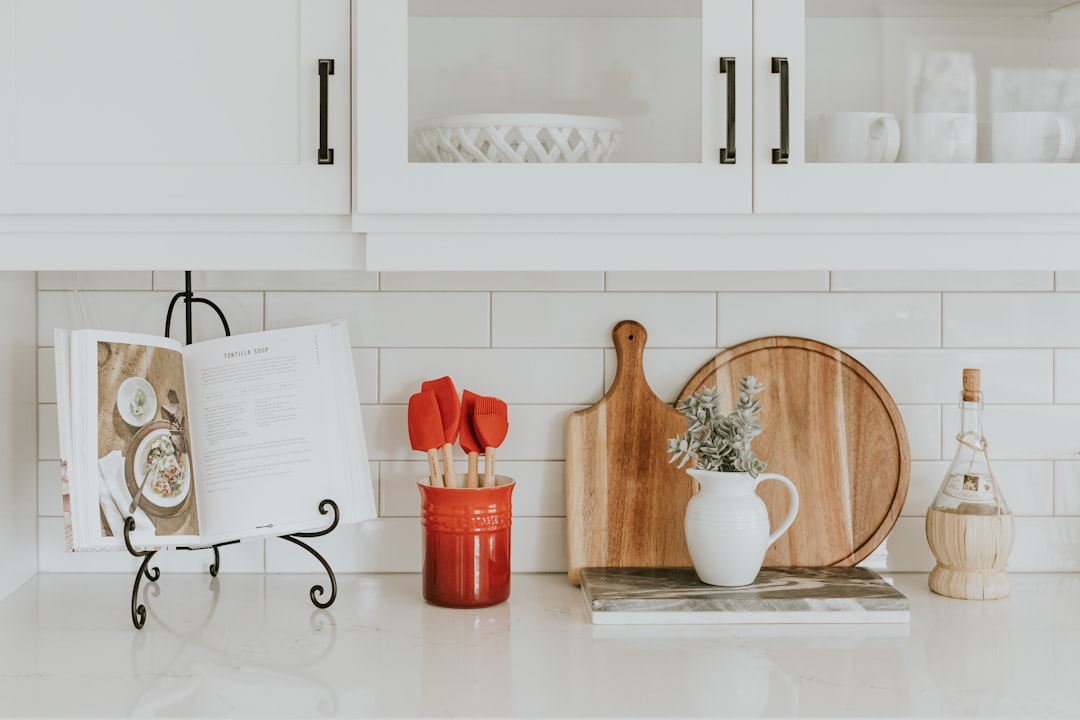
The fix was simpler than I expected. A three-tier expandable cabinet shelf organizer turned a single flat surface into stadium seating for my spices and small jars. Suddenly I could see every single bottle without moving anything — cumin, smoked paprika, the good vanilla extract I’d been rationing since Christmas. The tiers are adjustable, so when my spice collection grows (and it always grows), I can widen or narrow the shelves to fit.
For the deeper shelves where I store cans and jars, I added under-shelf baskets that slide right onto the existing shelf edge, creating a second layer of storage underneath. Think of them as the pantry equivalent of a bunk bed — same footprint, double the capacity. Mine hold the smaller cans (tomato paste, coconut milk, broth) that used to get lost behind the tall ones.
The Door: Your Most Underutilized Pantry Asset
If you have a pantry with a door — any door, even a narrow one — and you’re not using its back surface, you’re leaving serious storage on the table. I’d seen those over-the-door organizers for years and always assumed they were flimsy. Turns out, the good ones are absolutely not.
I installed an eight-tier over-the-door pantry organizer and it completely changed how I store the items I reach for most. The top tiers hold spice jars (the standardized round ones), the middle ones hold oils, vinegars, and spray bottles, and the bottom baskets hold my collection of tea bags and seasoning packets that used to live in a jumbled cardboard box. No tools required for installation, and the rack is sturdy enough that loaded up, it hasn’t shifted in weeks.
One warning: measure your door clearance before ordering. If your pantry door sits flush against shelving when closed, a deep organizer won’t work. I learned this the hard way with a different brand first and had to return it. The thin-profile designs are your friend in tight spaces.
Bins and Baskets: Where the Real Magic Happens
If containers are the bones of a good pantry system, bins and baskets are the muscle. They’re what turn a flat shelf from a chaotic surface into a series of pull-out drawers. The trick is choosing bins that are deep enough to be useful but shallow enough that you can see what’s inside without excavation.
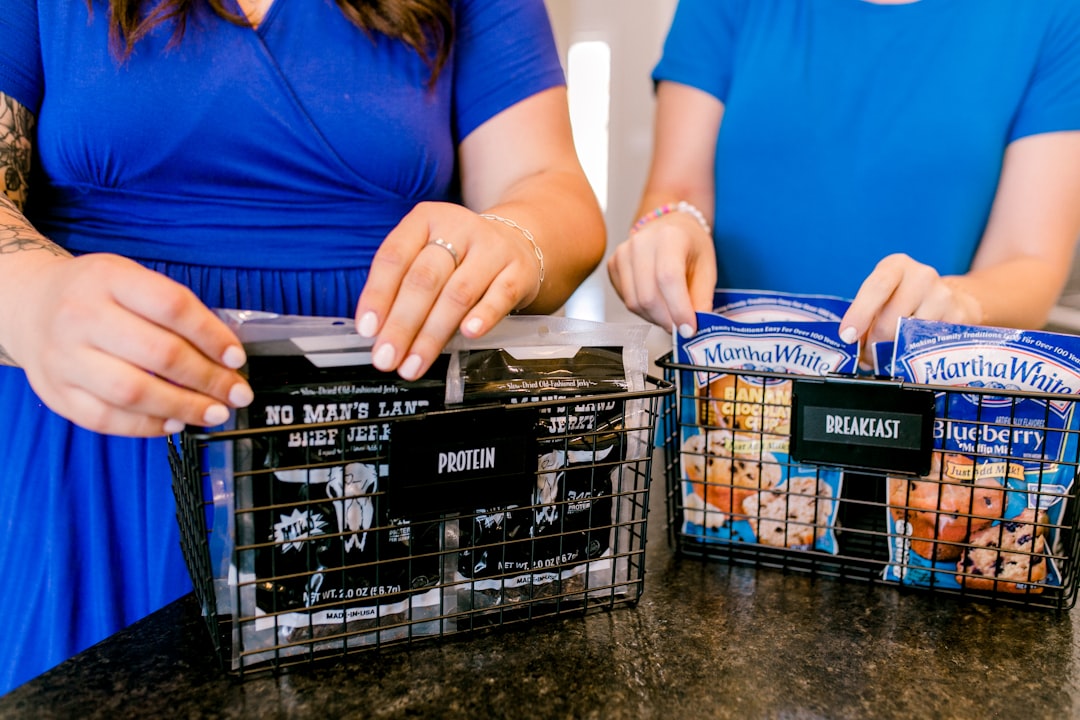
I used stackable wire baskets for the heavier, bulkier items — bags of onions, potatoes, the giant bag of garlic from the farmer’s market that I always overbuy. Wire construction means air circulates, which keeps produce happy longer. On the shelf above, a set of clear stackable storage bins with handles corrals the snack collection. Having handles means anyone in the family can pull a bin forward, grab what they want, and slide it back without disturbing the rest of the shelf.
For the dry snacks and baking supplies that don’t need airtight seals, I also brought in a twelve-pack of clear plastic bins. Twelve sounded excessive when I ordered them, but they filled up fast. Four for baking supplies, three for tea and drink powders, two for snacks, one for lunch-packing supplies (baggies, napkins, utensils), and two for overflow. At twelve dollars for the whole set, they were the best value purchase of the entire project.
And for the pantry items that don’t fit into neat categories, eight-pack plastic storage baskets handle the catch-all duty. These are where the “miscellaneous” energy goes — packets of sauce, bulk-bought protein bars, the jar of maraschino cherries I only need twice a year but somehow own four of.
The Corner Cabinet Solution: Lazy Susans for the Win
Every kitchen has that one deep, dark corner where items disappear. Mine was where cans of beans went to be forgotten. I’d buy more, not realize I already had six, and the cycle continued. The solution was so simple I’m embarrassed it took me twenty years of cooking to implement.
A set of three lazy susan turntables in graduated sizes turned my corner cabinet from a black hole into a functional spinning display. The large one holds tall bottles — olive oil, vinegar, the big jug of honey. The medium handles cans and jars. The small one lives on the top shelf and holds the collection of extracts and food coloring I use for holiday baking. Spin and grab. No more flashlight expeditions into the cabinet depths.
This pairs beautifully with the system I wrote about in my freezer storage overhaul — the same principles apply. Visibility is everything. If you can see it, you’ll use it. If you can’t, it’ll expire in the dark.
Labels: The Finishing Touch That Makes It Stick
I almost skipped this step. I thought, “I know what’s in my jars — I just organized them.” Reader, I was wrong. Within a week, I couldn’t tell bread flour from all-purpose at a glance, and my sister accidentally put salt in her coffee because she grabbed the wrong canister (they’re both white, and before you ask — yes, she now checks labels religiously).
I used a set of 360 chalkboard labels with two chalk markers, and they’ve been the unsung heroes of the whole pantry. The labels are reusable, so when I swap contents (the quinoa bin becomes a rice bin when I’m in a risotto phase), I just wipe and rewrite. Twelve assorted shapes means I could choose different designs for different zones — rectangles for dry goods, circles for spices, scalloped edges for the baking section.
The System Three Months Later
It’s been three months since the Great Pantry Saturday, as my family now calls it. Here’s the honest truth: the system has held. Not perfectly — there’s been some drift, a couple of bins that need re-sorting, and the spice rack could use a trim. But the fundamental structure works because it was built around what I actually cook, not what an organizing blog told me I should have.
When I’m prepping for a big cooking session, like the July harvest marathon that takes over my kitchen every summer, I can find every ingredient without searching. Grocery shopping takes half the time because I can see what I need at a glance. And nothing falls on my feet anymore.
The total cost of the entire pantry overhaul — containers, bins, baskets, lazy susans, labels, and the door rack — came in under $200. For a system that runs my entire kitchen and saves me genuine stress every single day, that feels like the best money I’ve spent on my home this year. Better than the espresso machine, and I don’t say that lightly.
If you’re standing in your kitchen right now, staring at a pantry that needs help, start with the audit. Pull everything out. Face the mess. Then build your system shelf by shelf, bin by bin, with containers that match what you actually cook and eat. It won’t look like a magazine spread — it’ll look like your kitchen, only finally working the way it should. And honestly? That’s better than beautiful. That’s functional. That’s home.
7 thoughts on “The Saturday I Pulled Everything Off the Shelves (And Finally Built a Pantry That Works)”