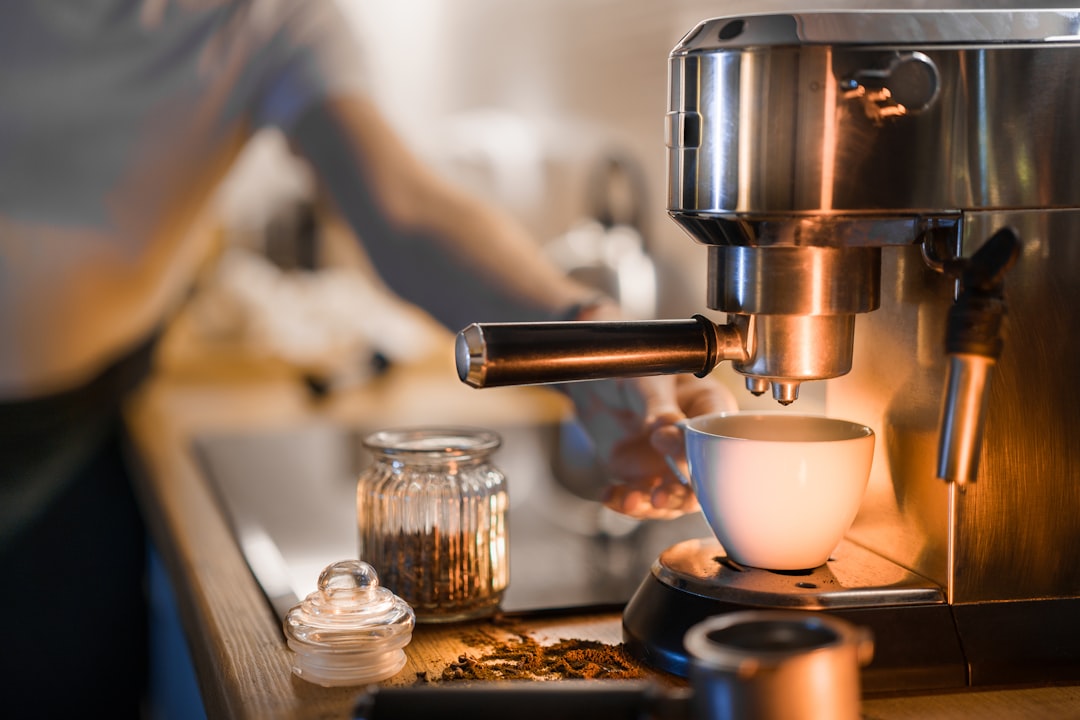
It started, like most of my kitchen obsessions, with a single morning of frustration. I was standing in my socks at 6:47 a.m., trying to make a decent cup of coffee with a machine that had cost me forty dollars three years ago, and the result tasted like someone had whispered the word “coffee” over a cup of warm water. My husband walked in, took one sip, set it down without a word, and left for the gas station on the corner. That stung.
I had spent fifteen years building a kitchen that could handle anything — a proper Dutch oven, a stand mixer that could knead bread in its sleep, knives I trusted enough to let my teenagers use. But the coffee situation? It was an afterthought. A machine that beeped too loud, a plastic scoop I’d fished out of a clearance bin, and a bag of beans that had been open for so long they’d lost their will to flavor.
So I did what I always do when something in my kitchen isn’t working. I tore the whole thing down to the counter, made a plan, and rebuilt it from scratch. What follows is everything my team and I learned over six weeks of testing, rearranging, and tasting more cups of coffee than I care to admit — the seven building blocks that turned a sad corner of my kitchen into a coffee bar that actually pulls its weight.
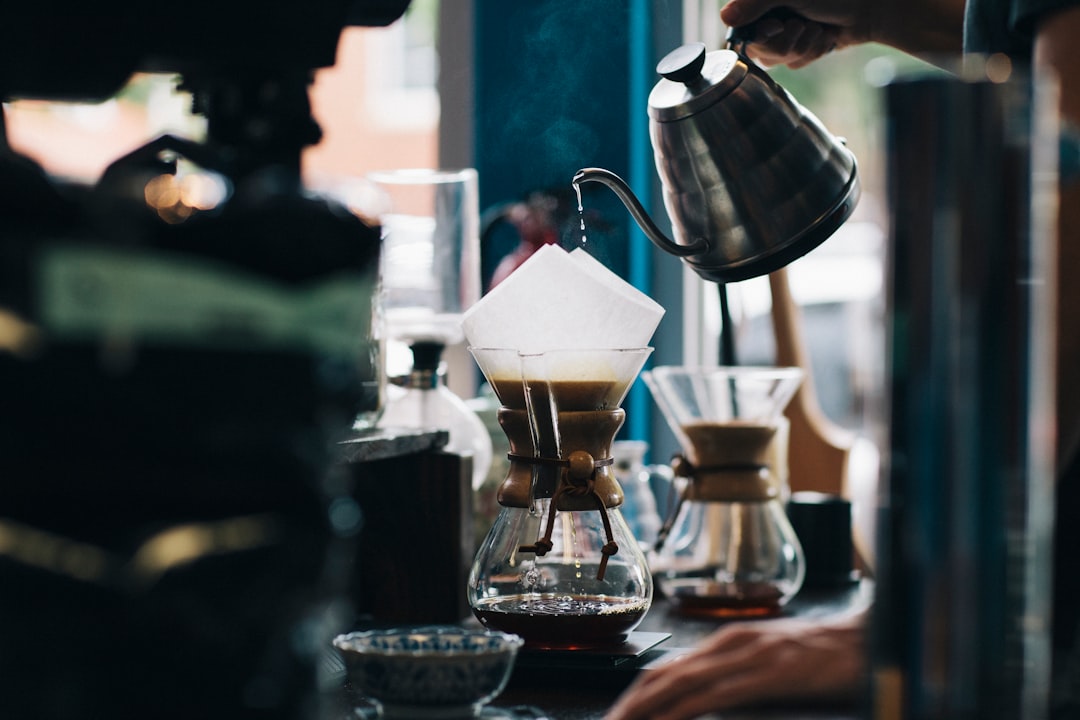
The pour-over station that changed my mornings.
The Grinder: Where Every Great Cup Actually Begins
I’m going to say something controversial, and I need you to hear me out. The grinder matters more than the coffee maker. I know that sounds backwards. I thought the same thing when a barista friend first told me. But after three weeks of side-by-side testing with my team — same beans, same water temperature, same brew time — the only variable that consistently changed the quality of the cup was the grind.
A blade grinder chops your beans into a chaos of dust and gravel. Some particles extract too fast, others too slow, and what you get in the cup is a muddy tug-of-war between bitter and sour. A burr grinder, on the other hand, crushes the beans between two surfaces to a uniform size, which means every particle extracts at the same rate. The result is immediately, dramatically better.
I tested four grinders over six weeks. The one that earned its permanent spot was the OXO Brew Conical Burr Grinder. It has 15 grind settings, holds 12 ounces of beans, and produces a consistency that genuinely shocked me on the first cup. At its medium-fine setting, my pour-over tasted like something from a café that charges seven dollars and has exposed brick. The Bodum Bistro Gooseneck Electric Kettle sitting next to it on the counter completes the visual, but we’ll get to kettles in a minute.
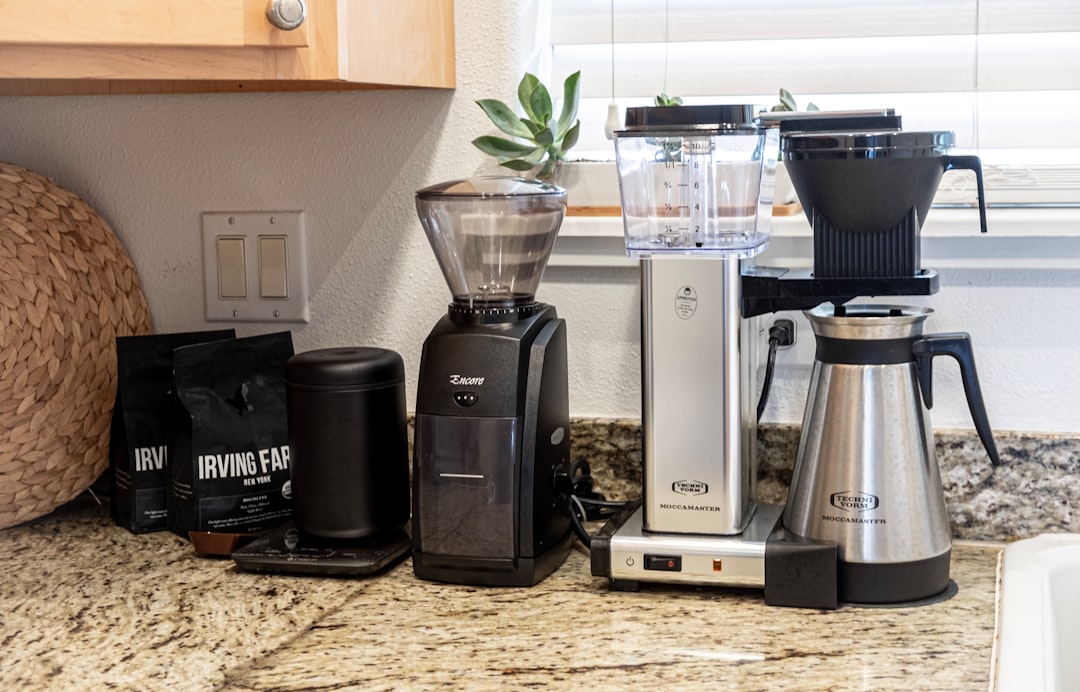
A burr grinder is the single biggest upgrade you can make.
If you’re looking at your current blade grinder and feeling defensive, I understand. I kept mine for nine years. But the day I switched was the day my morning coffee stopped being a caffeine delivery mechanism and started being something I actually looked forward to.
The Scale: Because “About Two Scoops” Is a Lie
Here’s something I resisted for an embarrassingly long time. A coffee scale. I grew up measuring coffee the way my grandmother did — with a scoop that lived in the can, and a prayer. But coffee is a ratio game. Too much coffee to water and you get something harsh and over-extracted. Too little and it’s thin, watery, and sad. The difference between 1:15 and 1:17 is the difference between a cup that makes you close your eyes and one that makes you check if you left the cream out.
When I rebuilt my coffee bar, I invested in the Greater Goods Coffee Scale with Timer. It measures to 0.1 grams, has a built-in timer for pour-over and espresso shots, and the display sits far enough back that it doesn’t get splashed. This tiny device improved my coffee more than any bean upgrade I’ve ever made. If you’ve already read my piece on my three-year quest for the perfect kitchen scale, you know I don’t use that word “perfect” lightly.
The scale also solved a problem I didn’t know I had: consistency. Once I dialed in 24 grams of coffee to 360 grams of water at 30 seconds per pour, I could reproduce that cup every single morning. No more great-by-accident coffee. No more Monday miracles that I couldn’t replicate on Tuesday.
The Kettle: Precision Heat Changed Everything
I spent years boiling water in whatever pot was cleanest and pouring it straight into my French press. It worked. Sort of. But once I started paying attention to temperature — 195°F to 205°F for most brewing methods — I realized I’d been scorching my beans for a decade.
A gooseneck kettle solved two problems at once. First, temperature control. The Cosori Gooseneck Electric Kettle lets you set your target temperature to the degree and holds it there. I set mine to 200°F before I start my morning routine, and it’s ready when I am. Second, pour control. The narrow spout lets you direct water exactly where you want it, which matters enormously for pour-over brewing. A regular kettle dumps water in a fat arc that floods the grounds unevenly. A gooseneck lets you spiral slowly from the center outward, keeping the extraction balanced.
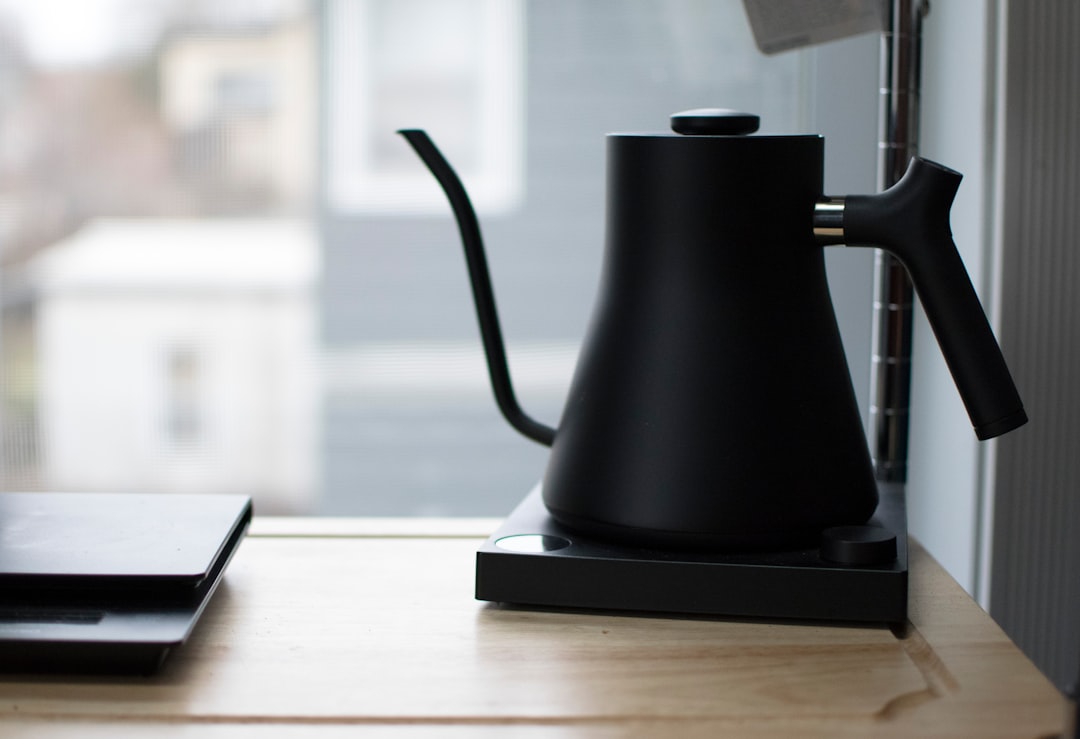
The gooseneck spout gives you control no regular kettle can match.
The Bodum Bistro Gooseneck is another strong option if you want something that looks as good as it performs — the design is gorgeous on a counter. Either way, this is the piece of equipment that will make your coffee bar feel like it belongs in a real café.
The Brewer: Choose Your Method, Not Your Machine
This is where the coffee bar conversation gets personal. There are two camps in my house, and we’ve made our peace. My husband loves the ritual and clarity of pour-over. I love the body and richness of a proper espresso pull on a Saturday morning. You don’t need both, but you do need to choose deliberately.
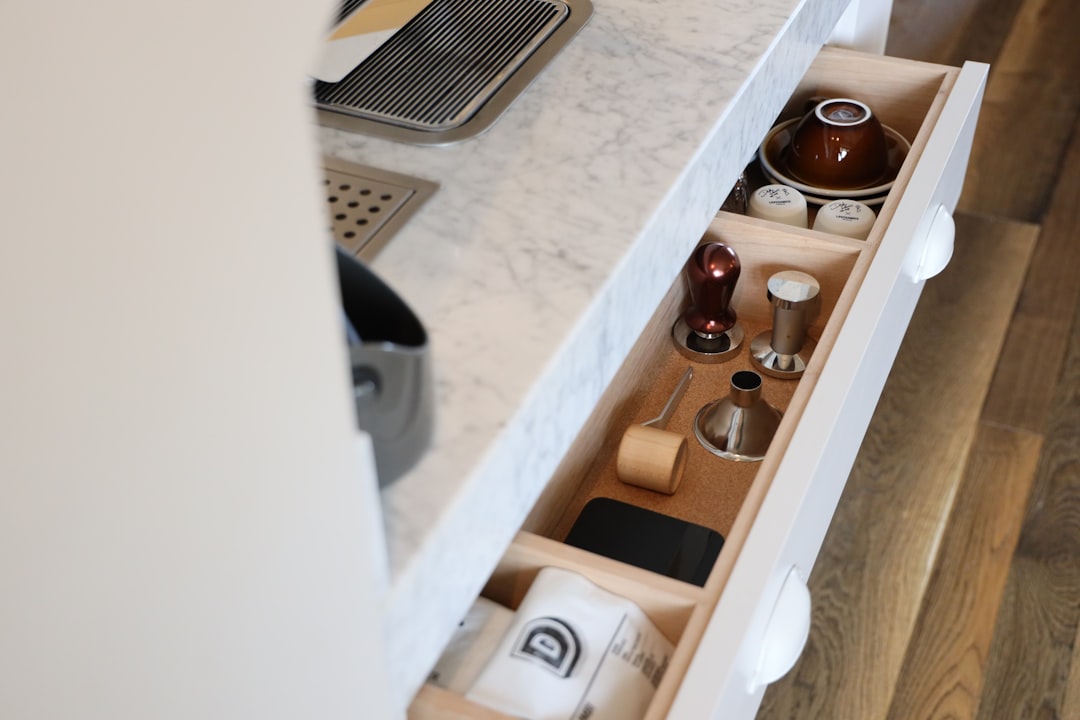
A coffee bar that works as hard as the rest of your kitchen.
For pour-over, the Chemex 8-Cup Glass Coffeemaker is the one I reach for when I’m entertaining. It makes a stunning cup — clean, bright, and almost tea-like in its clarity. The thick filters remove most of the oils and sediment, which some people love and some people miss. For everyday, the Bodum 34oz Pour Over sits on my counter because it’s forgiving, easy to clean, and makes enough for two people without a second brew cycle.
For espresso, the CASABREWS 3700 Essential Espresso Machine is what I’d recommend to anyone building their first real coffee bar. It has a proper steam wand, pulls consistent shots, and doesn’t require a second mortgage. Pair it with the Normcore 58mm Spring-Loaded Tamper — the spring mechanism applies consistent pressure every time, which means one less variable between you and a great shot. And the Breville Knock Box tucked beside the machine gives you a clean, satisfying way to dispose of pucks without making a mess of your counter.
The Milk Situation: Hot, Cold, and Everything Between
If anyone in your household drinks lattes, cappuccinos, or even just likes a little foam on their morning cup, you need two things. First, a proper milk pitcher. The stainless steel frothing pitcher I added to my bar holds 12 ounces, has a pointed spout for latte art (not that mine is anything to brag about), and cost less than a fancy coffee drink at a café.
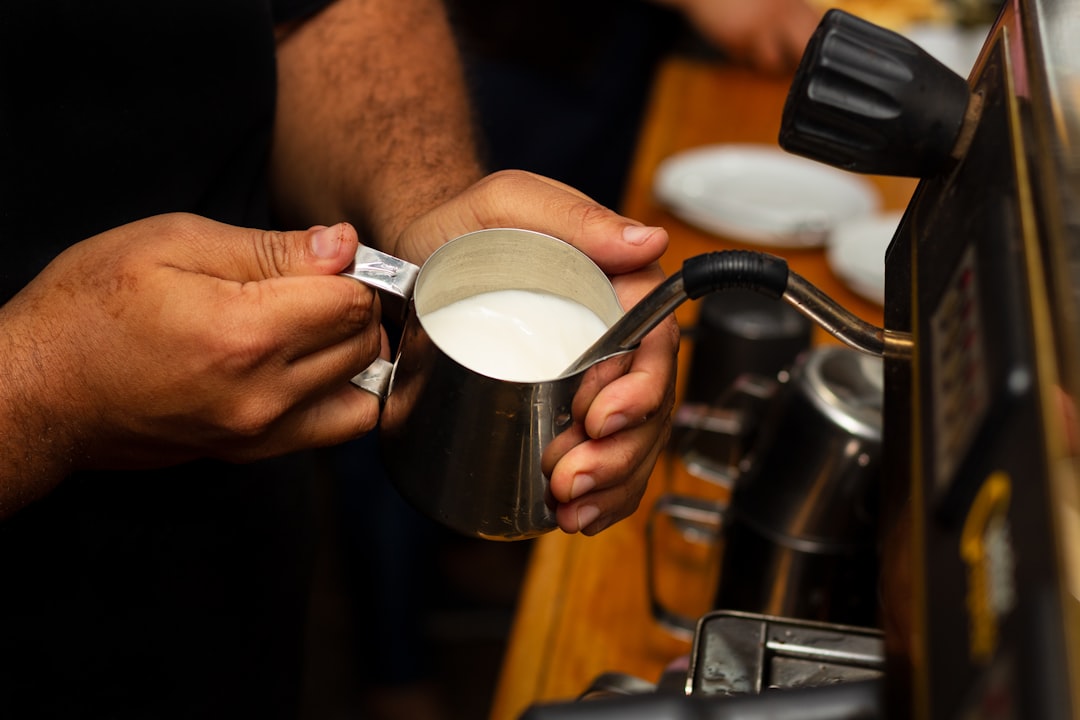
The right pitcher makes all the difference for latte texture.
Second, if you don’t have a steam wand, a handheld frother. The Zulay Handheld Milk Frother is the nine-dollar tool that I recommend to literally everyone who asks me about coffee setups. It’s battery-operated, takes up zero counter space, and turns cold milk into respectable foam in about twenty seconds. Is it as good as a proper steam wand? No. Does it get close enough for a Tuesday morning latte? Absolutely.
Bean Storage: The Silent Flavor Killer Nobody Warned You About
Here’s a question that kept me up at 2 a.m. one night. How long do coffee beans actually stay fresh after you open the bag? The answer: about two weeks for peak flavor, and maybe four before they start tasting flat. The enemies are oxygen, light, moisture, and heat — and a rolled-up bag on your counter is losing to all four of them simultaneously.
I moved my beans into the Veken Airtight Coffee Canister and the difference was not subtle. It has a one-way CO2 valve (which lets the beans degas without letting oxygen in), a stainless steel body that blocks all light, and a date wheel on the lid so you can track when you loaded it. Two weeks after switching, I opened the canister and the aroma hit me from across the counter. The same beans in the same bag would have been a ghost of themselves by then.
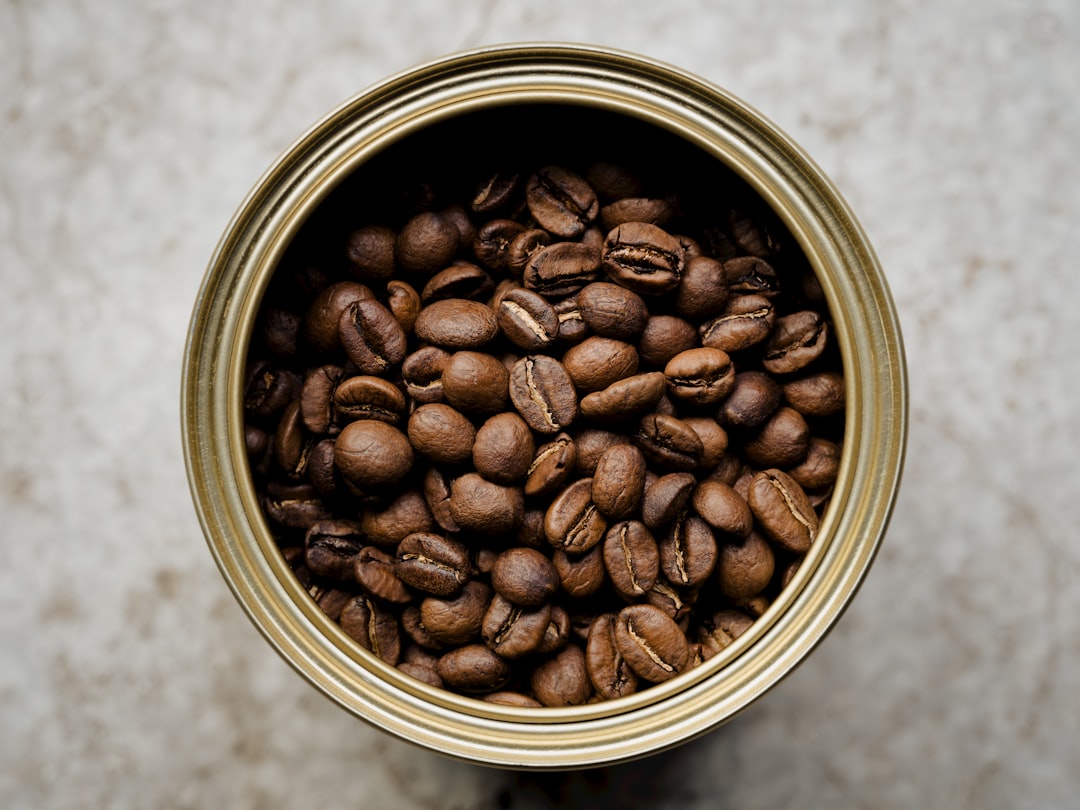
Proper storage preserves peak flavor for weeks, not days.
This connects to something bigger that I’ve been thinking about a lot lately. When I rebuilt my pantry from scratch, the biggest lesson was that proper storage doesn’t just extend shelf life — it preserves quality. Coffee is the most dramatic example, but the principle applies to everything from flour to olive oil. The container matters as much as what you put in it.
Layout and Flow: Designing a Bar That Doesn’t Fight You
You can have the best equipment in the world, but if your coffee bar is awkward to use, you’ll stop using it. I’ve rearranged mine four times in six weeks, and I’ve landed on a setup that works like a tiny assembly line. Here’s the flow:
Left to right: kettle, scale and brewer, grinder, storage. The kettle is closest to the outlet and the water source. The scale and brewer sit in the center where I do the actual work. The grinder is to the right, within arm’s reach for loading beans. The canister lives behind the grinder, away from heat and steam. Everything is within a 30-inch span, which means I can make a complete pour-over without taking more than one step.
If you’re working with less counter space — and let’s be honest, most of us are — prioritize the grinder and the brewer. Those two pieces will improve your coffee more than anything else, and they take up less than a square foot combined. The kettle can live on a shelf or a nearby cart. The canister can hang out wherever your beans are coolest and darkest.
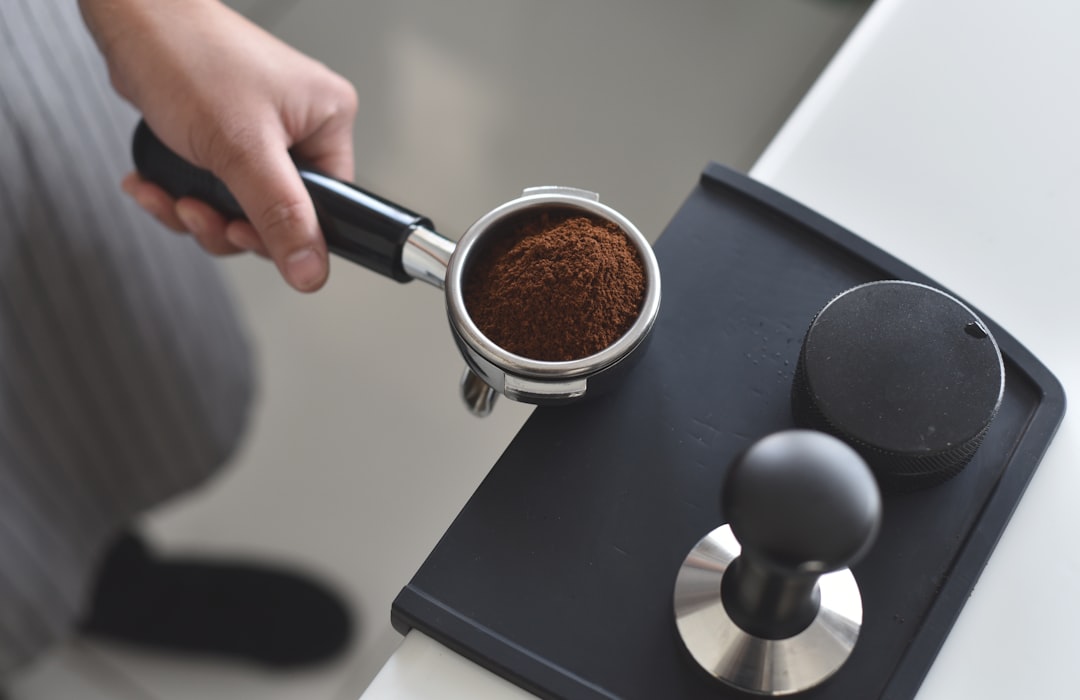
Every tool in its place — the secret to a bar that doesn’t fight you.
My smart appliances experiment taught me that kitchen tech is only worth it when it removes a real friction point. The Cosori kettle earns its spot because the temperature hold means I don’t have to babysit it. The scale earns its spot because it removes the guesswork. Everything else is manual, analog, and exactly where I need it.
The Real Cost of a Coffee Bar (and Why It Pays for Itself)
Let me be honest about numbers, because I hate articles that pretend money doesn’t matter. Building a proper coffee bar from scratch costs between $200 and $500, depending on how far you go. The grinder is your biggest investment — plan for $80 to $150 for something that will last. A good kettle runs $50 to $90. A scale is $15 to $30. A brewer is $25 to $50. Storage is $20 to $35.
Here’s the math that made me feel better about it. My husband and I were spending roughly $12 a day on coffee from the gas station and the café down the street. That’s $84 a week, or about $4,300 a year. Our coffee bar paid for itself in the first month, and the coffee we make at home is now consistently better than what we were buying. The same lesson I learned with stand mixers applies here: buy the right tool once, and it will serve you for years. Buy the cheap version, and you’ll buy it three times.
The Final Cup
Six weeks after that terrible morning cup, I stood in the same spot in my socks and made a pour-over that made me close my eyes on the first sip. My husband came in, took a sip, and said nothing — because he was too busy drinking it. The coffee bar I’d built in a thirty-inch span of counter had quietly become the hardest-working corner of my kitchen.
You don’t need everything at once. Start with a burr grinder and a decent scale. Add the kettle when you’re ready. Build outward from there. The beauty of a coffee bar is that it grows with you — each piece you add makes the whole setup a little better, a little more intentional, and a lot more enjoyable. And the best part? Tomorrow morning, when you walk into your kitchen in your socks, the coffee will be waiting for you. And it will be good.
4 thoughts on “The Corner of My Kitchen That Quietly Became a Coffee Bar”